¶ Preparation
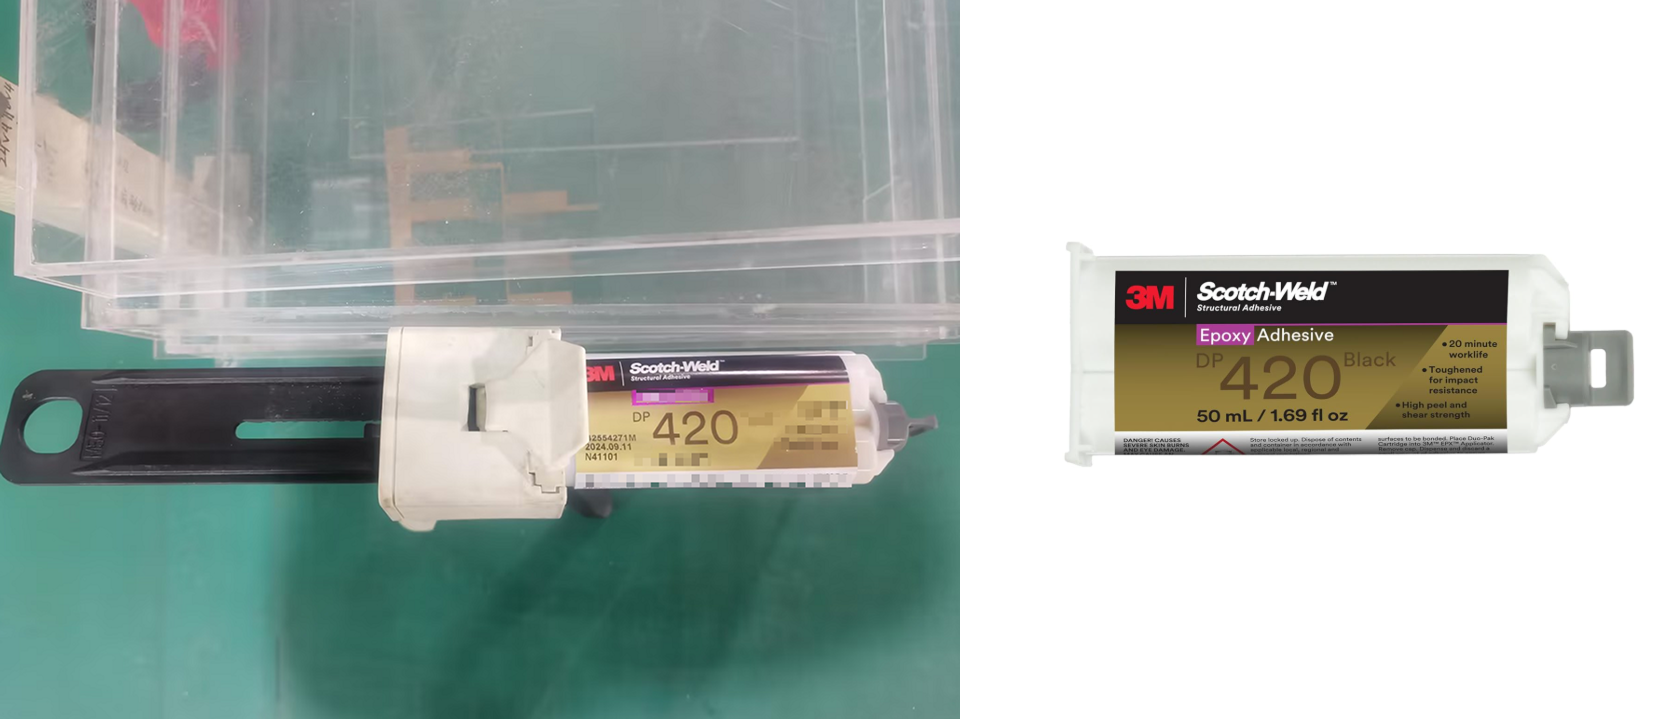
- 3M adhesive
- Protective gloves
- Beam combiner mount and lens
- M3 hex wrench
¶ Procedure
¶ Assembling the Beam Combiner
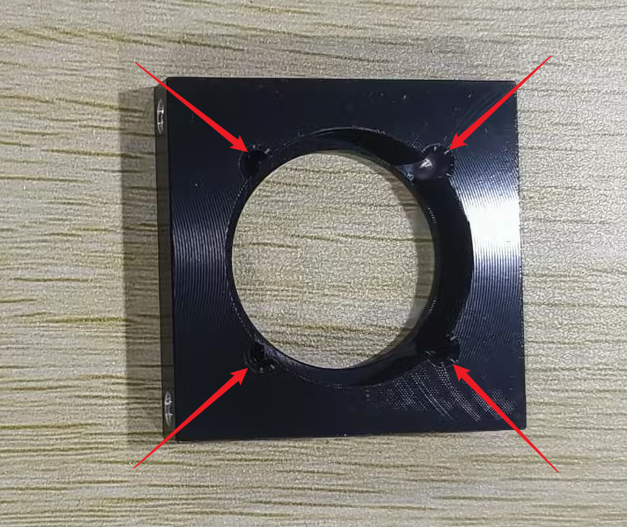
Put on the protective gloves. Apply a tiny amount of 3M adhesive to the positions indicated by the arrows on the mount.
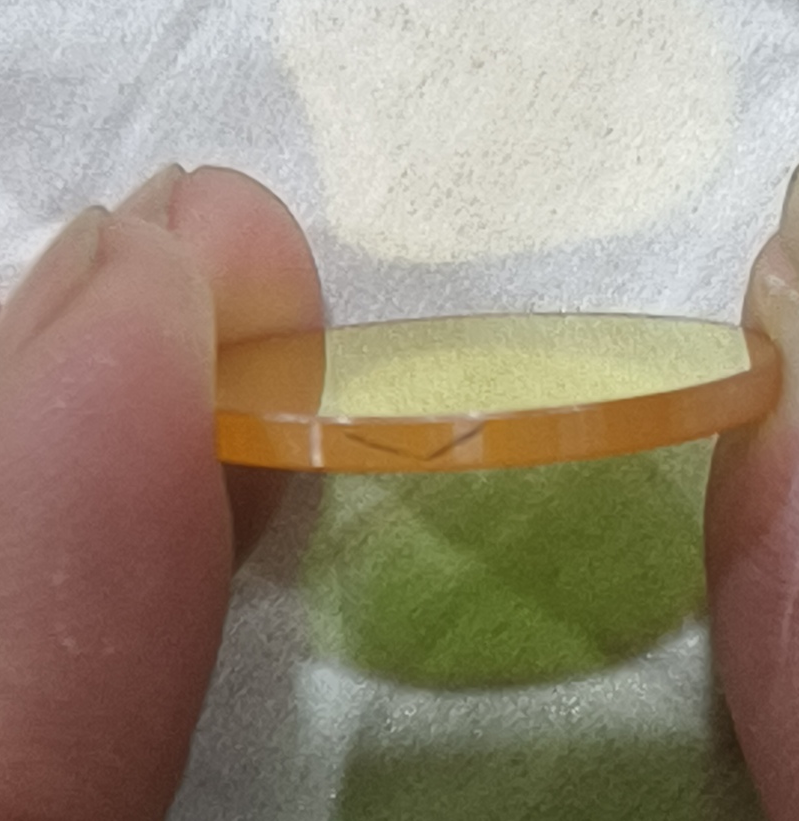
Observe the arrow marking on the side of the beam combiner lens. Place the lens into the beam combiner mount with the arrow pointing downwards.
Ensure the lens lies flat in the frame. Check that no squeezed-out glue has contaminated the lens or the mount surface. Allow it to sit undisturbed for a period until the adhesive is firmly set.
¶ Replacing the Beam Combiner
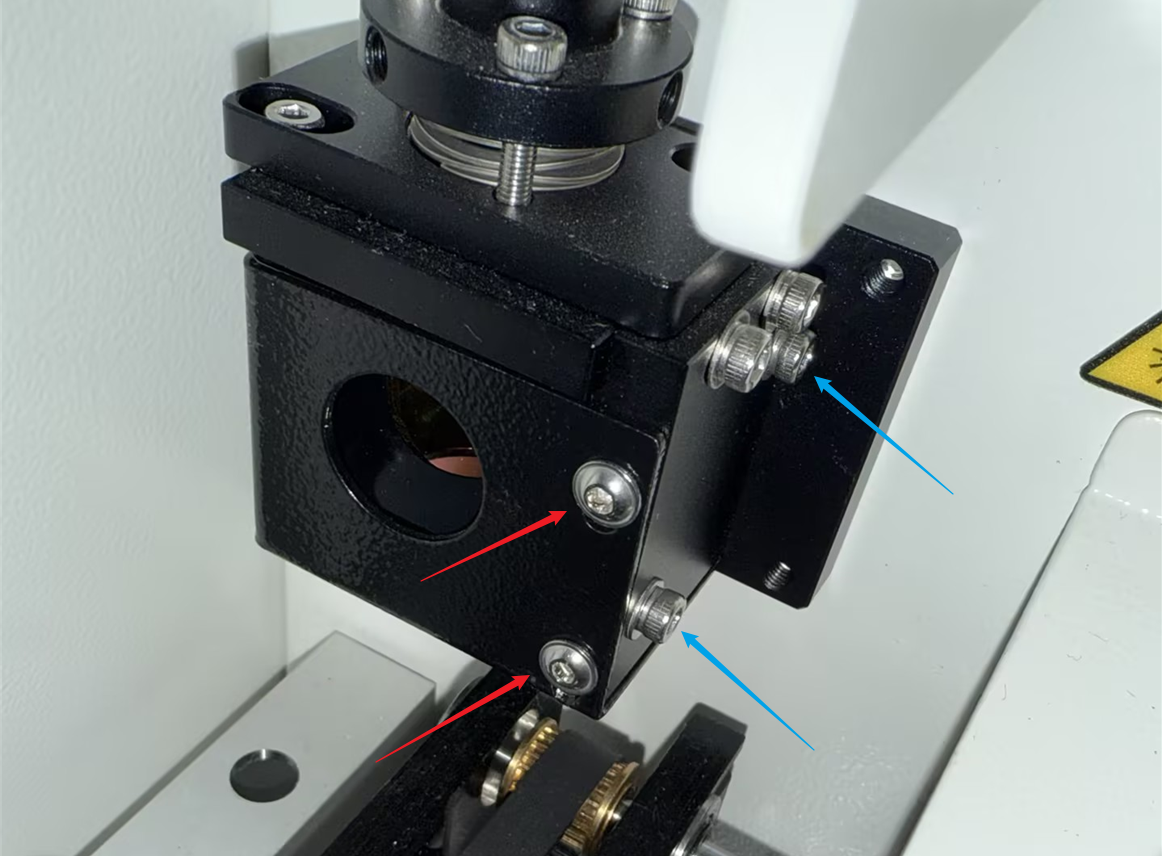
Use the M3 hex wrench to loosen the four screws indicated by the arrows on the beam combiner bracket. Remove the old beam combiner and place the new, assembled beam combiner into the exact same position. Finally, retighten the screws securely.
Important Reminder:
If these steps do not resolve the issue, please click this link to submit a support ticket: https://zohodesk.1laser.com/portal/en/newticket. A technician will then be able to conduct a more in-depth diagnosis and resolve your problem.