¶ Hydra Control Card Replacement Guide
Replacing the control card on your OneLaser Hydra series is a straightforward process that ensures your machine continues to operate with precision.
This guide provides step-by-step instructions—from initial power-down to final wiring—to help you safely swap out the motherboard and get back to your projects.
¶ Required Tools
Before starting, ensure you have the following tools prepared:
- Door cover key
- Phillips (cross) screwdriver
¶ Replacement Steps
¶ 1. Power Down
Disconnect the power supply of the device to ensure safety during the procedure.
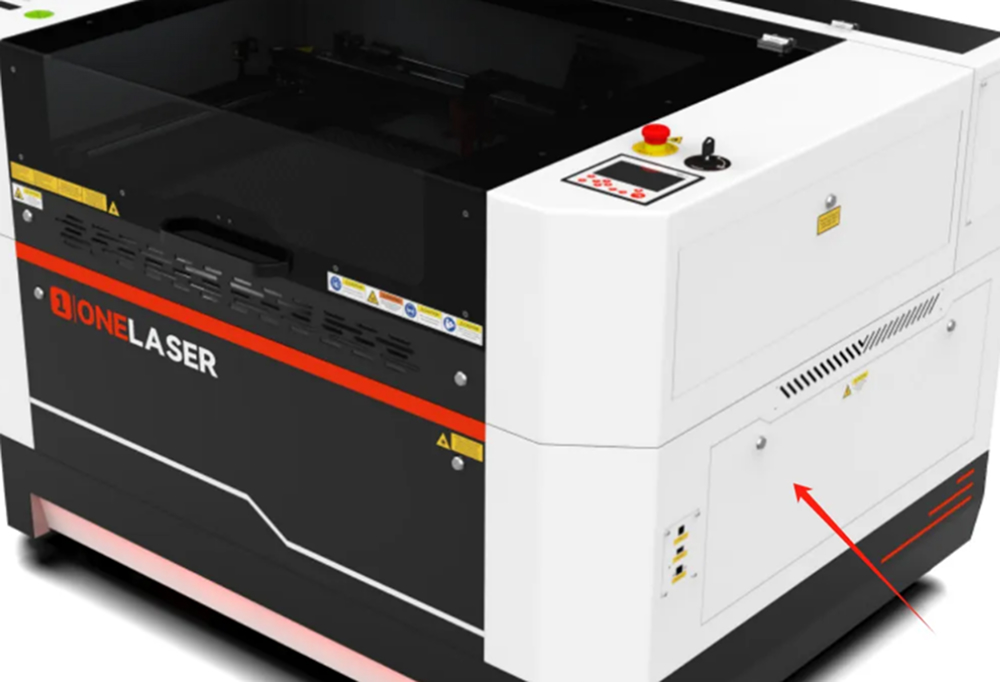
¶ 2. Access the Control Board
Use your door cover key to open the lower right door of the device.
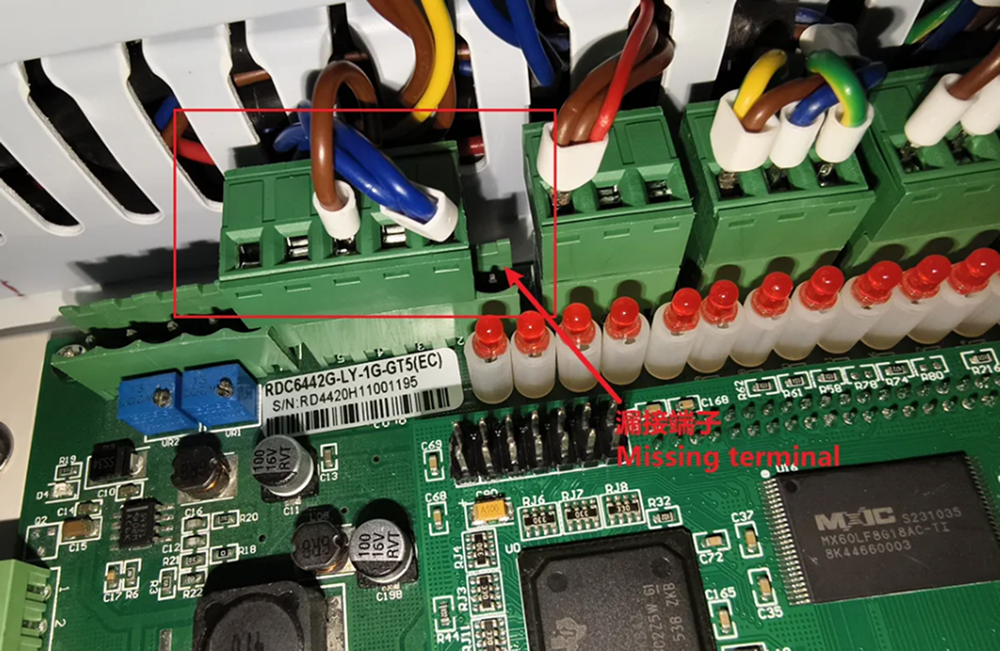
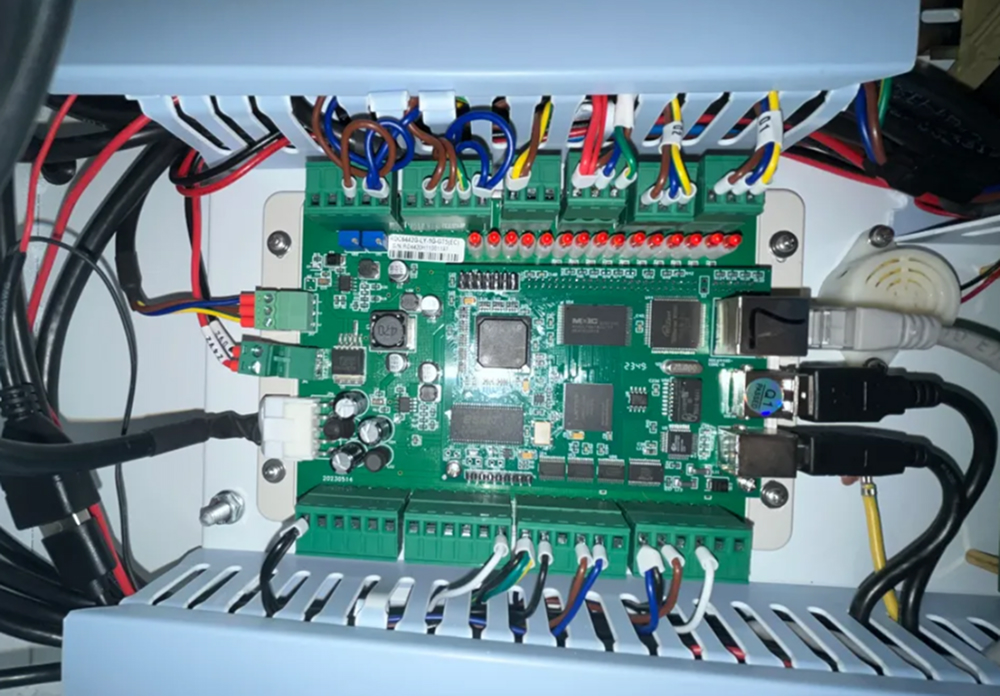
¶ 3. Document and Disconnect Wiring
Disconnect all lines on the control board.
Note: Please take a photo and record the wiring configuration before disconnecting any lines. This is crucial to avoid connecting the wrong wires during reinstallation.
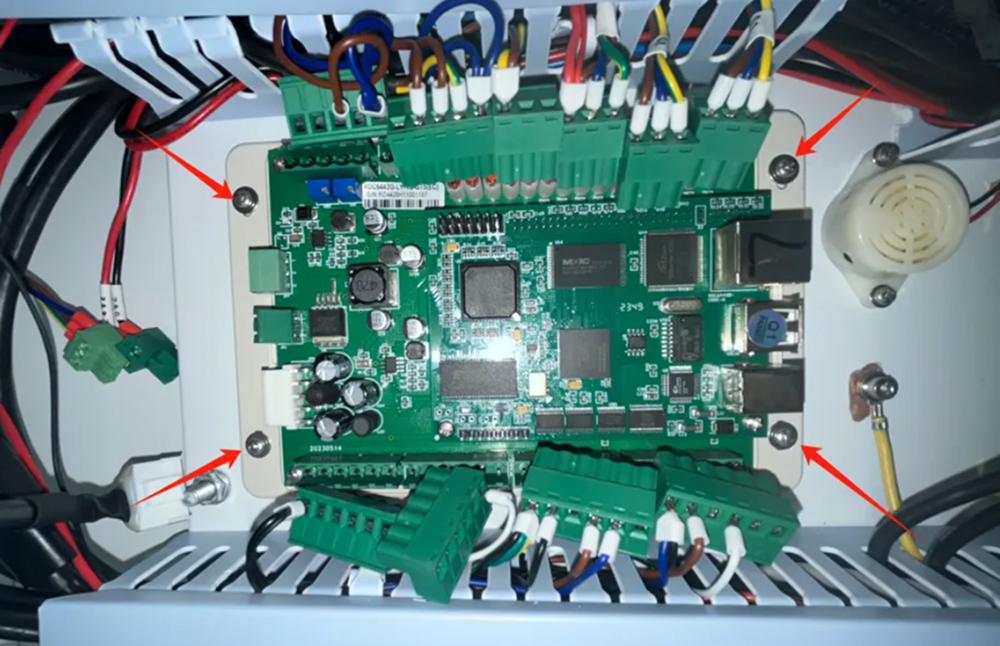
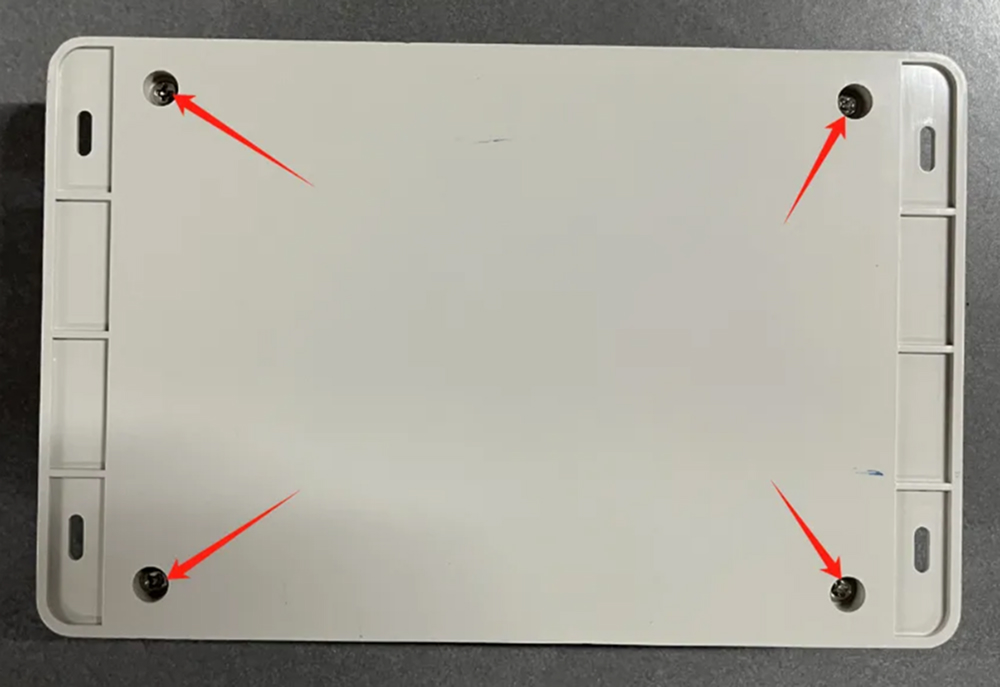
¶ 4. Remove the Old Control Card
Use a Phillips screwdriver to unscrew the four fixing screws located at the corners of the card and remove the control card from the machine.
¶ 5. Prepare the New Motherboard
Before installation, use a Phillips screwdriver to unscrew the fixing screws and remove the protective casing of the new control motherboard.
¶ 6. Installation and Reconnection
Fix the new control card onto the internal casing and reconnect all the wiring as recorded in your earlier photos.
Attention: Do not miss any terminals during reconnection. Ensure every plug is securely seated in its correct position.