¶ Laser Power Supply Replacement – Hydra Series
This guide explains how to replace the laser power supply on Hydra Series machines. It includes step-by-step instructions for both glass tube and RF tube configurations, covering safe disconnection, wire removal, power supply replacement, and proper reinstallation to ensure stable and safe operation.
¶ 1. Tools Required
Screwdriver (flathead and Phillips), door cover key
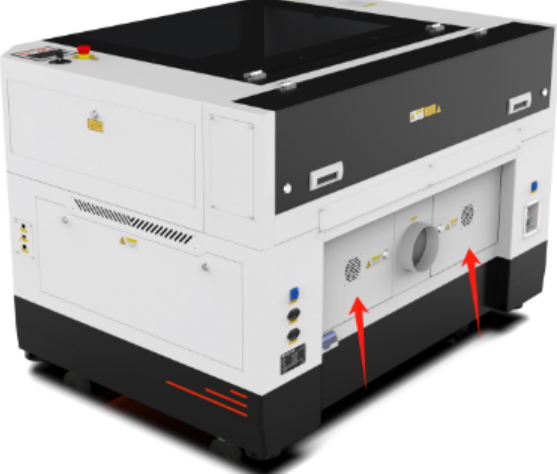
The laser power supply is installed at the back of the machine.
Note: The power must be disconnected before operation to avoid the risk of electric shock.
¶ 2. Glass Tube Laser Power Supply Replacement
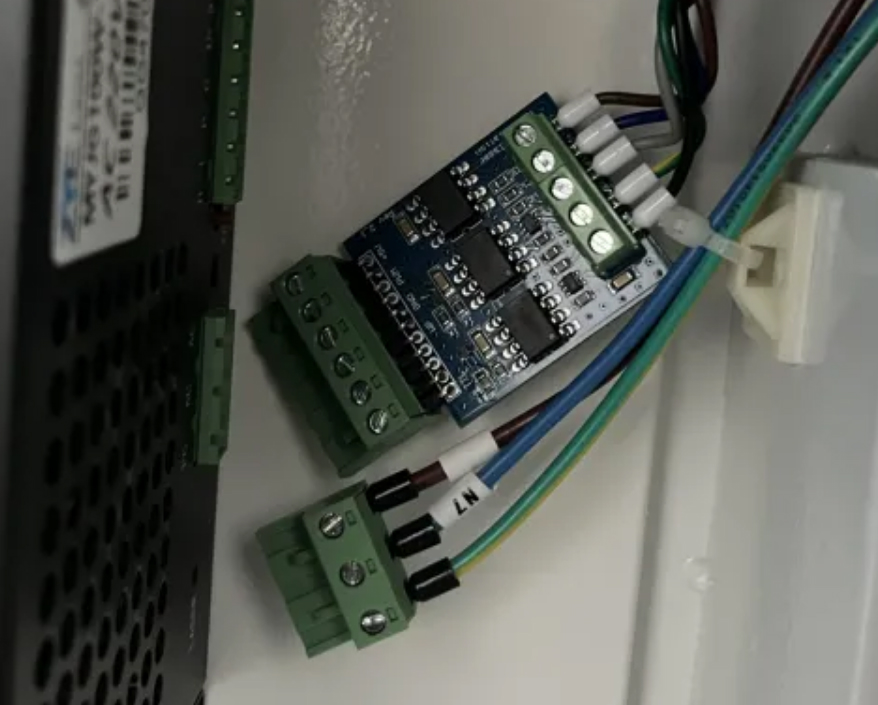
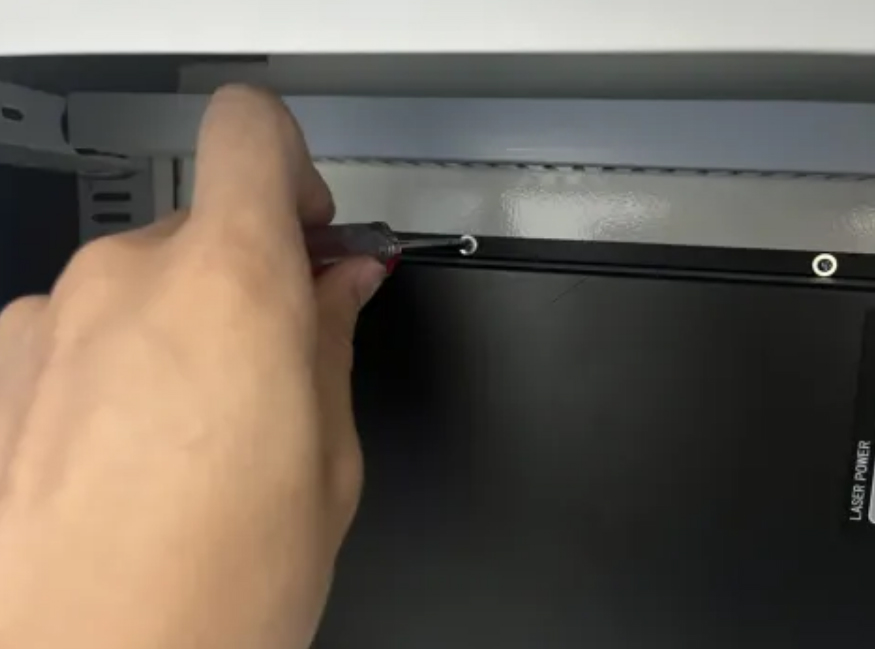
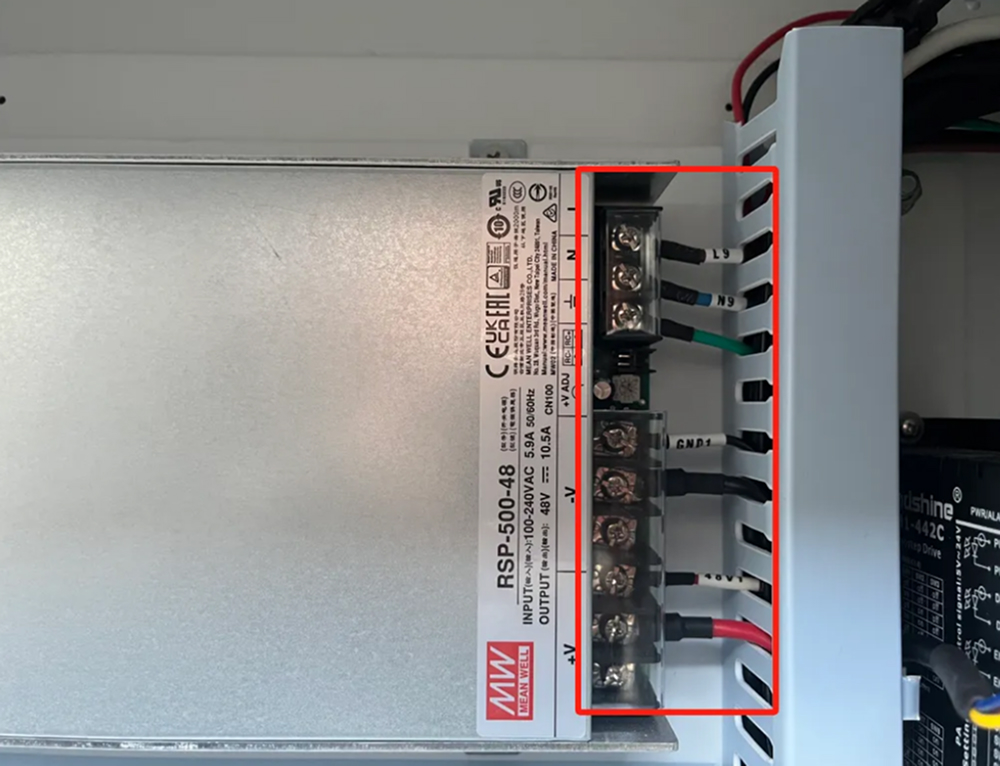
① The laser power supply is connected by four wires: signal line, input power line, positive output line, and negative output line.
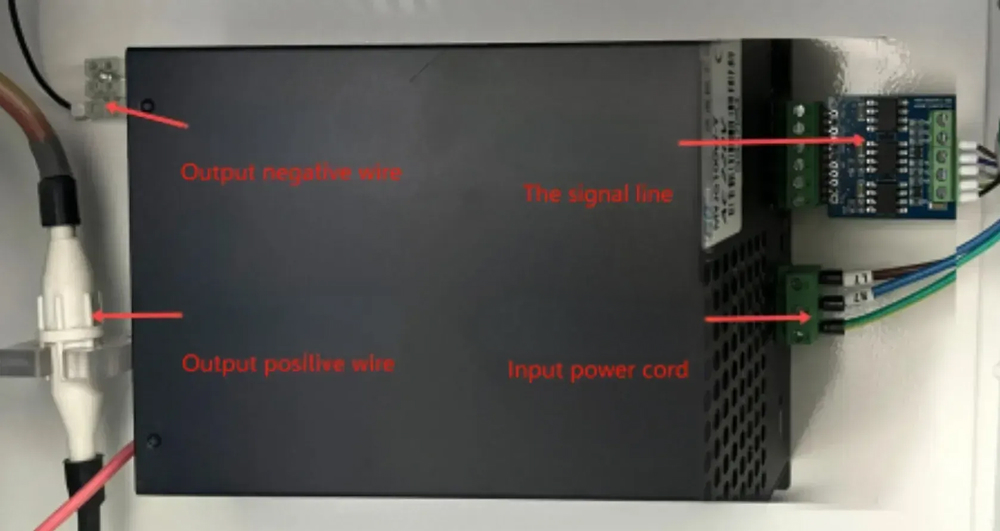
② Gently shake the terminal to unplug the signal line and input power line, as shown in the figure.
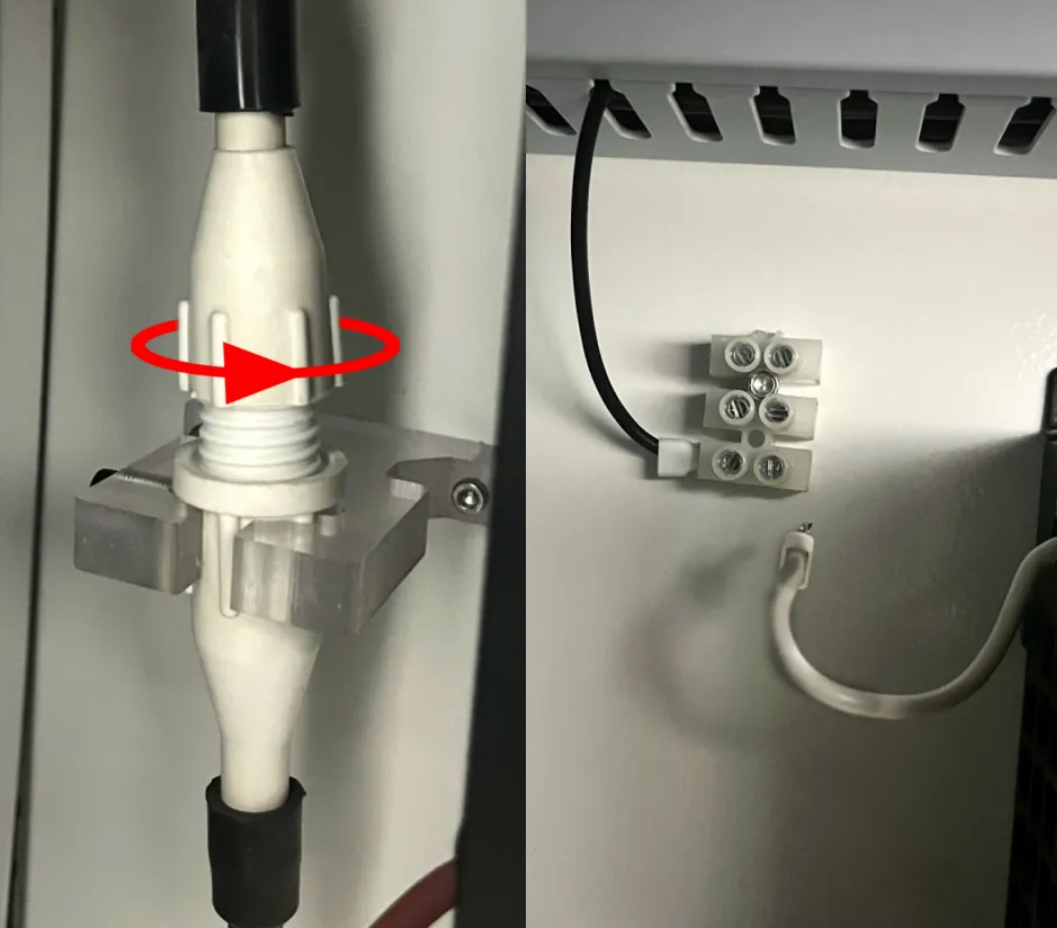
③ Rotate the positive output terminal counterclockwise to loosen it, then pull it out. Use a flathead screwdriver to loosen the negative output terminal and pull it out.
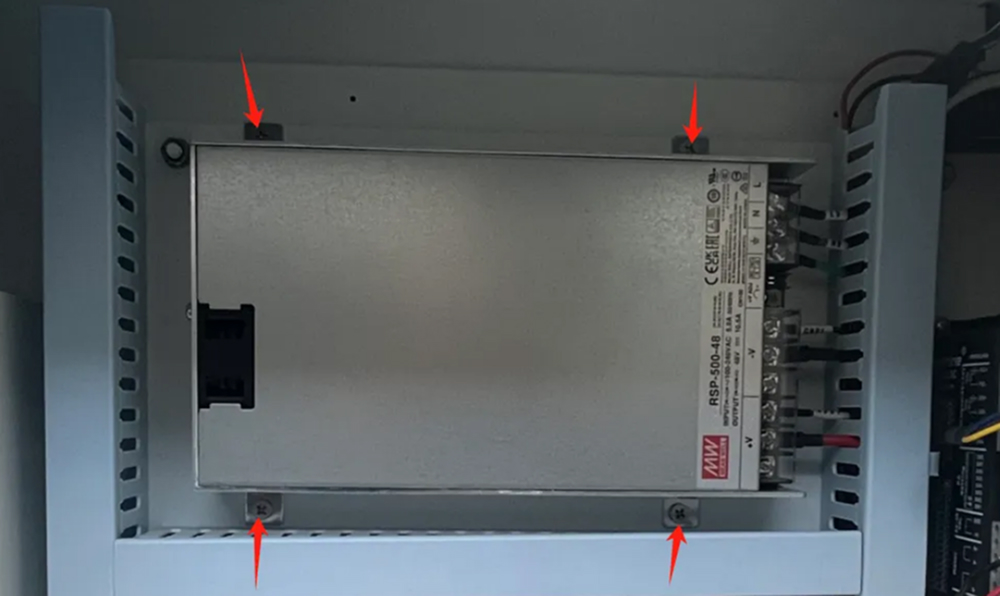
④ Use a Phillips screwdriver to remove the four fixing screws of the laser power supply. Keep these four screws for reinstallation.
⑤ Install the new laser power supply: Fix the new laser power supply to the machine casing and reconnect the electrical wires.
¶ 3. RF Tube Laser Power Supply
Note: Only dual-source devices require the replacement of the RF tube power supply (single-source devices can ignore this step).
① Use a Phillips screwdriver to remove the wires connected to the laser power supply.
② Remove the four screws shown in the figure to take out the laser power supply.
③ Replace the installation bracket from the old laser power supply onto the new one.
④ Install the new laser power supply: Fix the new power supply to the machine and reconnect the wires.