¶ Laser Replacement
Notes:
Before operation, the power must be disconnected, otherwise there is a risk of electric shock.
Please keep the screws that are removed properly to avoid losing them.
¶ Tools Required:
Hex wrench, flathead screwdriver, Phillips screwdriver, door cover key
¶ 1. Glass Tube Replacement
¶ Disassembly of Glass Tube
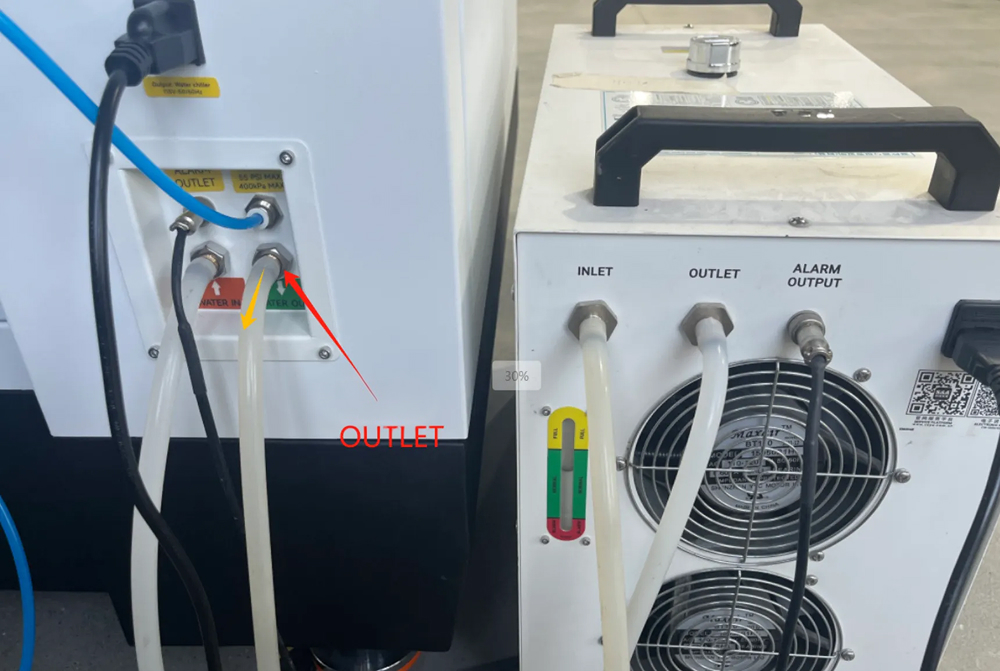
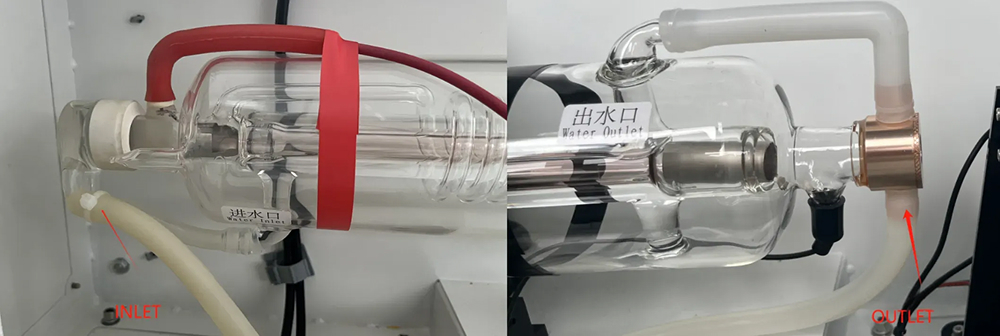
① Remove the water pipe from the outlet, wait for the water in the glass pipe to flow back into the chiller, and then reconnect the water pipe from the outlet.
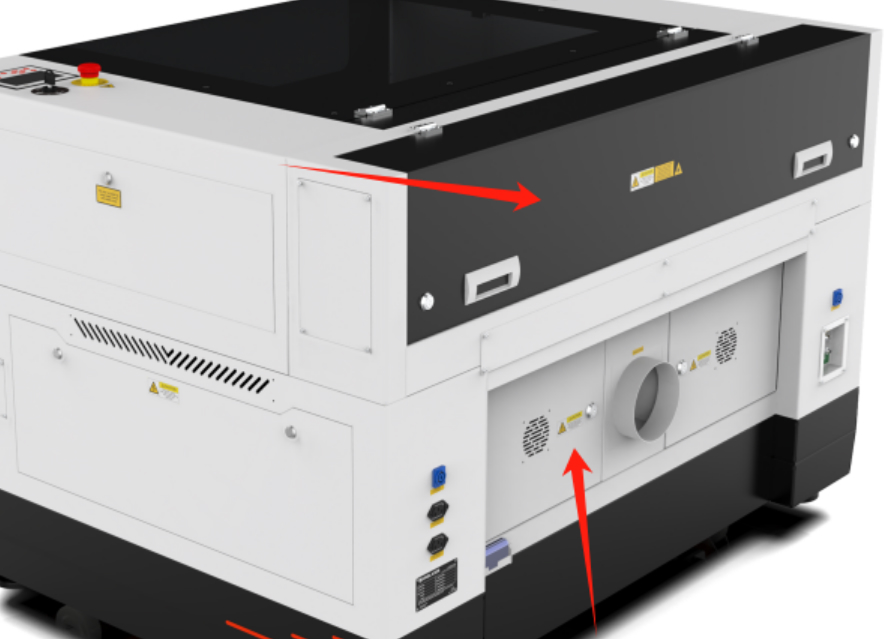
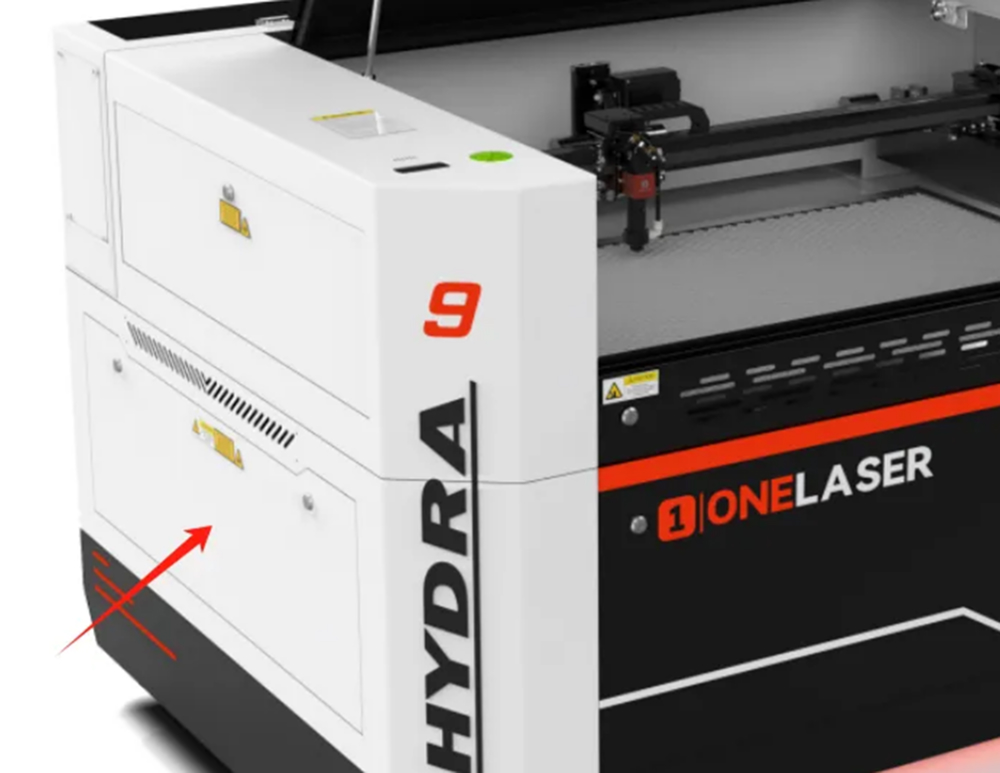
② Open the upper rear door and the lower left rear door of the equipment.
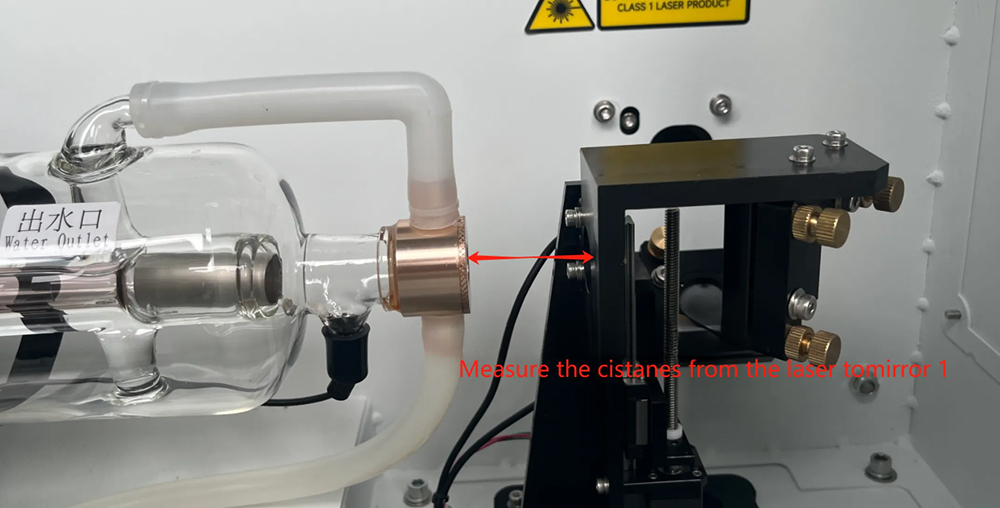
③ Use a steel ruler to measure the distance from the glass tube to Mirror 1 and record it.
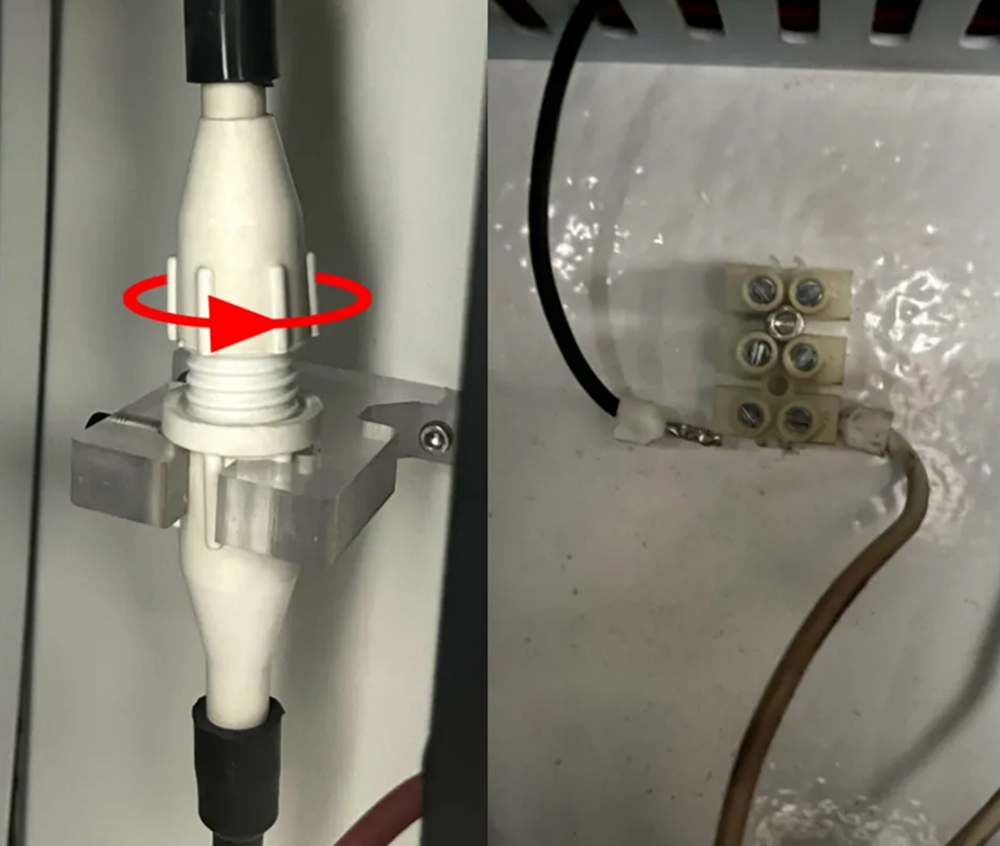
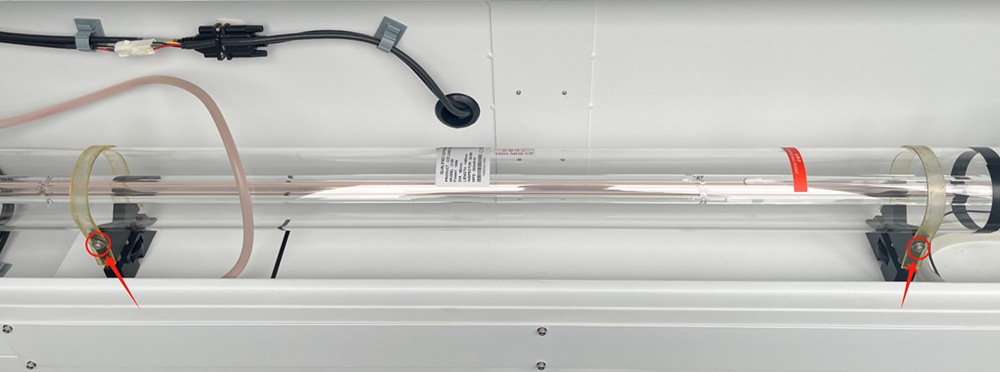
④ Disconnect the positive and negative electrode wires:
• Rotate the positive electrode terminal counterclockwise.
• Use a flathead screwdriver to loosen the screw securing the negative electrode wire.
⑤ Cut the zip ties with a utility knife and remove the inlet and outlet water pipes from the glass tube.
⑥ Use a hex wrench to remove the screws securing the glass tube and then take out the glass tube.
¶ Installation of Glass Tube
① Place the laser on the laser holder and adjust the distance from the laser to Mirror 1 (based on the distance recorded during disassembly).
② Tighten the tape while securing the laser with screws.
③ Connect the inlet and outlet water pipes to the laser and secure them with zip ties.
④ Reconnect the positive and negative output wires.
¶ 2. RF Tube Replacement
¶ Disassembly of RF Tube
① Open the lower left side door of the equipment.
② Disconnect the power cable, fan power cable, and signal cable.

③ Rotate counterclockwise to unscrew the beam expander, and then use a hex wrench to remove the beam expander mount.
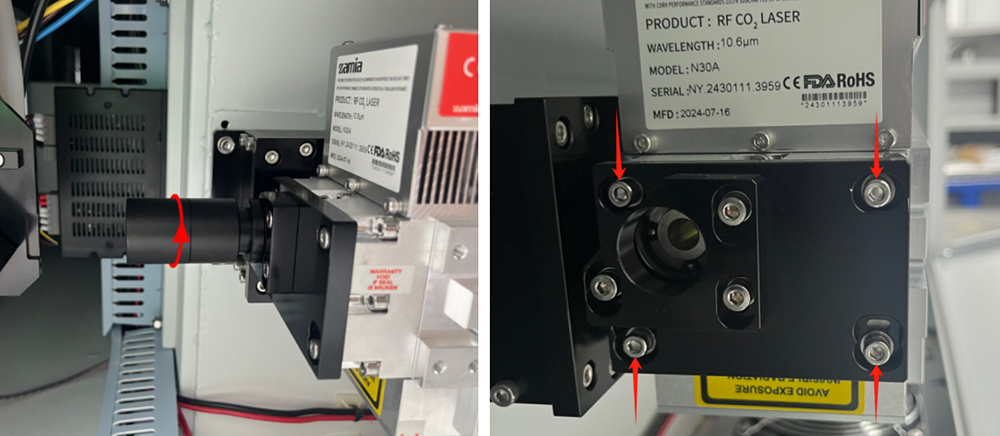
④ Remove the four fixing screws of the RF tube and take out the RF tube.
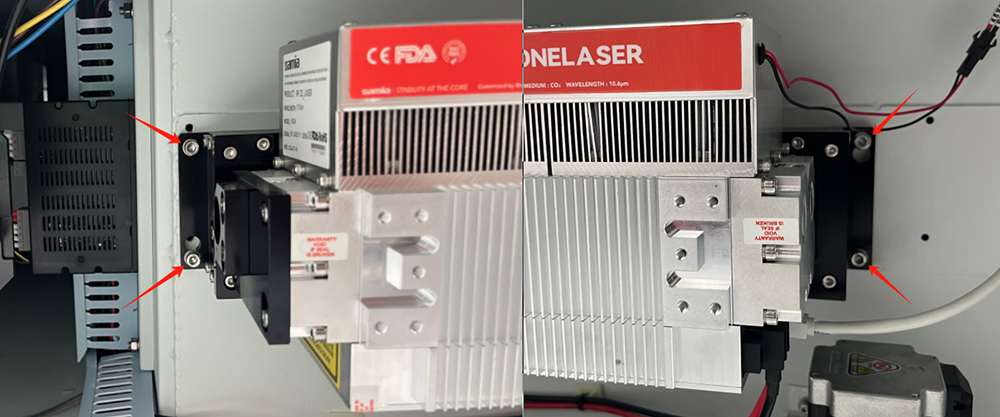
⑤ Use a hex wrench to separate the RF tube from the RF tube holder.

¶ Installation of RF Tube
① Install the beam expander mirror holder onto the new RF tube, and then install the beam expander mirror onto the mirror holder.
② Attach the RF tube holder to the new RF tube.
③ Secure the RF tube inside the machine.
④ Reconnect the RF tube power cable, fan power cable, and communication network cable.