¶ How to Switch Between Different Focusing Lenses
Switching focusing lenses allows you to optimize engraving depth, detail, and cutting performance based on your project needs. This guide explains which lenses are compatible with the XRF and XT series and walks you through the safe steps to remove and replace the focusing lens.
¶ Note
The XRF & XT series can only switch between 2.0-inch and 2.5-inch focusing lenses.
- The XT series comes standard with a 2.0-inch focusing lens.
- The XRF series comes standard with a 2.5-inch focusing lens.
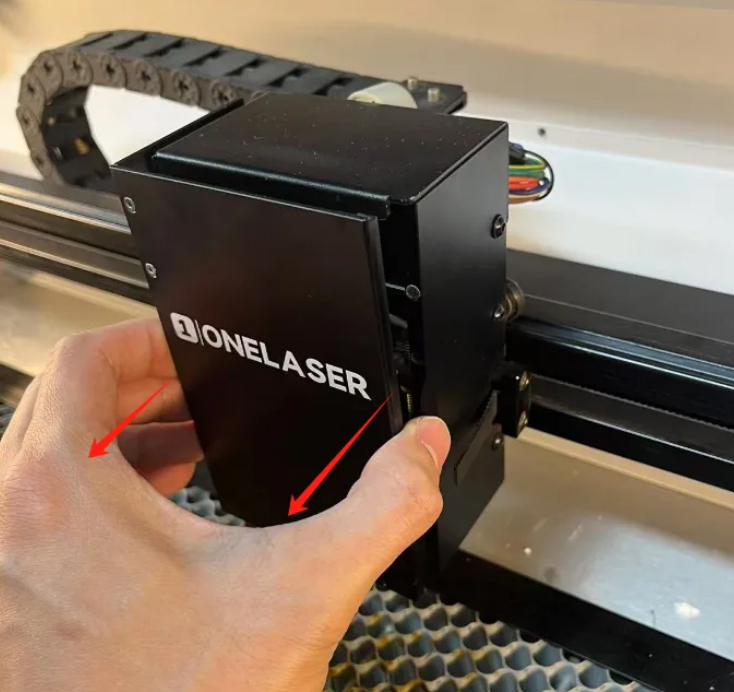
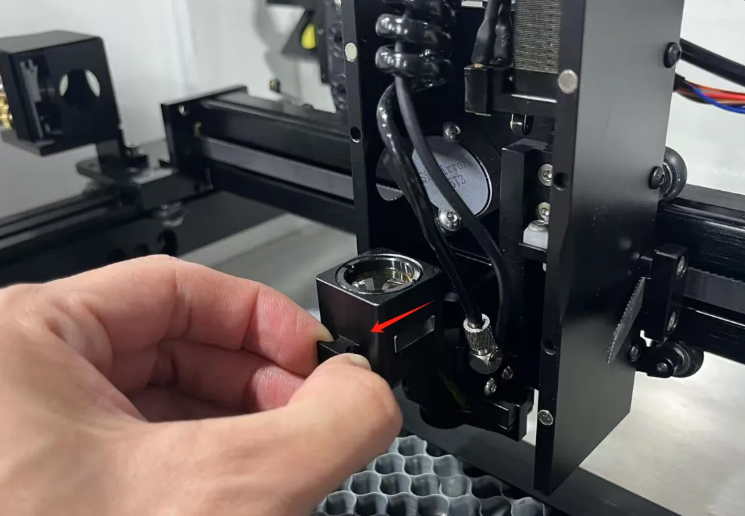
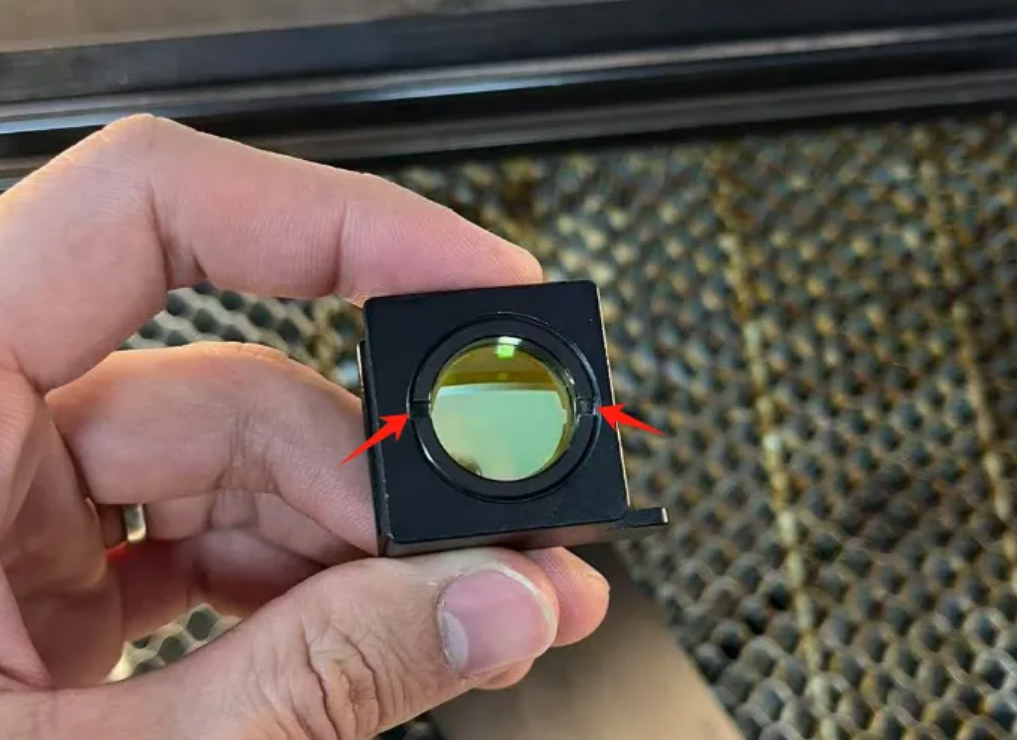
¶ Removing the Focusing Lens
Step 1: Remove the front cover of the laser head.
Step 2: Remove the focusing lens seat.
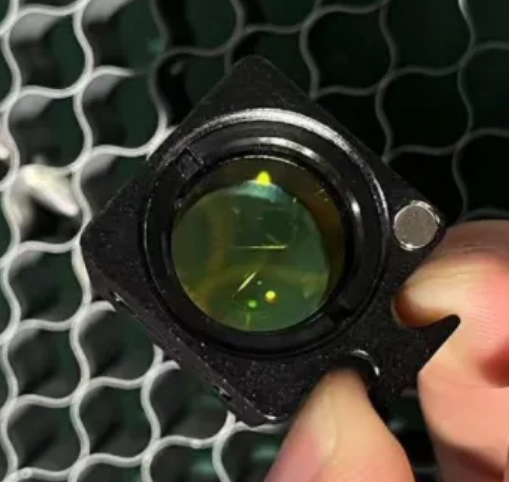
Step 3: You can use a tool to secure the notches on the ring, then rotate counterclockwise to unscrew the retaining ring, thereby removing the focusing lens.
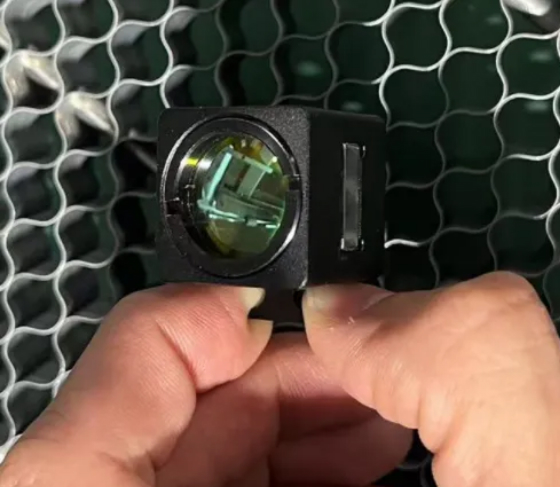
¶ Installing the Focusing Lens in the Correct Position
The focusing lens mount has designated installation positions for both 2.0-inch and 2.5-inch focusing lenses. Install the focusing lens in the correct position according to your needs:
The 2.5-inch focusing lens is installed on the top.
The 2.0-inch focusing lens is installed at the bottom.
Note: Only one focusing lens can be installed on the focusing lens mount at a time.
The focusing lens should be installed with the convex side facing up.
2.5 inches installed on top
2.0 inches installed on bottom