¶ Laser head without red dot indication – X series
Laser Head Without Red Dot Indication is a troubleshooting guide designed to help users diagnose and resolve issues where the red dot indicator does not appear during machine operation. This page explains common causes, inspection steps, and electrical checks to determine whether the issue lies with the red light module, optical components, or control board.
¶ Issue phenomenon:
During the operation of the device, no red dot indication is found.
¶ Operation Guide:
¶ 1. Check whether the red light is operating normally
Use an M2 hexagonal wrench to remove the hexagonal nut on the back cover of the laser device and remove the back cover.
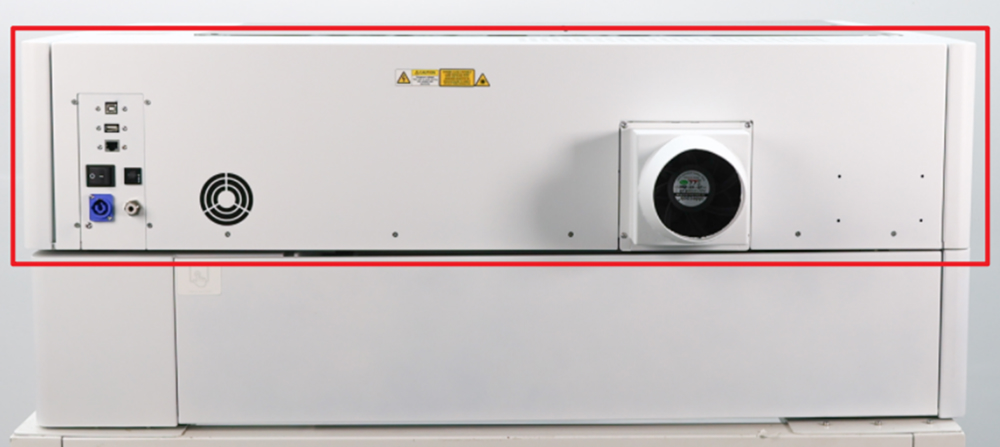
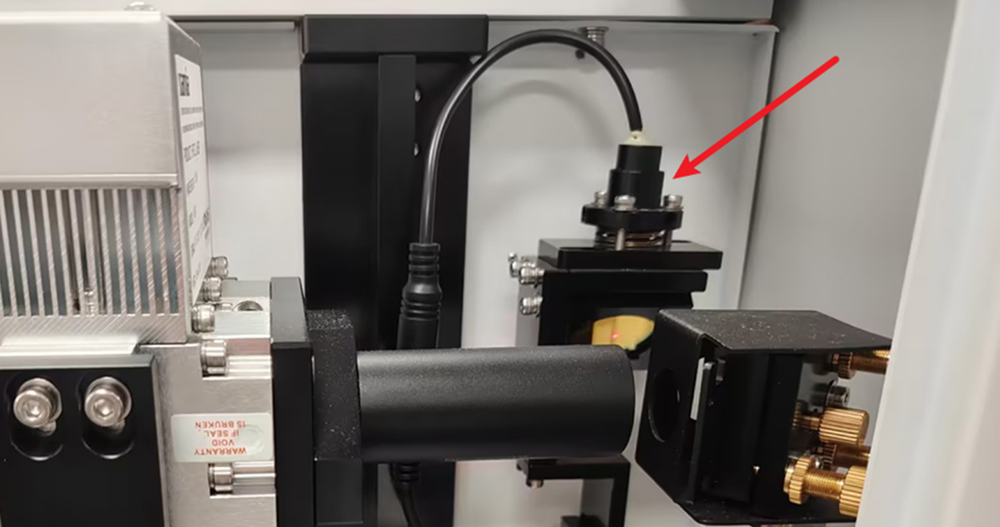
Find the red light indicator mounting socket and check whether the red light indicator is working properly (is there a red light?)
- Red light is normal: The reflector may be oxidized or dirty, preventing red light reflection. Clean and maintain the optical lens.
- Abnormal red light: Please follow the steps below to troubleshoot.
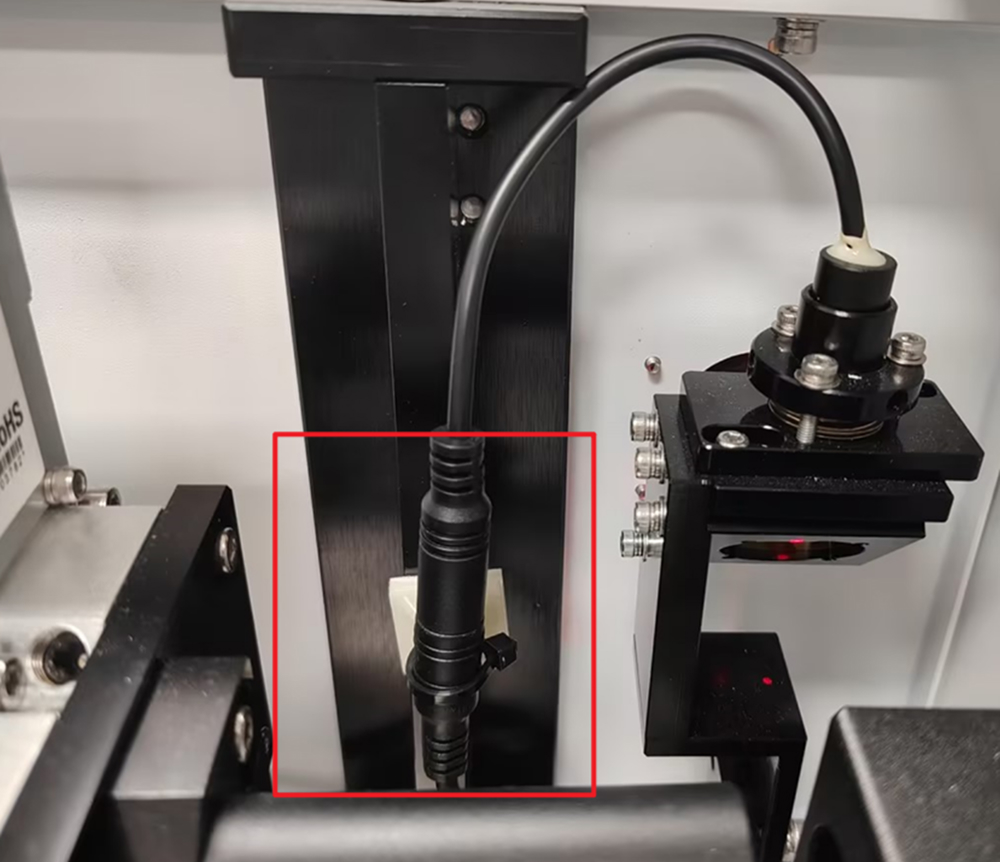
¶ 2. Red dot indicator interface contact is bad
Find the red light indicator adapter interface and check whether it has poor contact.
Note: The red light indicator adapter interface is located on the back cover of the laser.
Use an M2 hexagonal wrench to remove the hexagonal nut on the right door of the device and remove the right door of the device.
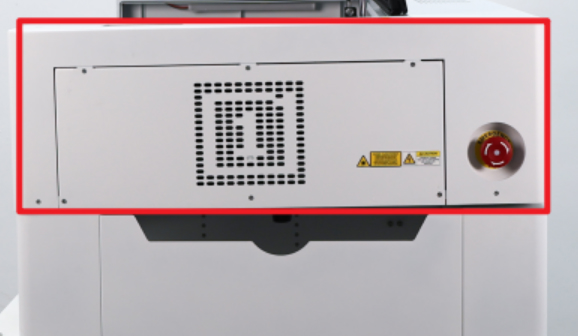
Find the energy-saving control panel shown below. Remove the wires as indicated, then use a multimeter set to DC 5V to measure the output voltage.
- Normal voltage: If the voltage is 5V, the red light indicator is faulty. Please contact OneLaser support for replacement.
- Abnormal voltage: If the voltage is not 5V, the TL energy-saving control motherboard is faulty. Please contact OneLaser support for replacement.
