This guide explains how to replace the air pump in your laser machine, including removal of the old air pump, chassis modification (if required), and installation of the new air pump module. Because the new air pump differs structurally from the old version, bracket replacement and chassis re-drilling may be necessary.
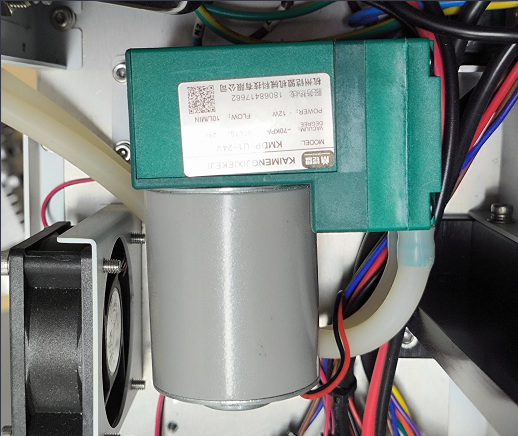
Old Air Pump
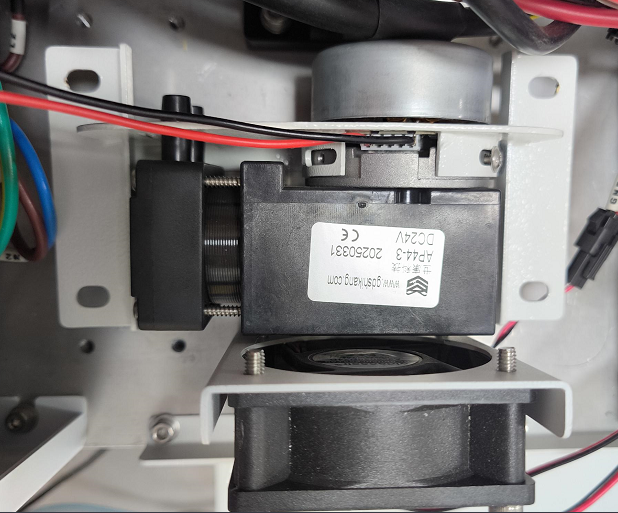
New Air Pump
Note:
There is a difference between the installation of the old air pump and the new air pump, you need to replace the bottom bracket of the air pump at the same time and re-punching and tapping, please operate according to your personal situation.
Mark on the bottom of the casing, use electric drill, set 5mm drill bit, start punching holes, after punching the holes and then change to M5mm taps, tapping, after finishing, use 10mm drill bit for the second punching, the depth is about 3-5mm.
Note:
The bottom needs to open countersunk holes, so you need to use a 5mm drill bit to make holes first, then use a 10mm drill bit to continue to make holes, the depth of the first hole in accordance with the normal way to open holes, the second time to use a 10mm drill bit need to pay attention to the depth of the depth of roughly 3-5mm, to ensure that the screws can be locked, and does not protrude.
Insert the M5*10 screws into the holes in the bottom of the chassis and use an M5 Allen wrench to lock the screws.
Connecting power cords and air tubes.
Note:
The air hose should distinguish between the air inlet and outlet, and the air outlet of the air pump is the one connected to the quick plug of the machine.