¶ Replace The Air Tube Dust Protection Kit
¶ Preparation Before Installation
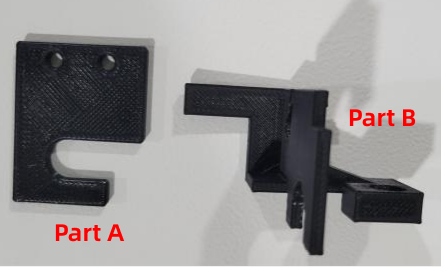
- Dust Protection Kit
- Linear Rail Limit Plate

- Pan Head Screw M3 × 6
- 2 mm Hex Wrench and 2.5 mm Hex Wrench
¶ Installation Procedure
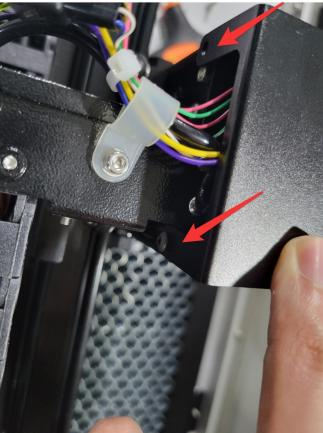
Use the 2 mm hex wrench to loosen the fixed screws on the back of the laser head, allowing the top cover to be opened smoothly.
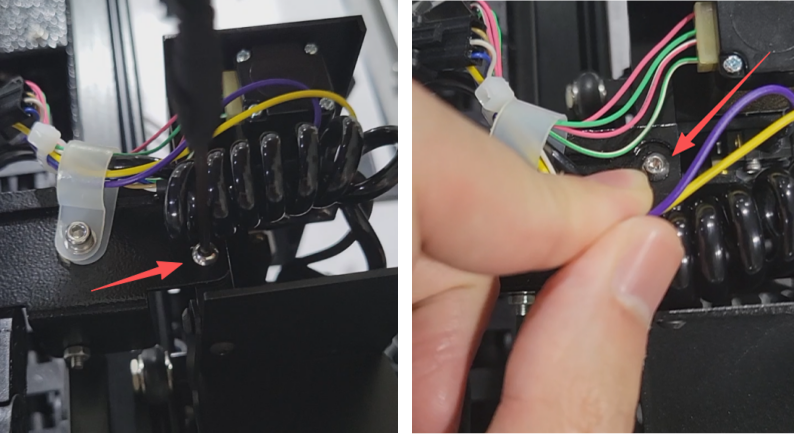
Use the 2 mm hex wrench to loosen the two fixed screws on the cable trough sheet metal.
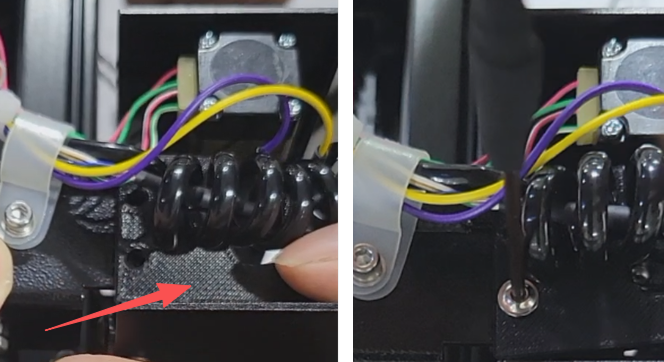
Remove the originally damaged part. Properly slot the Part A of the dust protection kit around the air tube cable, then secure it onto the cable trough sheet metal and tighten the screws.
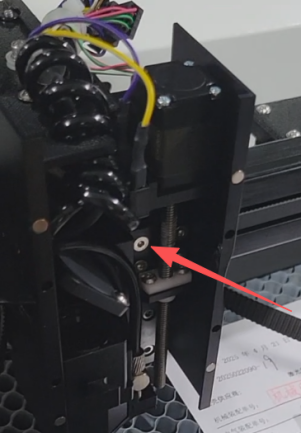
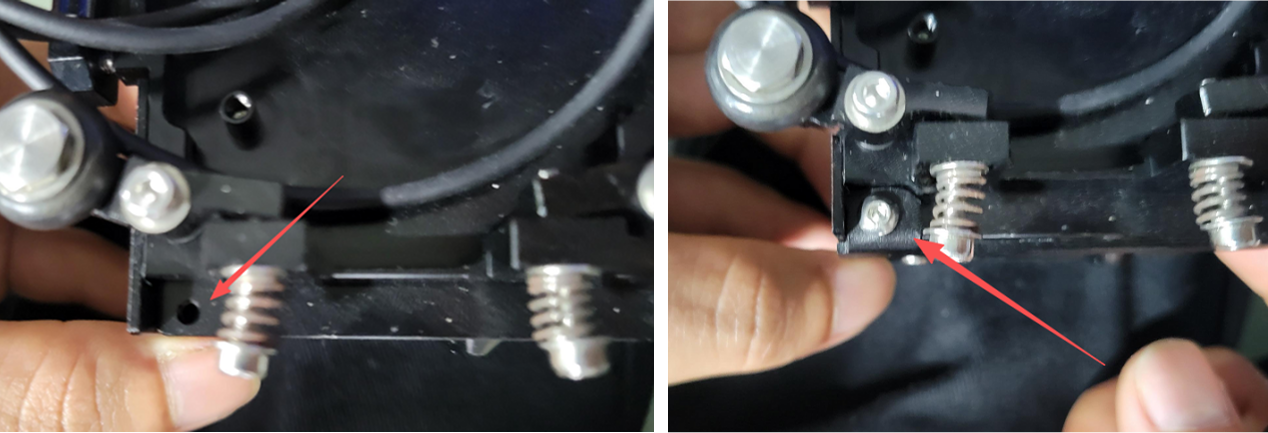
Refer to the illustrated position and use the 2.5 mm hex wrench to loosen the screws located inside the laser head.
Use the 2 mm hex wrench to remove the three screws on the right cover plate of the laser head, and carefully remove the right cover plate.

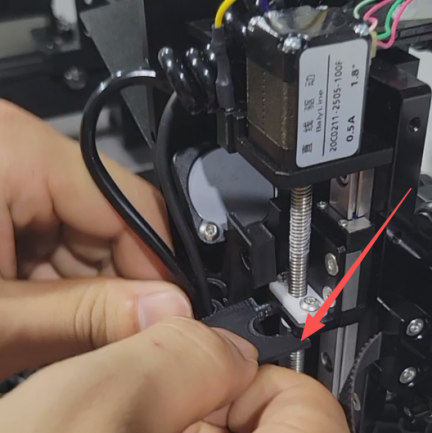
Remove the originally damaged part. Take out the Part B of the dust protection kit. Feed the cable through the left hole, then push the dust protection kit component completely into position, ensuring the dust cover is securely installed onto the lead screw.
Tighten the screws inside the laser head and reinstall the right cover plate.
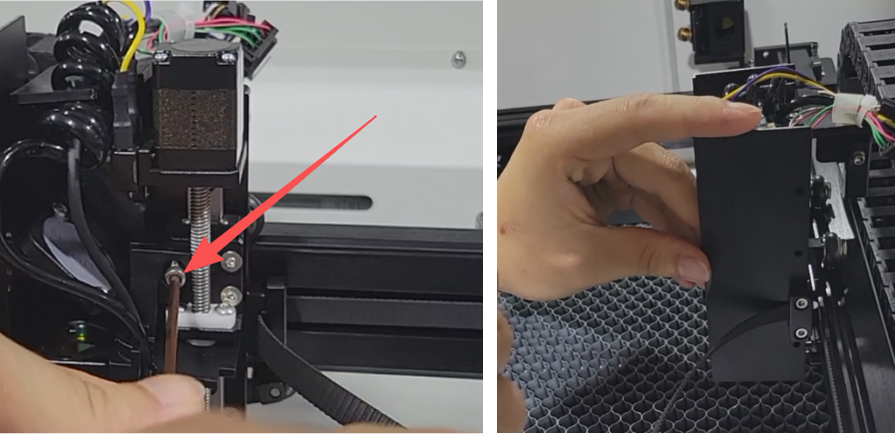
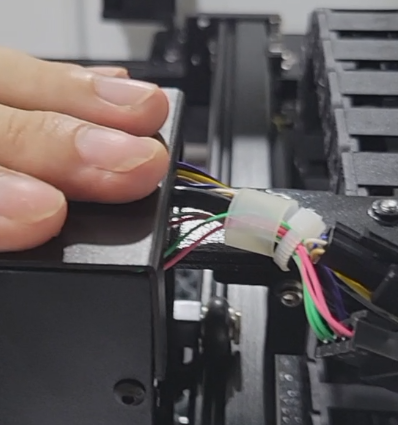
Restore the top cover plate to its original position and tighten its fixed screws.
Locate the installation position for the Linear Rail Limit Plate on the back of the laser head. Use the 2 mm hex wrench to secure the Pan Head M3 × 6 screw.
Installation is complete. Check that all components are securely fastened and correctly positioned.
Important Reminder:
If these steps do not resolve the issue, please click this link to submit a support ticket: https://zohodesk.1laser.com/portal/en/newticket. A technician will then be able to conduct a more in-depth diagnosis and resolve your problem.