¶ Step 1: Prepare the Test Surface
Apply a small piece of double-sided tape over the entrance of the third mirror (where the laser beam enters the mirror assembly). Press the tape firmly along the edge so that a clear impression is formed, making it easier to determine whether the laser hits the center during testing.

¶ Step 2: Test at the Lowest Position
Move the laser head to its lowest working position. Press the “Pulse” button to create a burn mark on the tape.
Then slightly raise the laser head and check whether the mark is located at the center of the mirror inlet.

If it is centered, no adjustment is needed.
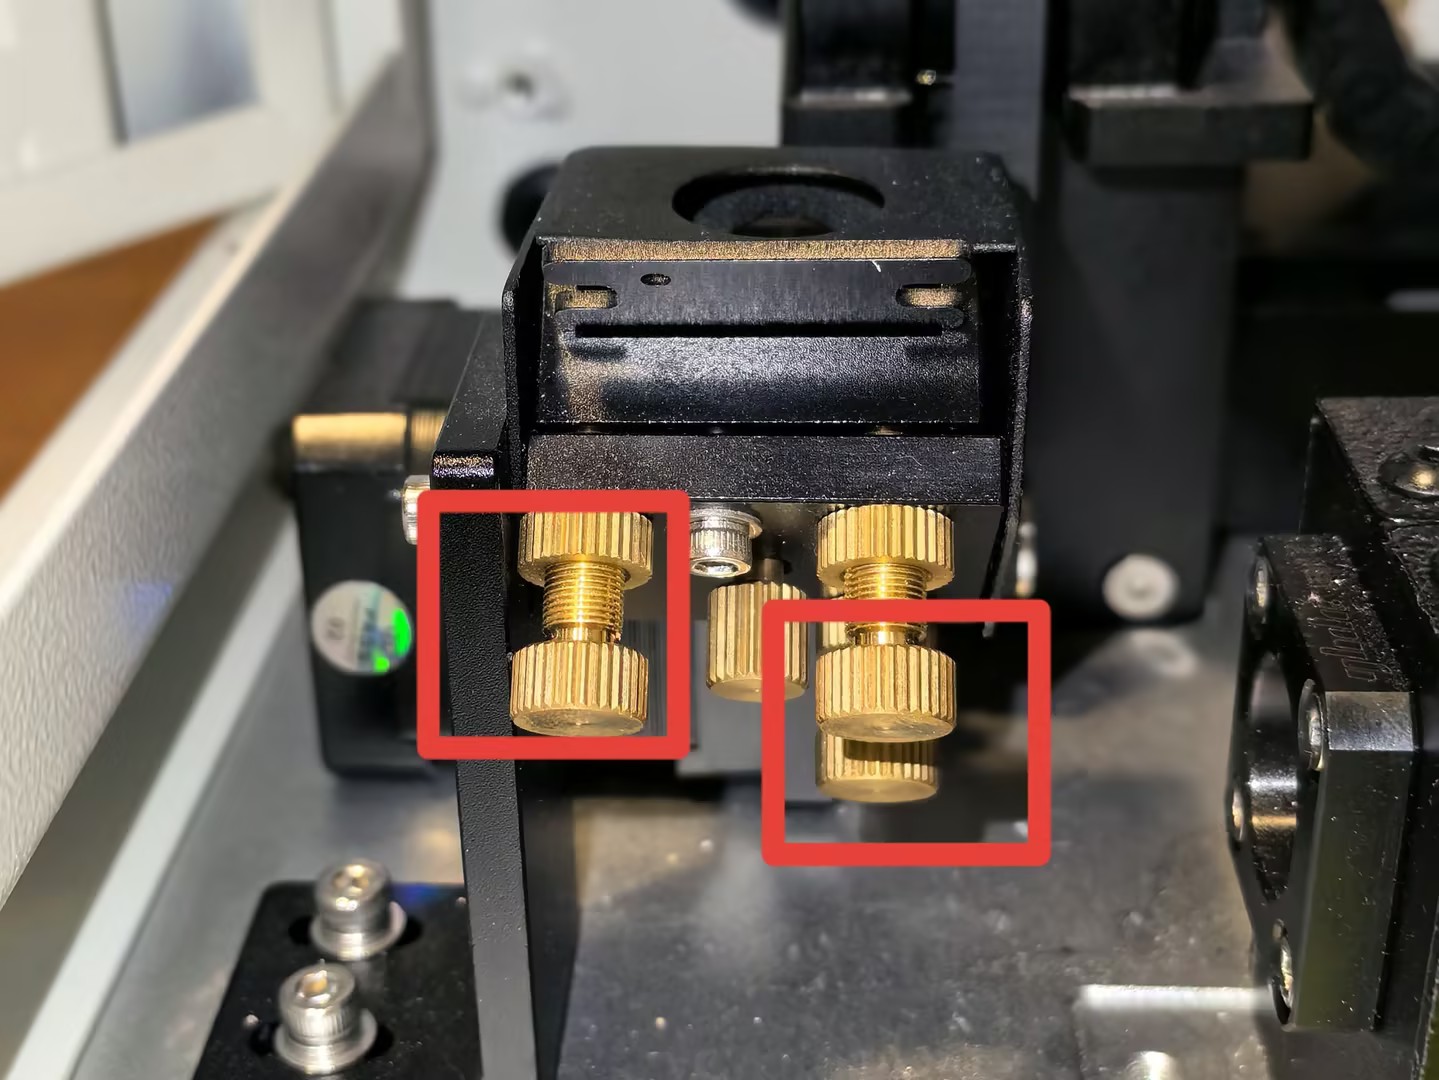
If not, fine-tune the adjustment screws on the first mirror until the mark is centered.
¶ Step 3: Test at the Highest Position
Without removing or moving the tape, raise the laser head to its highest working position. Press the “Pulse” button again to create a second mark.

¶ How to Evaluate the Results
Remove the tape and compare the two marks:
Center Alignment: The second mark should appear near the center of the third mirror inlet, just like the first mark.
Overlap Consistency: The two marks should overlap or be very close to each other.

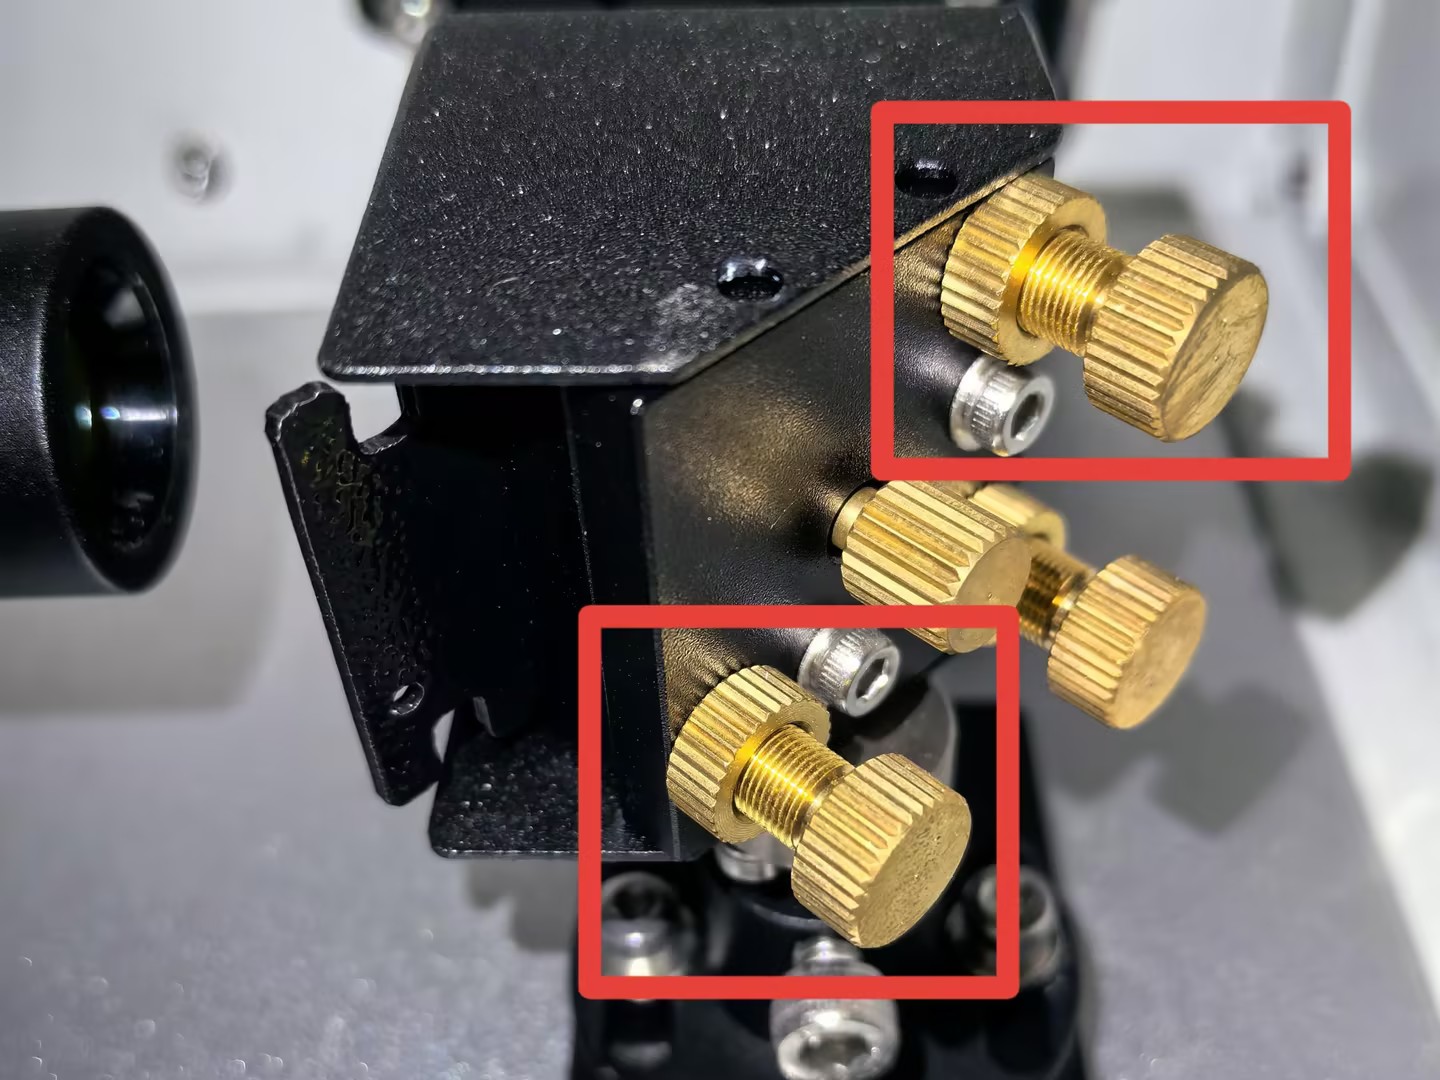
If the second mark is clearly offset, it indicates that the beam alignment shifts with height changes. In this case, fine-tune the adjustment screws on the second mirror until the marks are centered, preventing accuracy loss or power reduction during operation.