¶ Vertigo System Maintenance Guide
Proper maintenance is essential to ensure stable performance, extend the lifespan of your machine, and maintain high engraving quality. This section outlines the recommended cleaning procedures and inspection routines.
¶ 1. Cleaning the Laser Machine
¶ Safety Notice
Improper operation, adjustments, or procedures not specified in this manual may result in hazardous laser radiation exposure.
Before performing any cleaning or maintenance:
Switch off the machine
Unplug the power supply
A clean machine is critical for safe operation. Dust and flammable debris in the working or exhaust areas can significantly increase the risk of fire.
¶ Cleaning Frequency
The machine should be inspected at least once per day for dust accumulation. Cleaning frequency depends on:
Material type
Operating time
Regular cleaning ensures optimal performance and reduces long-term maintenance costs.
¶ General Cleaning Procedure
Ensure the machine is powered off and unplugged. Open the protective cover.
Move the worktable to a convenient position for cleaning.
Use a suitable cleaning agent (e.g., window cleaner) and paper towels to clean accessible surfaces.
Remove all loose debris, dust, and residues from the interior of the machine.
Clean the protective cover of the laser tube.
Clean the viewing window using a soft cotton cloth. Avoid paper towels, as they may scratch the surface.
Clean the laser nozzle regularly to prevent oil and debris buildup that may obstruct the laser beam.
Recommended interval: every 3 days
¶ 2. Cleaning Optical Components
The optical components (lenses, mirrors, and beam combiner) are coated with durable multi-layer coatings. However, improper cleaning can still cause damage.
¶ General Guidelines
Always power off the machine before cleaning
Inspect optical components regularly according to the maintenance schedule
Clean immediately if haze, dust, or contamination is observed
For best performance, clean optical components daily before operation
¶ Cleaning Rules
Use only clean cotton swabs or lint-free cloths
Clean gently to avoid scratching optical surfaces
Do not touch optical surfaces with bare hands
Never reuse a swab or cloth (trapped dust can scratch surfaces)
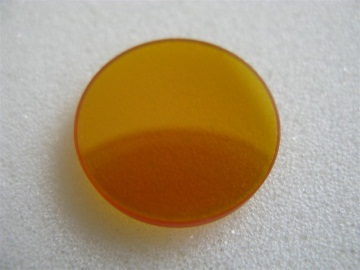
¶ 2.1 Cleaning the Focus Lens
Remove the lens from its mount
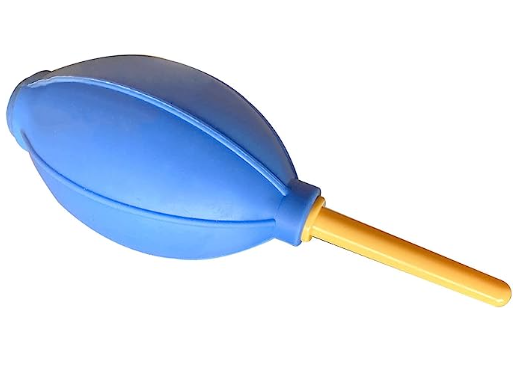
Use clean air to blow off loose dust particles
Gently clean the lens using an appropriate optical cleaner and a fresh swab
Dry the surface with a clean, dry swab
Repeat the process on the opposite side using new swabs
Inspect the lens
If contamination remains, repeat the process
Reinstall the lens once it is completely clean
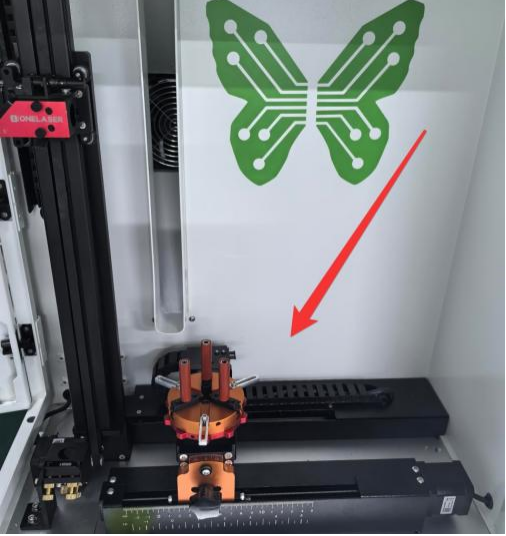
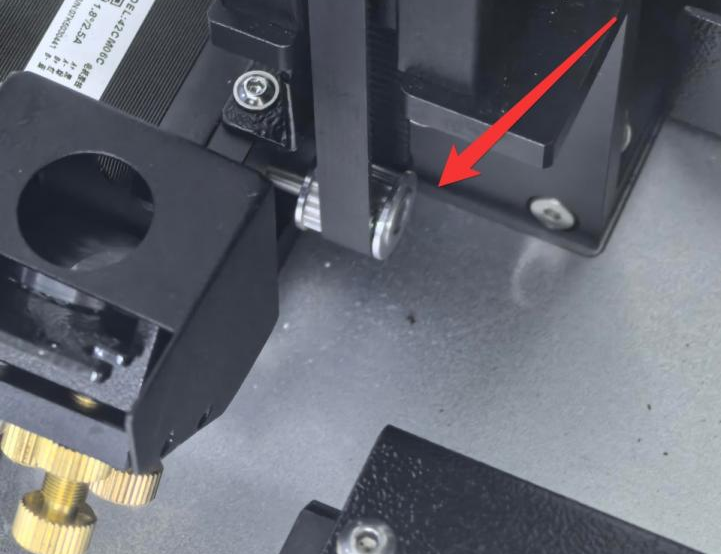
¶ 2.2 Cleaning the Reflectors (Mirrors)
Blow off loose dust from the mirror surface using clean air
Clean the surface using optical cleaner and a fresh swab
Dry with a new swab
Repeat for the opposite side (if applicable)
Inspect the mirror and repeat cleaning if necessary
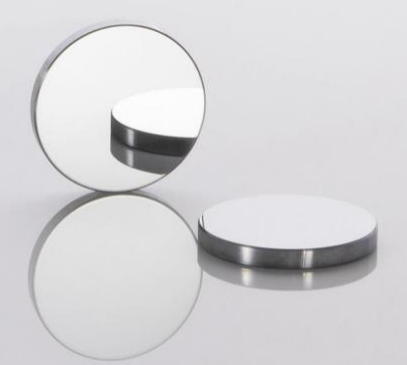
¶ 2.3 Cleaning the Beam Combiner
The beam combiner is located in front of the first mirror.
Blow off loose dust using clean air
Clean the surface with optical cleaner and a fresh swab
Dry using a clean swab
Repeat on the opposite side
Inspect and repeat cleaning if required
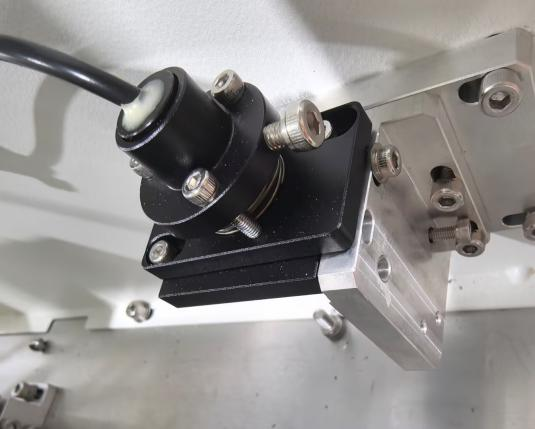
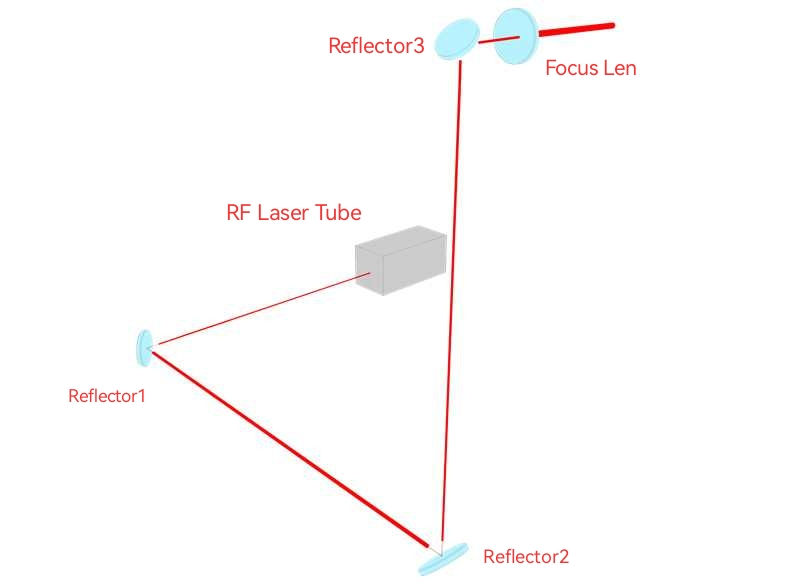
¶ 3. Beam Path Inspection
Over time, the laser beam path may shift due to mechanical or thermal factors. Misalignment can lead to:
Reduced efficiency
Decreased engraving quality
Complete loss of laser output
If any of these issues occur, the beam path must be realigned.
¶ 4. Cleaning the Machine Interior
Debris may accumulate in mechanical components during operation. Regular cleaning prevents wear and ensures smooth motion.
¶ Key Areas to Clean
Work Area: Remove leftover material and debris
Gears: Clean dust buildup to maintain smooth transmission
Belts: Remove debris and inspect for wear
Replace if severely worn
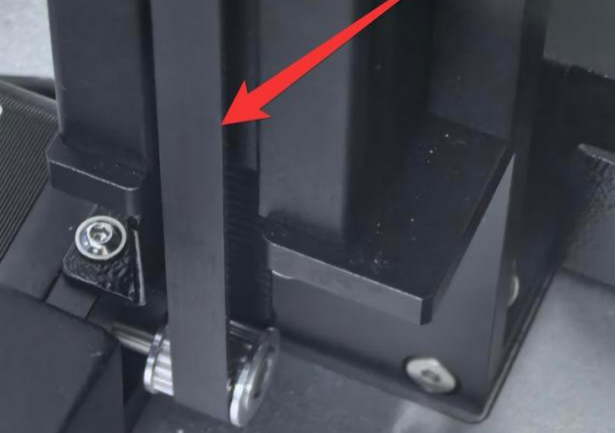
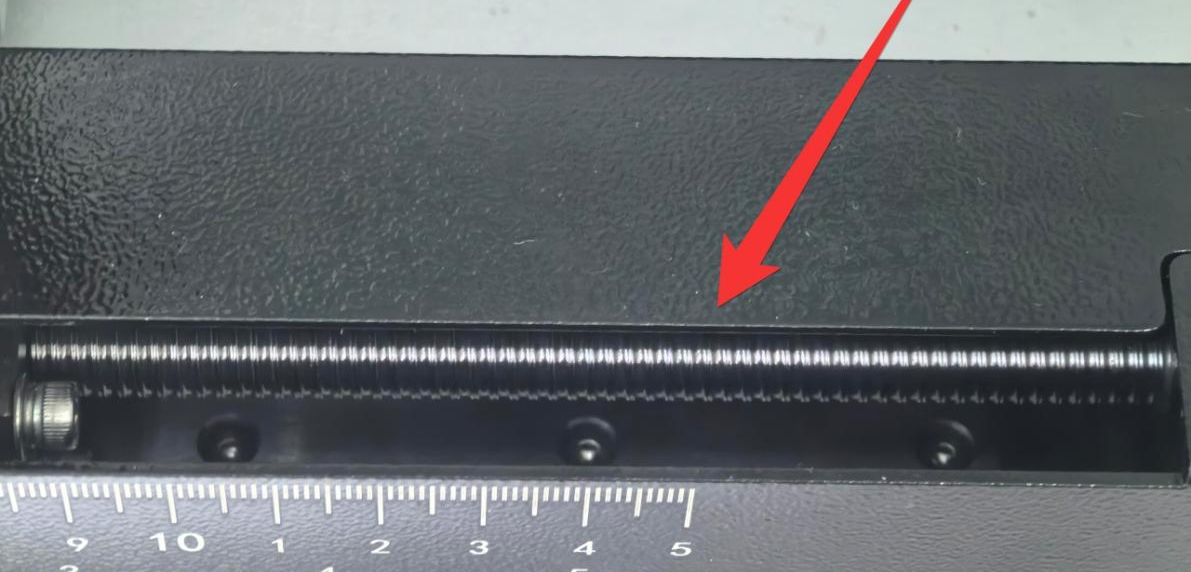
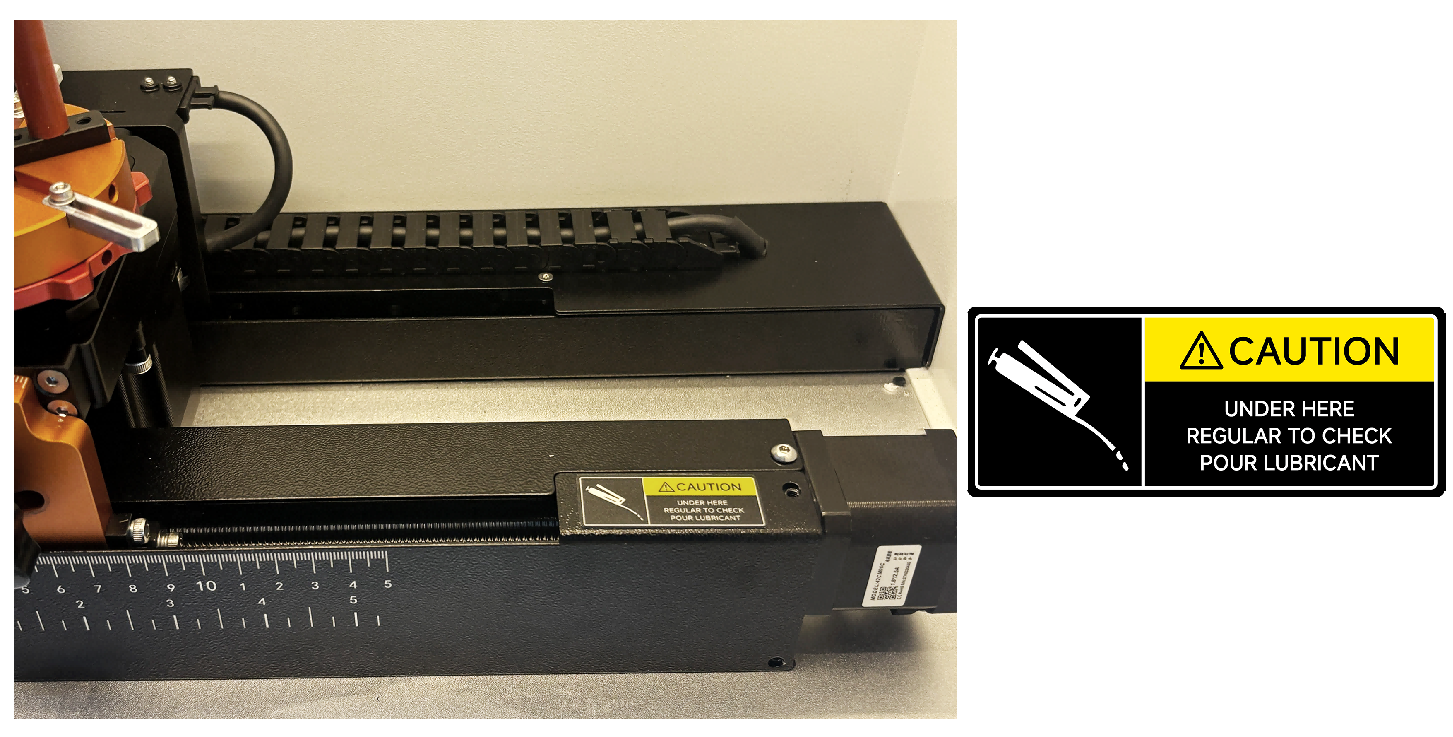
Rails and Lead Screws:
Remove dust and apply lubricant periodically to prevent wear
Exhaust Port: Ensure airflow is unobstructed

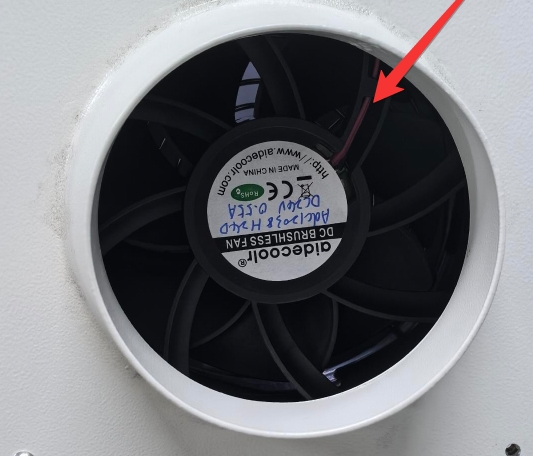
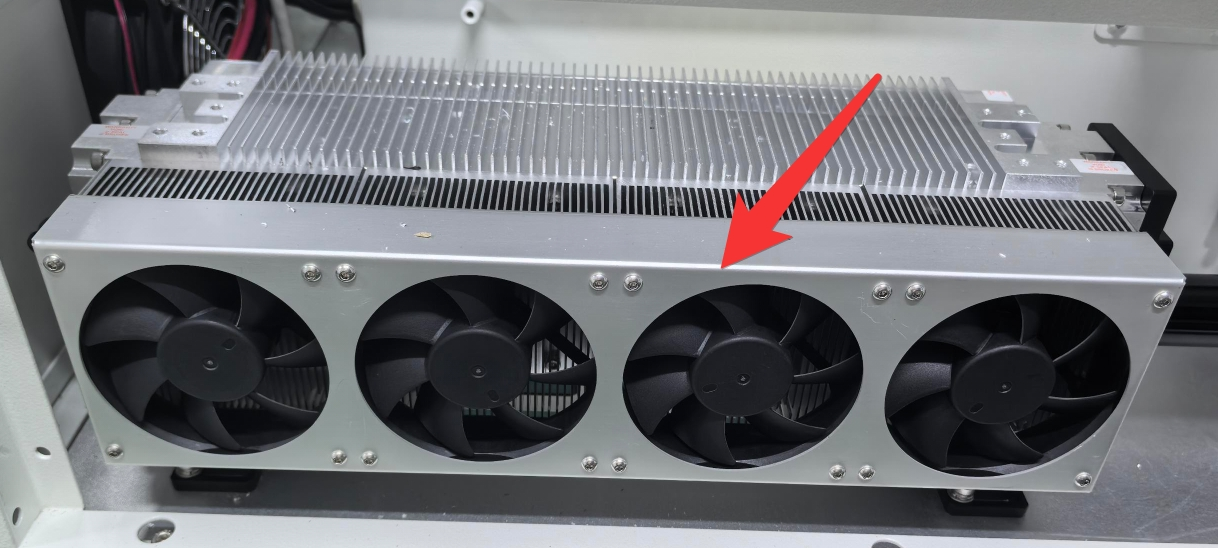
Cooling Fan (RF Tube): Keep clean to maintain proper cooling
Use a soft brush or vacuum cleaner to remove debris from these components.
¶ 5. Maintenance Schedule
Follow the maintenance schedule strictly to ensure reliable operation. Improper maintenance or neglect may lead to machine damage and could void the warranty.
¶ Recommended Maintenance Intervals
| DAILY | WEEKLY | 3 MONTHS | 6 MONTHS | 12 MONTHS |
| Lens | Mirror 2 and 3 | Mirror 1 | Belts | Overall Machine |
| Auto Sensor | Work Table | Exhaust Fan | Bearing and Rails | |
|
Vent Slots (back side of the machine) |
Interior Work Space |
Additional Areas to Monitor:
Ventilation slots (rear of the machine)
Interior workspace cleanliness
¶ 6. Final Note
Consistent and proper maintenance is key to achieving long-term reliability and high-quality engraving results. By keeping the machine clean and following the recommended inspection schedule, you can minimize downtime, reduce repair costs, and ensure optimal performance.