¶ 5.1 Clean the Laser Machine

Caution – use of controls or adjustments or performance of procedures other than those specified here in may result in hazardous laser radiation exposure.
Before starting cleaning and maintenance work always switch off the device and unplug the mains plug. Always keep the system clean, as flammable parts in the working area or exhaust area rise the fire hazard.

You should check at least once a day, whether dust has accumulated in the engraving system. In case of soiling the machine must be cleaned. The cleaning interval strongly depends on the material that is being processed and the operating time of the device. Please bear in mind that only a clean machine guarantees optimal performance and reduces the service costs.
General Cleaning Notes:
1. Make sure that the device is switched off and unplugged. Open the protective cover.
2. Move the working table into a position in which it is easiest for you to clean the surface with a window cleaning agent and paper towels.
3. Thoroughly remove all loose dirt particles and deposits in the interior of the machine.
4. Clean the cover of the laser tube.
5. You can clean the viewing window with a cotton cloth. Do not use paper towels as they could scratch the window.
6. The laser nozzle should be cleaned regularly to prevent oil and grease buildup from obstructing the laser beam. It is recommended to clean the laser aperture every three days.
¶ 5.2 Clean the Optical Parts
These mirrors have durable multi-coating and won’ t be damaged by correct and careful cleaning. You should inspect the focus lens and the reflectors and the beam combiner according the maintenance plan. If you discover a veil of haze or dirt, you must clean them.
It is suggested to clean the reflectors/lens before work every day in order to run the machine at max efficiency.
Please turn off the power of laser machine before cleaning the optical parts.
1.The lens and the reflectors must be cleaned carefully with a clean cotton swab or a dust-free cloth to avoid scratching the surface of the lens.
2.Do not touch the lens with your hands after wiping.
3.Never use a cleaning swab or a dust-free cloth twice.
¶ 5.2.1 Clean the Focus Lens
1. Take the lens out.
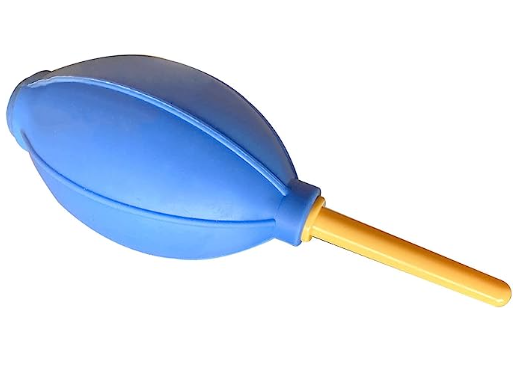
2. Remove the coarse dust as good as possible by blowing air onto the lens surface.
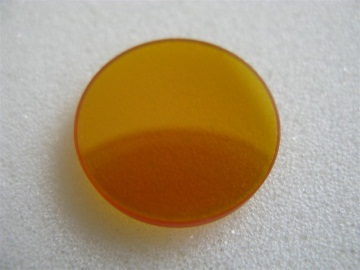
3. Clean the lens with the cleaner and swabs.
4. Dry this side of the lens with dry cleaning swabs and repeat the cleaning process on the other side of the lens. Never use a cleaning swabs twice. Dust accumulated in the cleaning swabs could scratch the lens surface.
5. Examine the lens. If it is still soiled, repeat the cleaning process until the lens is clean. Finally, install the lens back.
¶ 5.2.2 Clean the Reflectors
1. Remove the coarse dust as good as possible by blowing air onto the mirror surface.
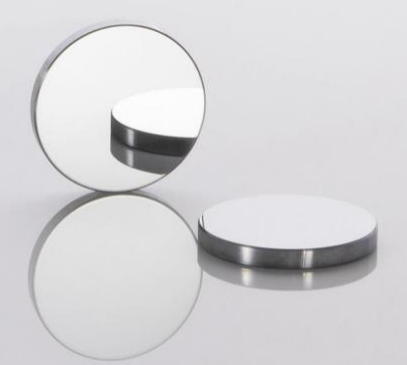
2. Clean the lens with the cleaner and swabs.
3. Dry this side of the mirror with dry cleaning swabs and repeat the cleaning process on the other side of the mirror. Never use a cleaning swabs twice. Dust accumulated in the cleaning swabs could scratch the mirror surface.
4. Examine the mirror. If it is still soiled, repeat the cleaning process until the lens is clean.
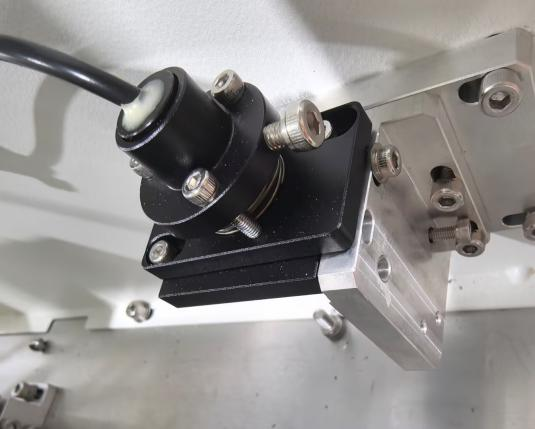
¶ 5.2.3 Clean Laser Combiner
1. The laser combiner is installed in front of the first mirror.
2. Remove the coarse dust as good as possible by blowing air onto the combiner surface.
3. Clean the lens with the cleaner and swabs.
4. Dry this side of the laser combiner with dry cleaning swabs and repeat the cleaning process on the other side of the lens. Never use a cleaning swab twice. Dust accumulated in the cleaning swabs could scratch the combiner surface.
5. Examine the laser combiner. If it is still soiled, repeat the cleaning process until it is clean.
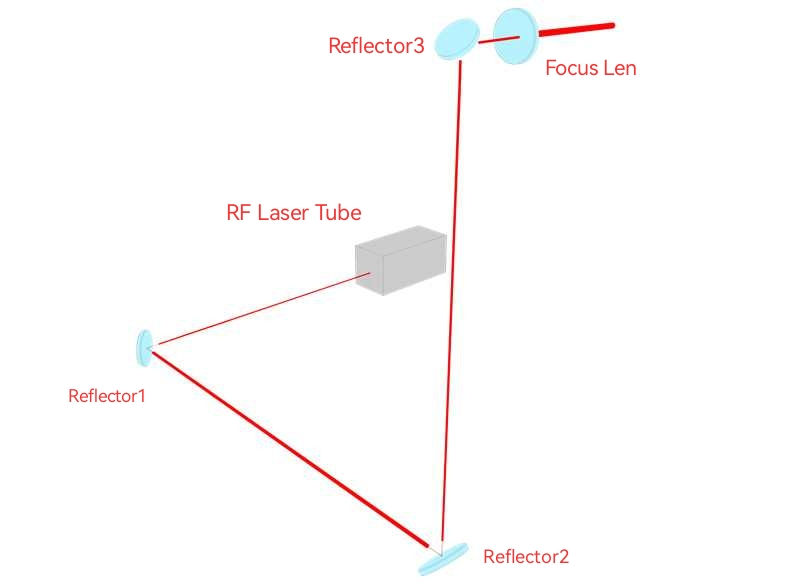
¶ 5.3 Check the Beam Path
After being used for a long time, the beam path might be deflective. This will reduce the efficient of the laser beam or even cause no laser beam. At this moment, you will need to re-adjust the beam path again.
¶ 5.4 Clean the Inside of the Machine
Remove small pieces that fall into the work table, gears, rails, and belts with a small brush or vacuum cleaner.
Work Area
Gears
Belt
Notice: If the belt is severely worn, it needs to be replaced.
Rails
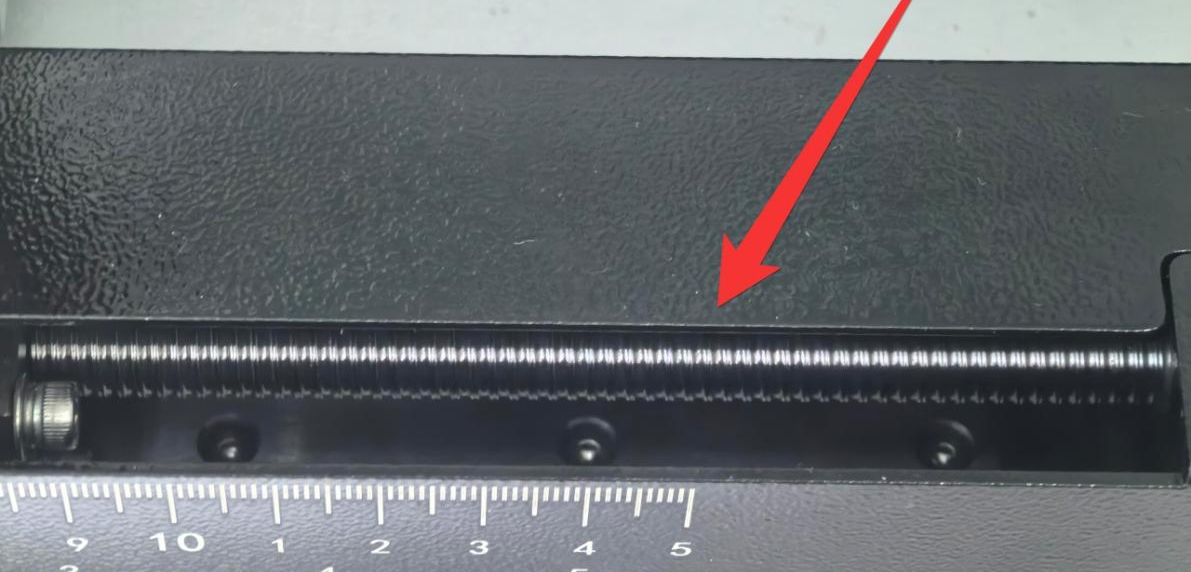
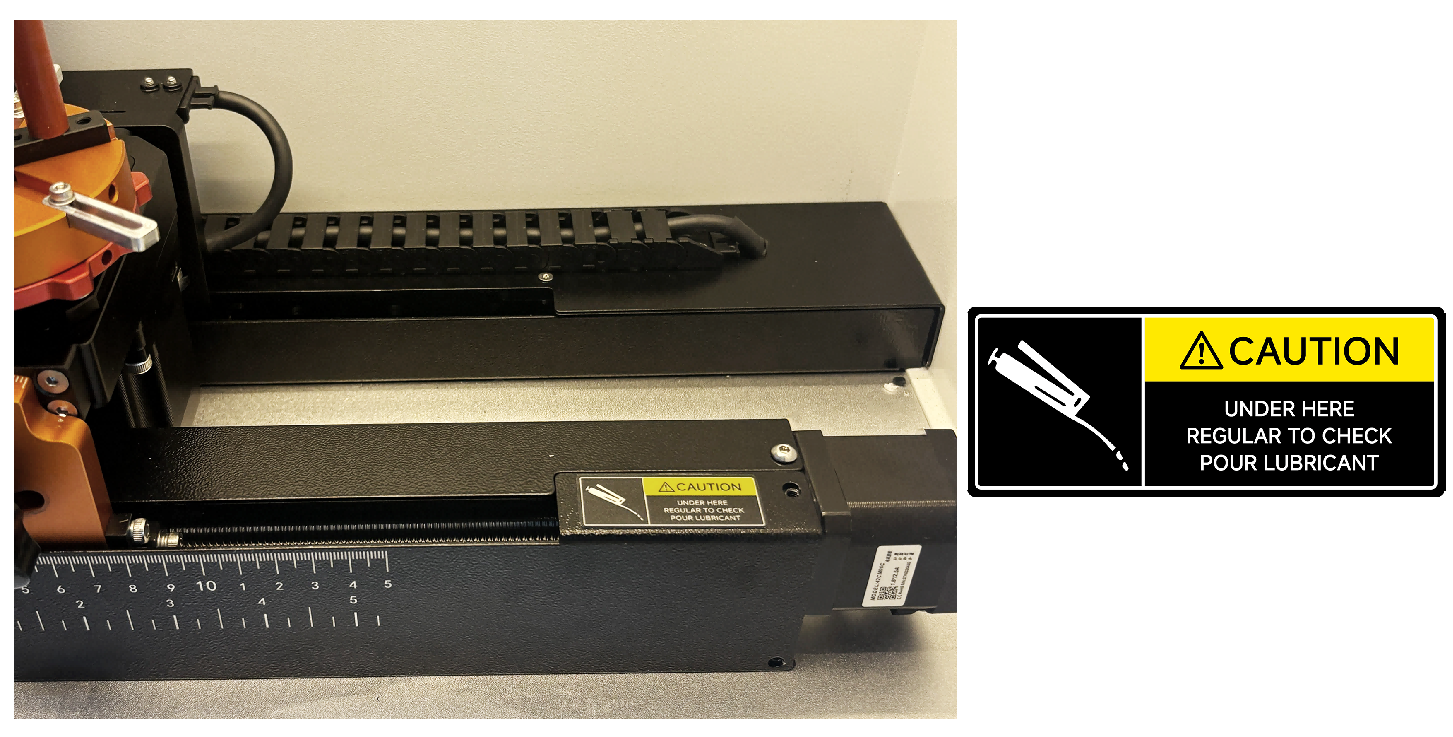
Notice: It is advisable to apply some lubricating oil to the lead screw from time to time to prevent wear.
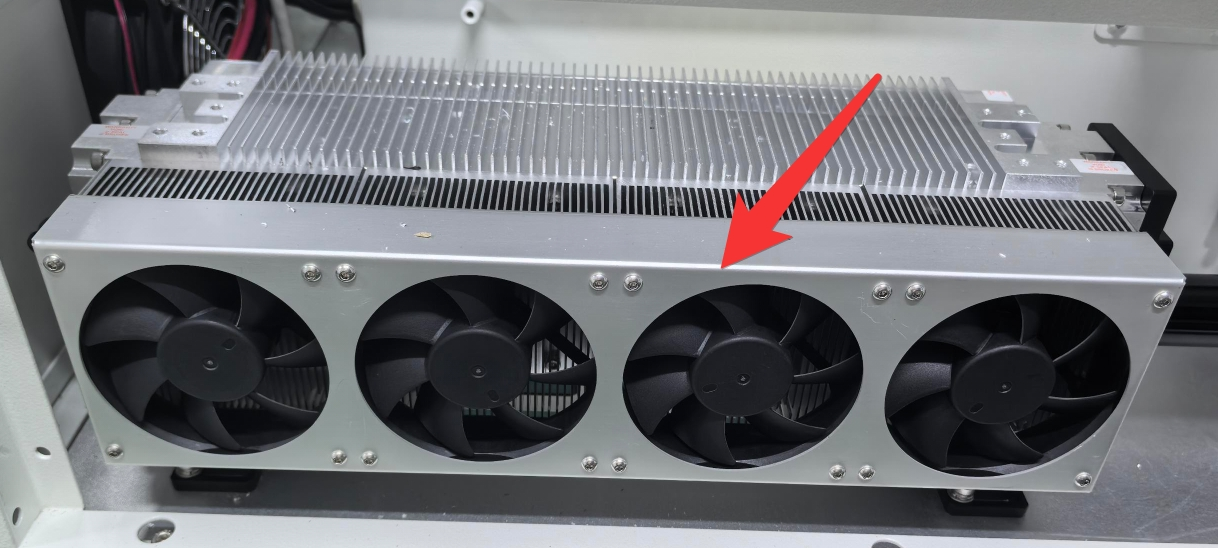
Exhaust Port

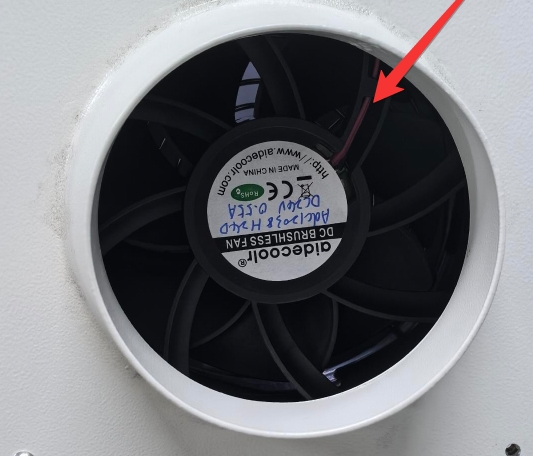
RF Tube Cooling Fan
¶ 5.5 Maintenance Plan
Please strictly follow the maintenance instructions in this manual to maintain the machine. Failure to adhere to these instructions or using incorrect maintenance methods may result in machine damage, affecting its performance and potentially voiding the warranty.
| DAILY | WEEKLY | 3 MONTHS | 6 MONTHS | 12 MONTHS |
| Lens | Mirror 2 and 3 | Mirror 1 | Belts | Overall Machine |
| Auto Sensor | Work Table | Exhaust Fan | Bearing and Rails | |
|
Vent Slots (back side of the machine) |
Interior Work Space |