¶ X Series Operation
¶ 4.1 Machine View
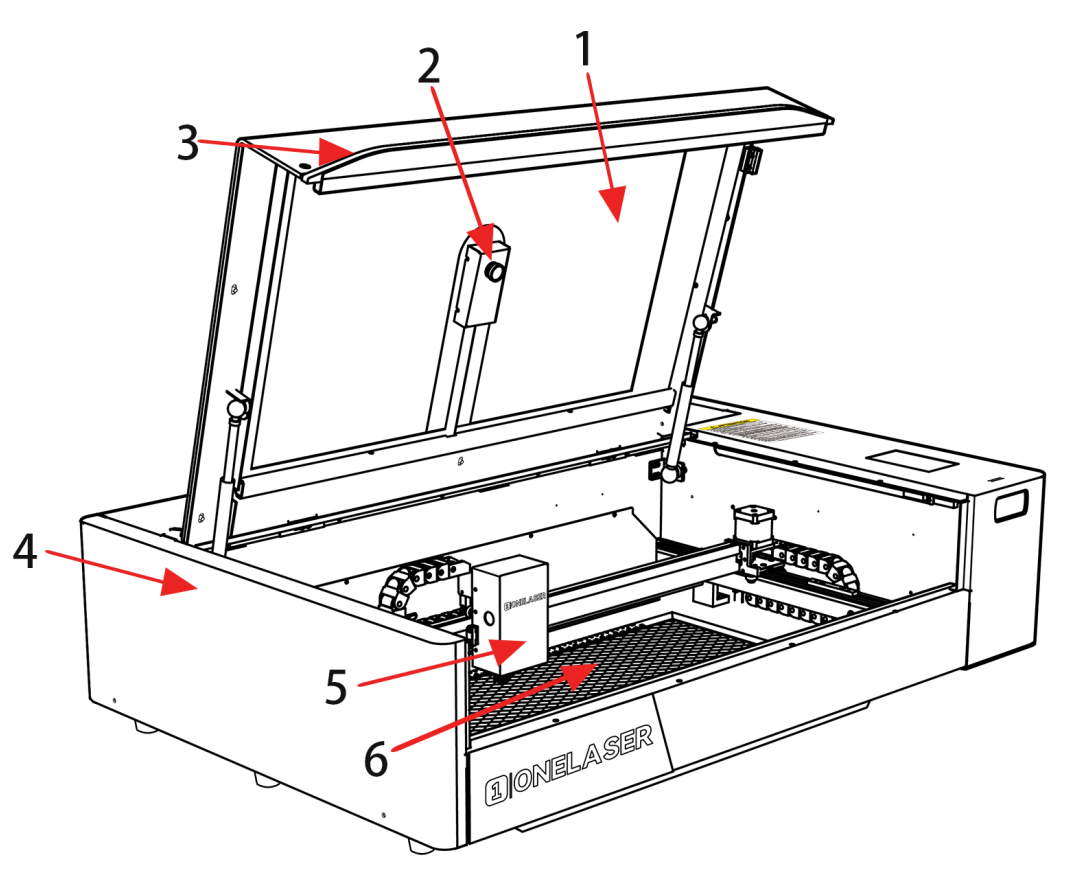
¶ 1. Top flap
If the Top flap is opened, no data is processed. When the protection cover is opened during working, the motion system is stopped and the laser source is turned off. During processing of commands the protection cover must only be opened after pressing the “Pause “button.
¶ 2. Camera
Camera function.
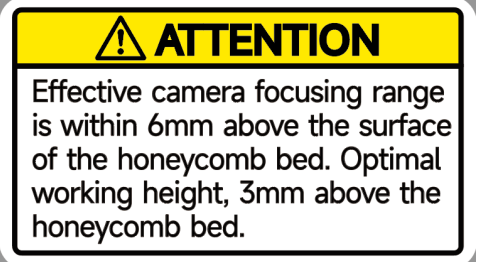
The camera cannot automatically adjust the focal length, and the effective camera focal length is within 6mm above the honeycomb platform. The optimal focus distance for using a camera is 3mm above the honeycomb panel. Under this focal length, the high-precision working range is as follows:
X-axis: 50-550mm, Y-axis: 20-280mm.
Due to the machine's large working area and limitations of the Lightburn software algorithm, OneLaser can only guarantee precision within the recommended working range.
¶ 3. Indicate light
The light blinks when it's working and stays solid red when it's not.
¶ 4. Left door
Some part inside it, such as Y axis rail.
¶ 5. Laser head
Laser beam and red dot pointer are all come out from the laser head.
¶ 6. Honey comb table
The honey comb plate is located at the bottom of the equipment and has indexing pins for alignment.
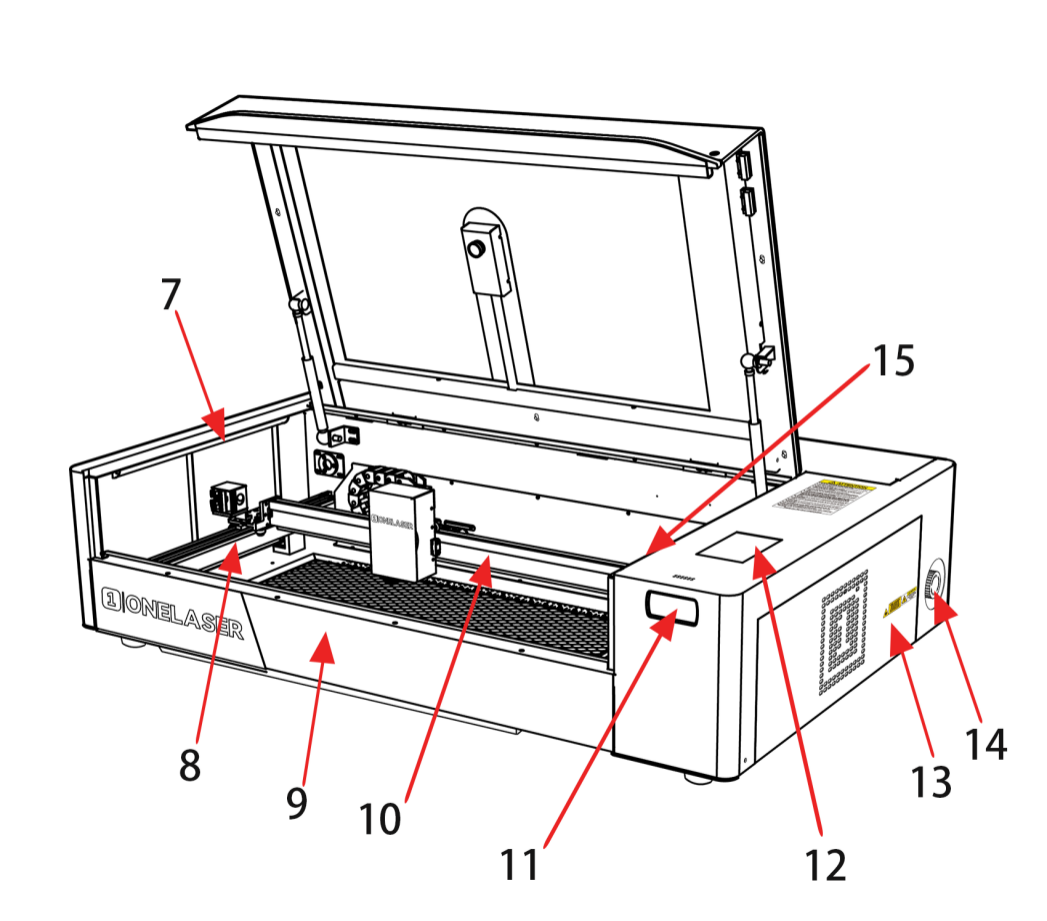
¶ 7. LED lamp
It’s used for lighting the working table once turn the Main switch on.
¶ 8. Y axis(forward and backward movement)
The motion system is that performs the mechanical movements in Y direction.
¶ 9. Front door
To clean the waste after working or remove the honey comb table.
¶ 10. X axis(left and right movement)
The motion system is that performs the mechanical movements in X direction.
¶ 11. Air quality detector
Detects air temperature and humidity as well as PM2.5.
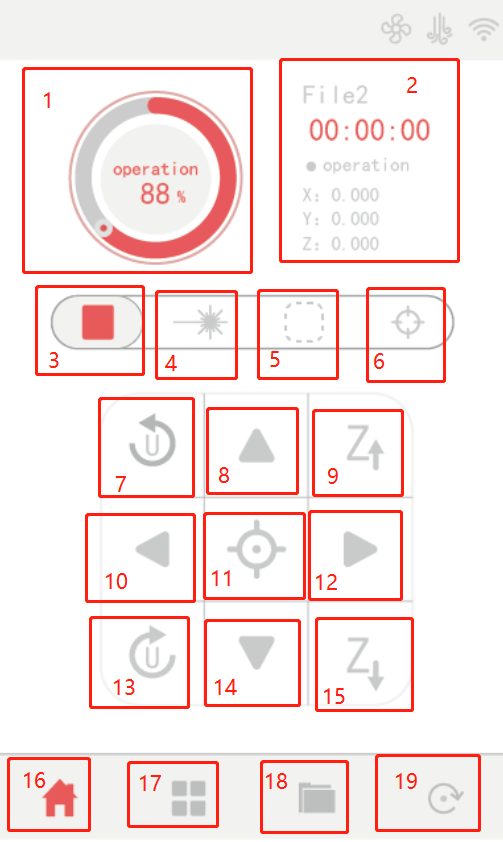
¶ 12. Control panel
You can control the X-axis, Y-axis and Z-axis manually by the display panel, it also shows the working time, power, speed and the whole working time and affords many function options.
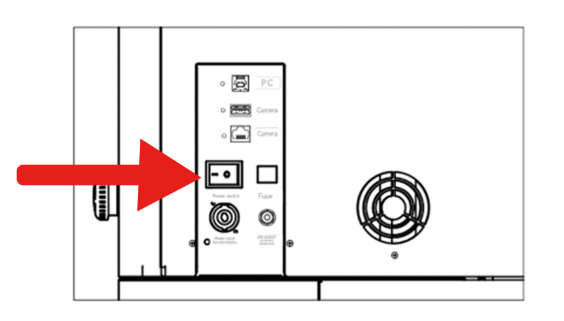
¶ 13. Key switch
To turn on the machine.
¶ 14. Emergency-stop
Once there’s an accident happen (laser catch fire, laser out leakage) during working, please turn off this switch immediately. It will be cut off the laser power and motion power immediately.
¶ 15. Door protection sensor
Laser will stop working once the cover is opened during working.
The sensor is also installed in the same place on the left side.
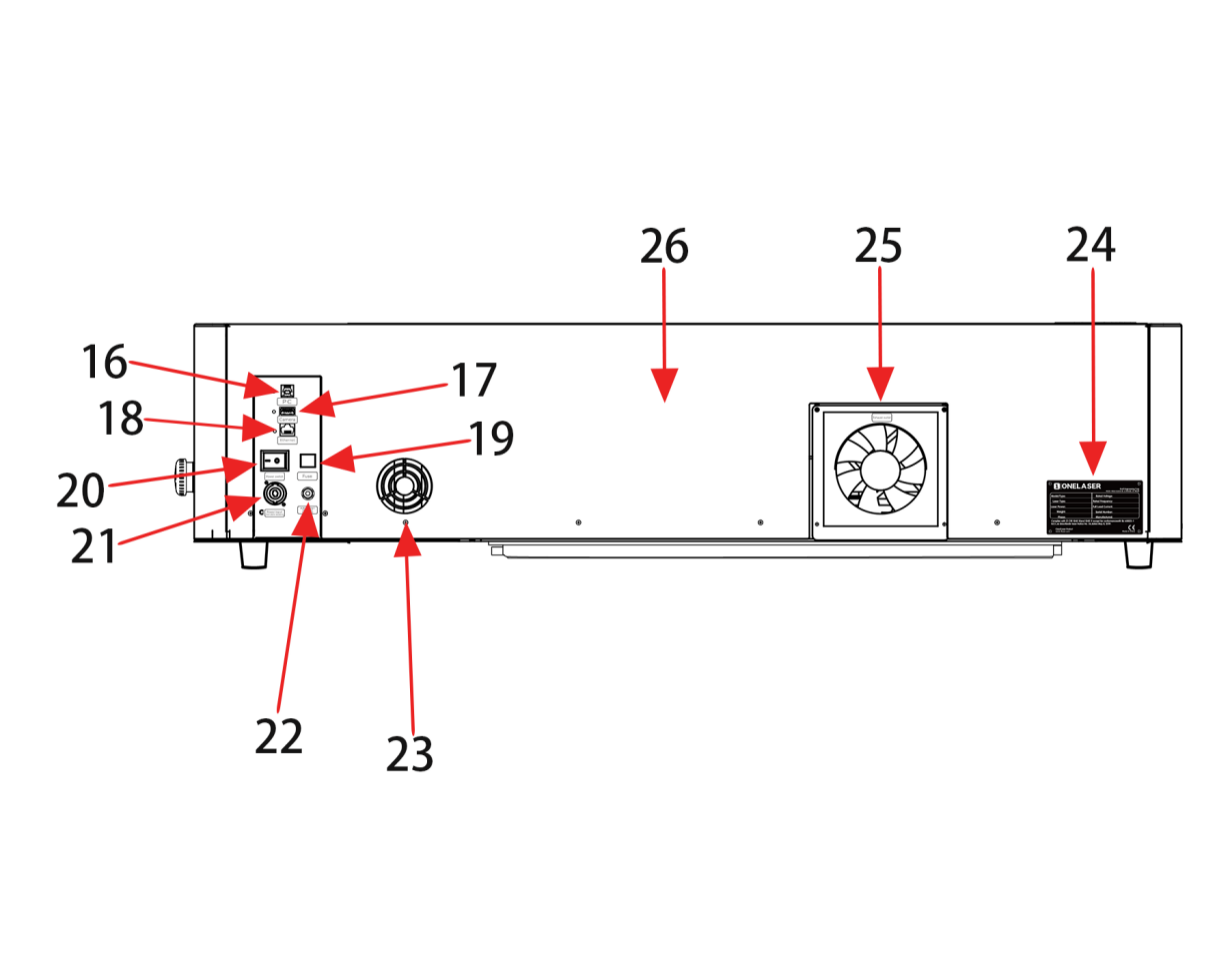
¶ 16. PC connection port
Connect machine with PC cable.
¶ 17. Camera connector
¶ 18. Ethernet connector
Connect machine with Ethernet cable.
¶ 19. Breaker
Control the power of machine.
¶ 20. Main switch
Power on or off the machine.
¶ 21. Power socket
Connect the power cable.
¶ 22. Air intake
Connect the air pipe.
¶ 23. Cooling fan
Cooling the rear cover.
¶ 24. Serial plate
Check the serial info.
¶ 25. Exhaust fan
Connect the exhaust pipe.
¶ 26. Rear cover
Many parts inside it, such as laser tube, exhaust fan.
¶ 4.2 ON/OFF Switch
The mains power ON/OFF switch
If all covers are closed, immediately after being switched on, the device starts the referencing process...

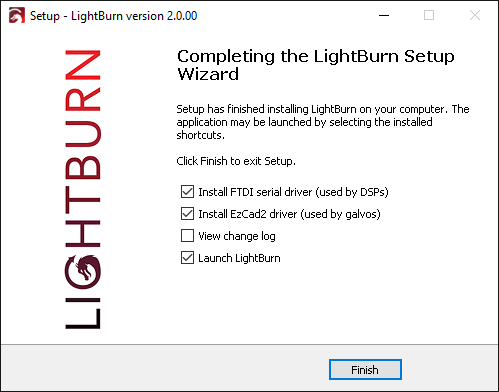
¶ 4.3.1 Software installation

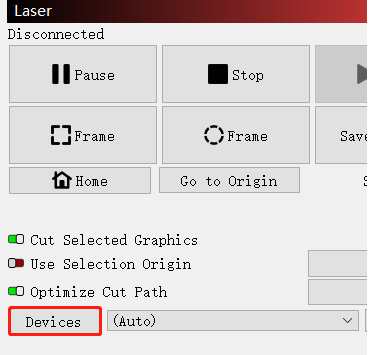
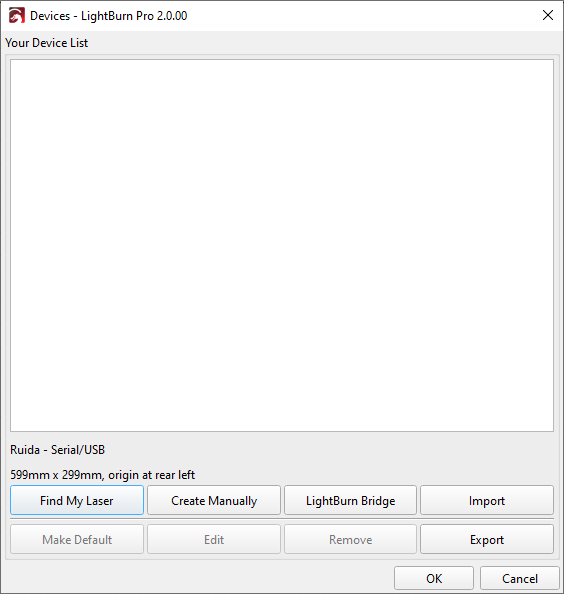
¶ 4.3.2 Make connection between PC and machine

¶ 4.4 How to use the display
¶ 4.5 How to adjust focus distance by manual or auto?

¶ 4.6 How the heat alarm system works
¶ 4.7 The First Time Running the Laser

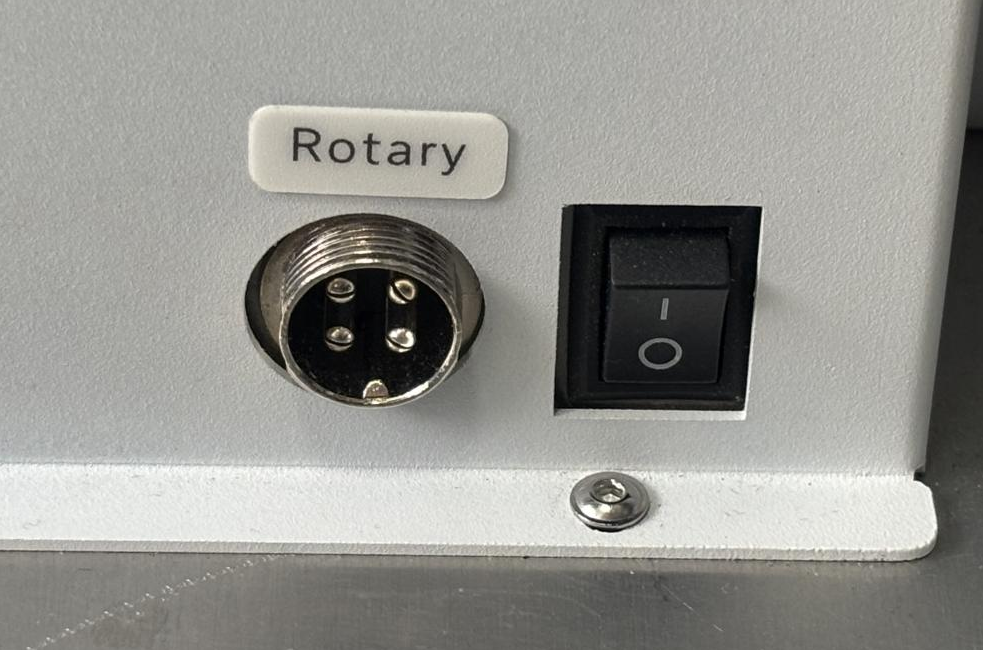
¶ 4.8 How to use the rotary
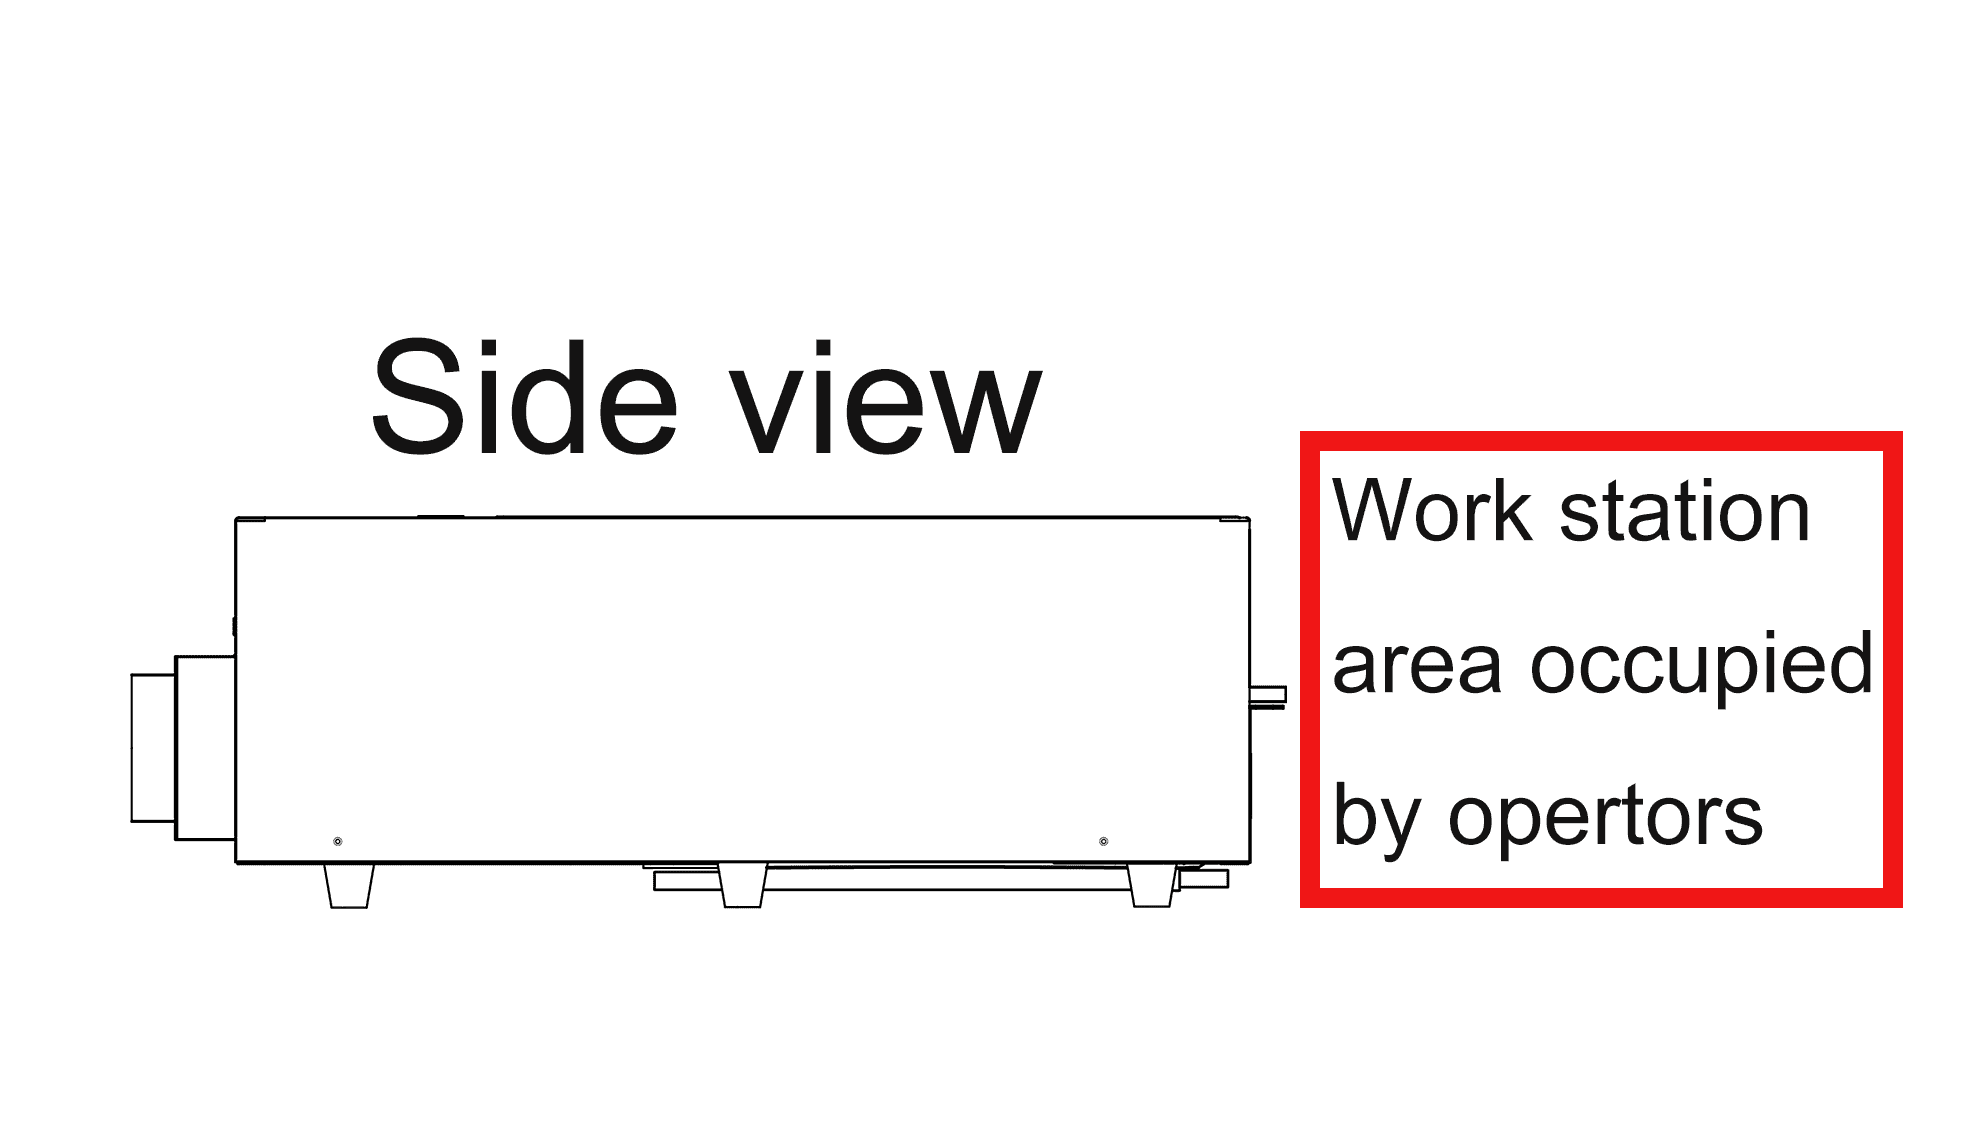
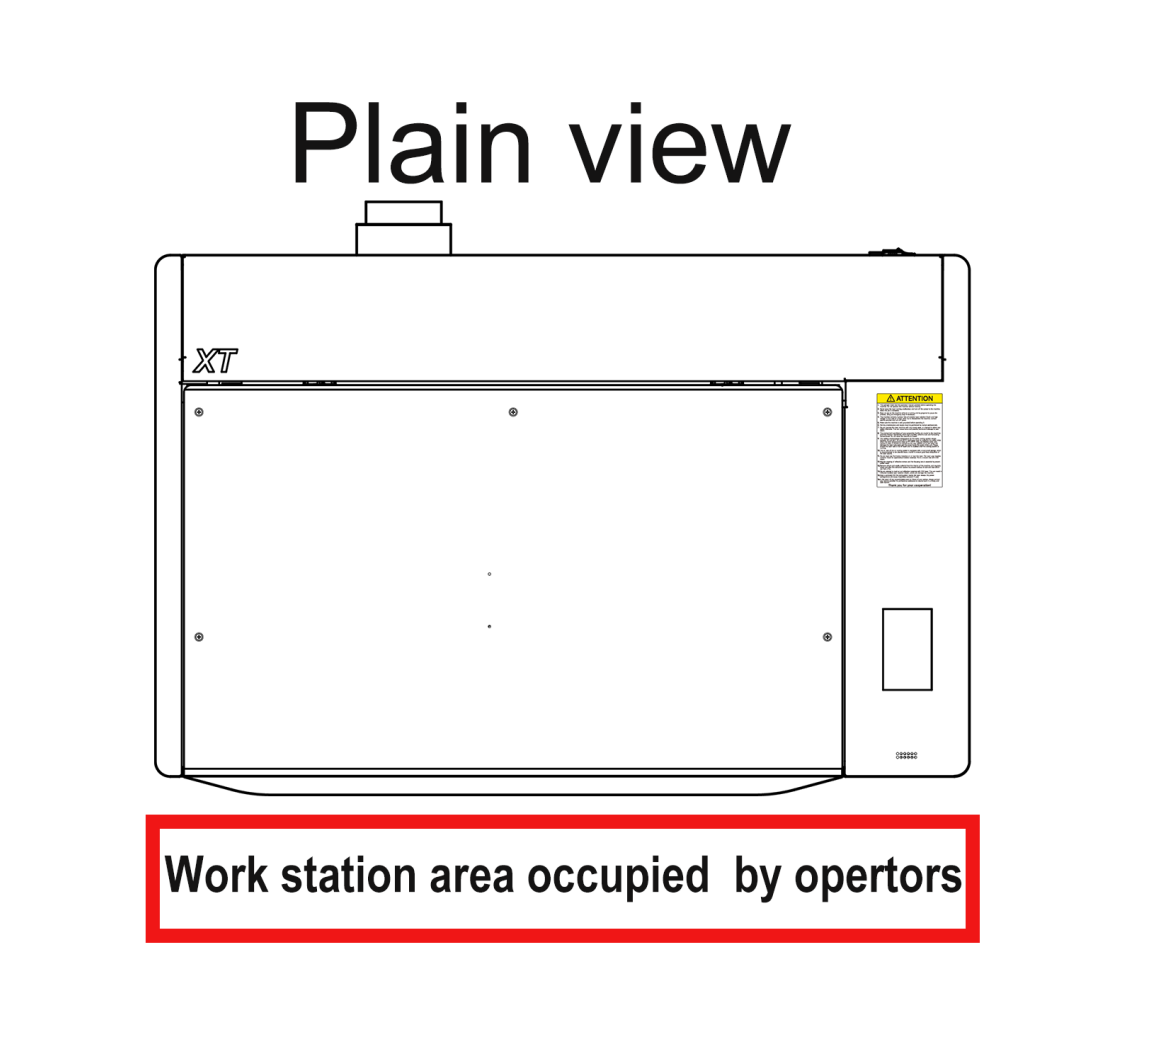
¶ 4.9 Workstation Area Indication
¶ 4.10 For Laser Engraving
The engraving depth can easily be varied through the laser power or the speed. To increase the engraving depth, reduce the speed or increase the power setting. This way you increase the amount of energy per area unit. Engraving too deep, however, reduces the quality of the details. With coated materials the required power depends of the kind and thickness of the coating. With power set too high the individual lines become too thick and a sharp picture cannot be achieved. The resolution of the graphics should usually be at 500 dpi. The dpi setting (number of laser dots per inch) depends on the material. The lower this setting is, the lower the resolution of the engraved picture will be. This, however, reduces flaming and increases the energy of a pulse, which can improve the overall result (e.g. when engraving some sorts of plastic materials).
¶ 1. Plastics
Plastics for engraving are available in many different colors and thicknesses and with many different coatings and surfaces. The majority of available plastics can be well engraved and cut with the laser. Plastics with a micro-porous surface seem to give the best result, because less surface material needs to be removed. As most plastic materials have a low melting point, a low pip setting should be selected to reduce the danger of melting.
¶ 2. Acrylic
There are two different types of acrylic – cast and extruded. The cast acrylic becomes white or mat after engraving, the extruded acrylic remains clear. Use extruded acrylic for engravings that are filled with paint and cast acrylic for normal engravings. Cast acrylic can be best engraved without protection foil. It is better to engrave the entire surface with a low energy setting.
¶ 3. Engrave the rubber stamp
The various mixtures and densities of rubber plates cause a slightly varying engraving depth. The settings in the overview table give a good indication. Since engraving a standard rubber material requires a relatively high laser power, the laser power is principally set to 40% or more high and only the speed is varied. Due to their lower density, so-called micro porous rubber materials allow a significantly higher engraving speed. Test the rubber first, to find out the correct speed setting.
The RDWorksV8 software using the engraving function, you can choose “Ramp Effect” or common engraving, once you choose “Ramp Effect” and you will need to set a minimum power lower than Max Power, generally we set it to about 15%, and input a value with the Ramp Length what you want, but if you want to make it better, you may need to test different kinds of power and speed by yourself, then you can get the best result.
Engraving rubber produces a considerable amount of dust and terrible gas. Therefore a well sealed exhaust system and its regular maintenance are very important.