¶ Air Assist Digital Display Abnormality & Adjustment Failure - Hydra GEN2 Series
This guide explains how to troubleshoot abnormal air assist display behavior and airflow adjustment failures on ONELASER laser machines. It covers common causes such as air leaks, disconnected tubing, regulator issues, display configuration errors, and faulty electrical connections, along with step-by-step solutions to restore proper airflow control.
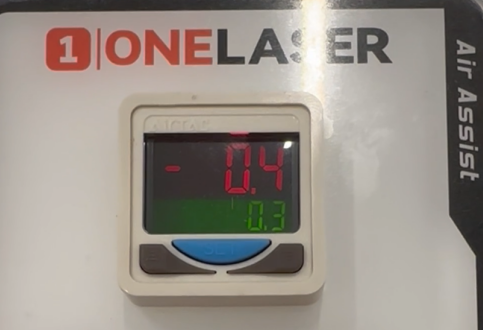
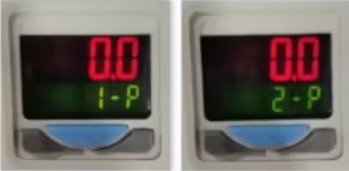
1. Rotating the air assist knob clockwise or counter-clockwise results in no significant change on the digital display (fluctuations remain minimal, around ±0.1 PSI).
2. After pressing the red test button, the display remains red regardless of adjustment settings.
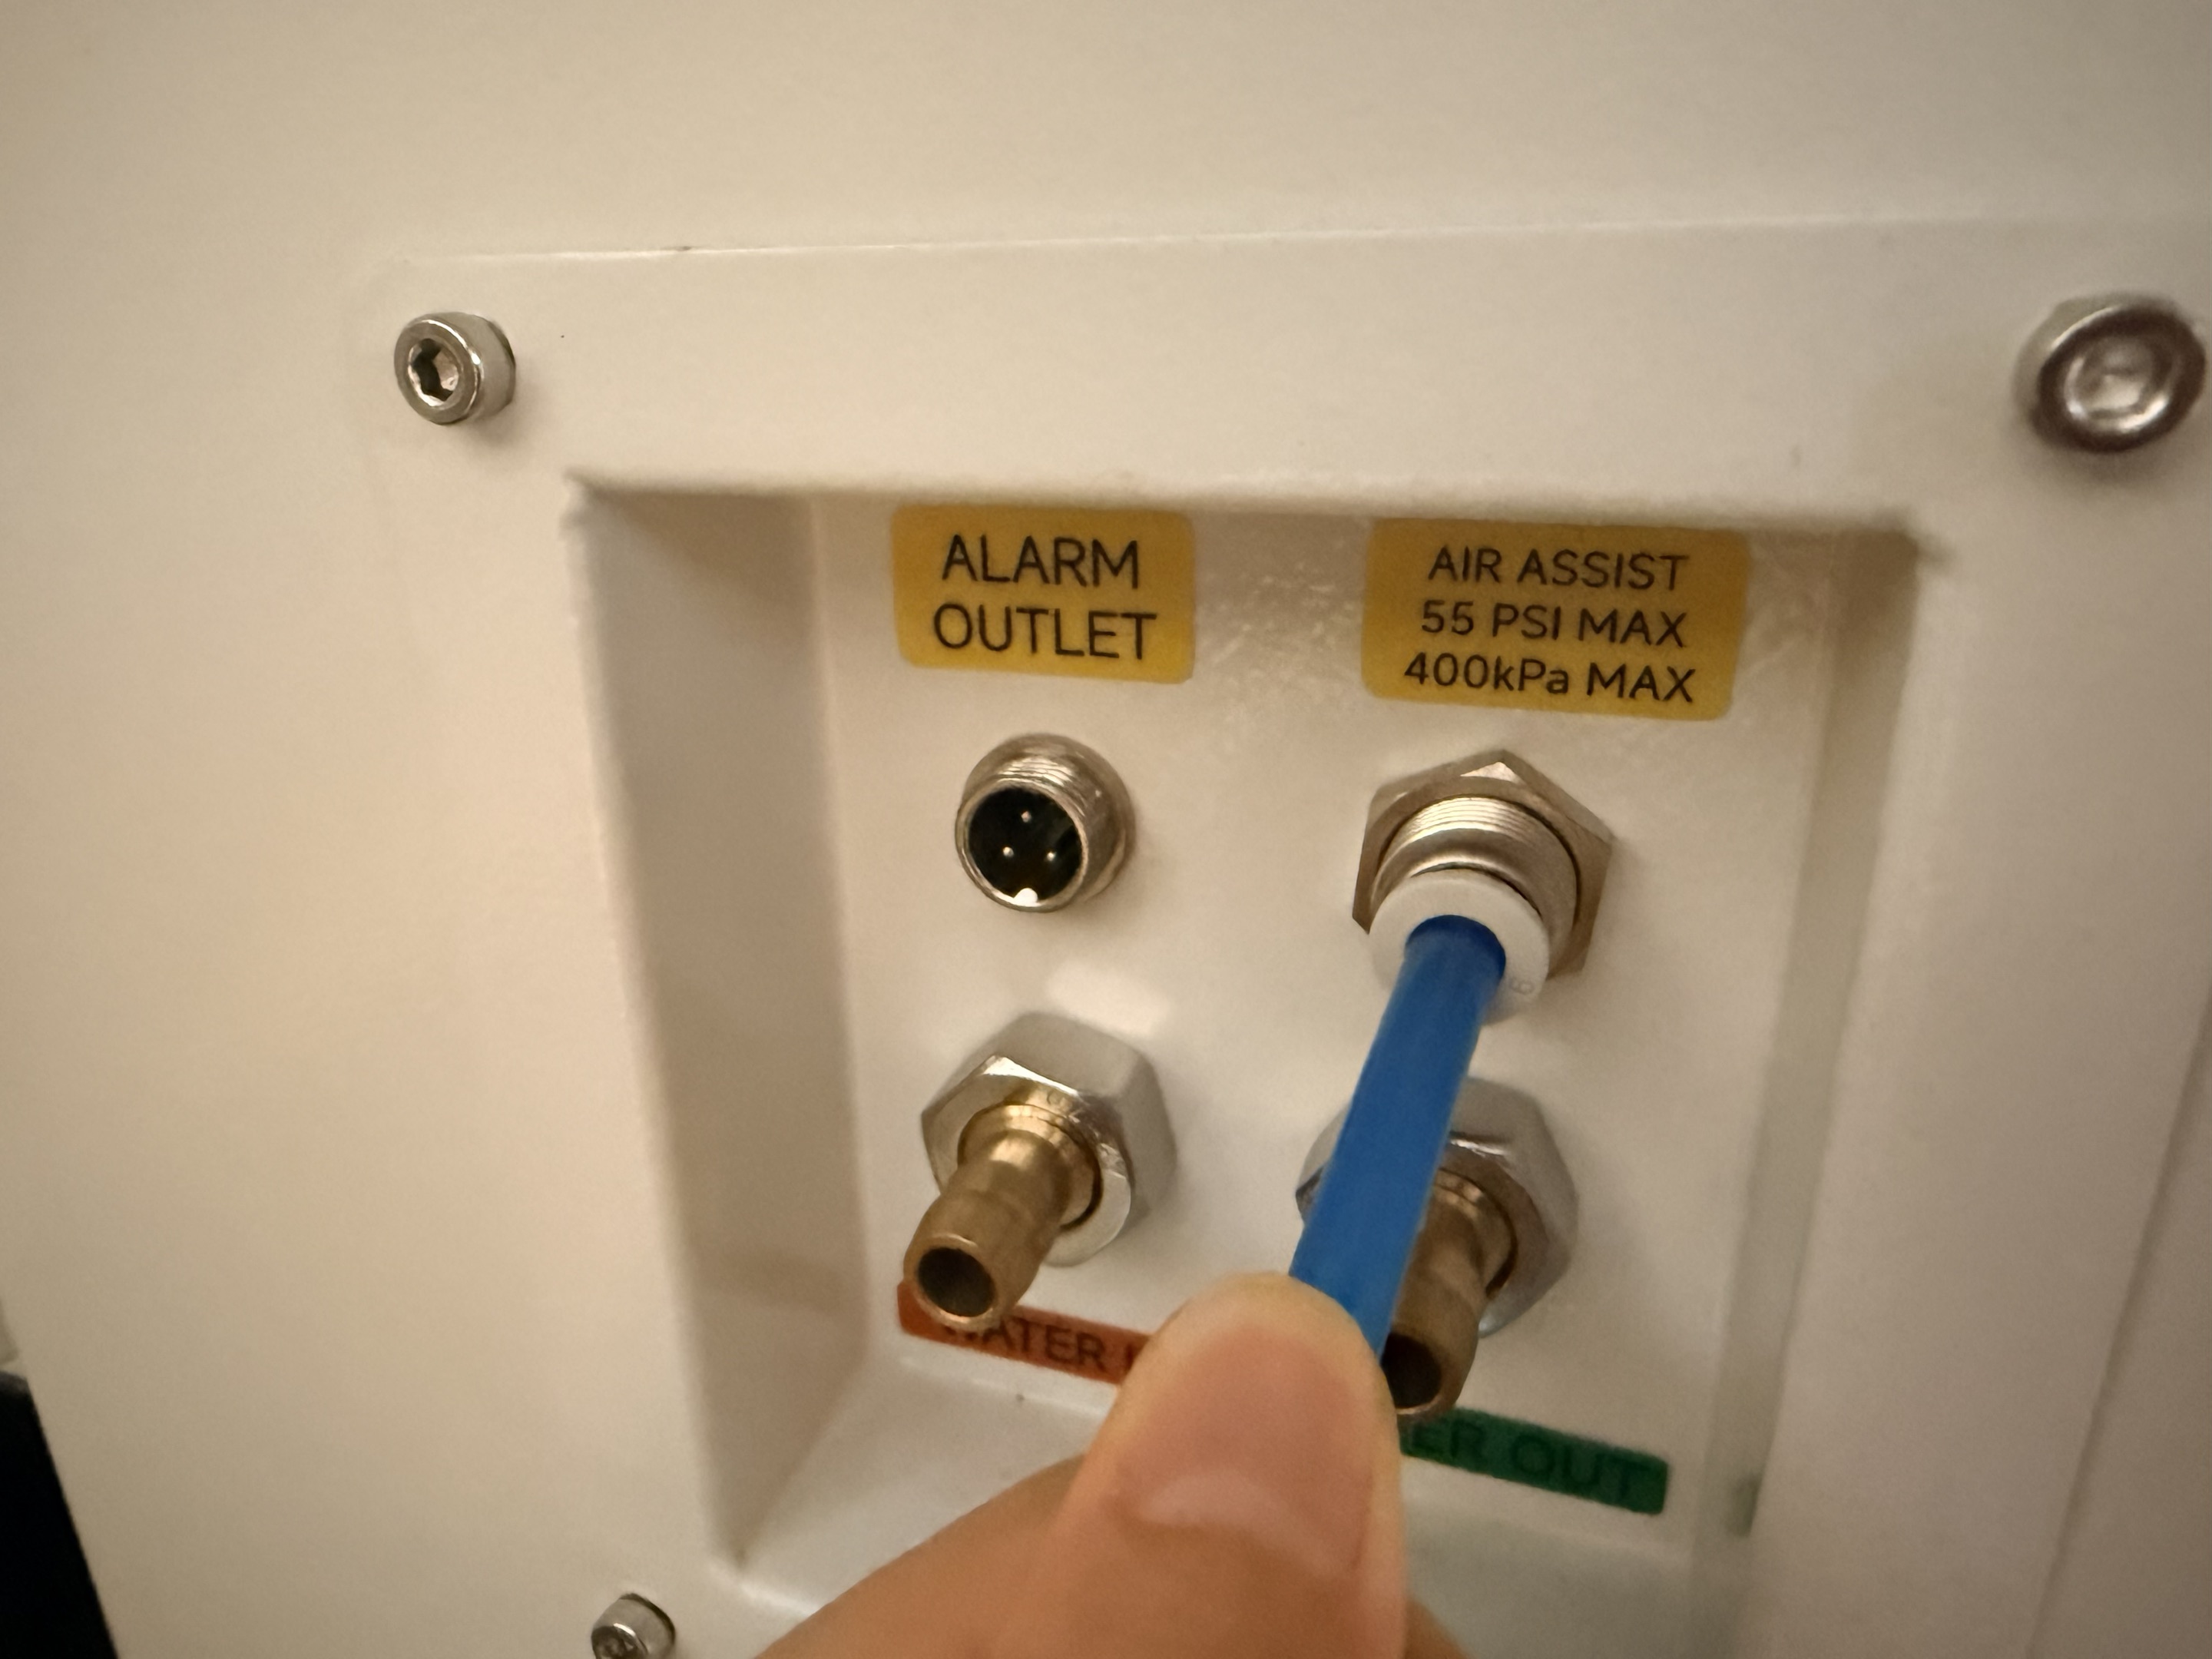
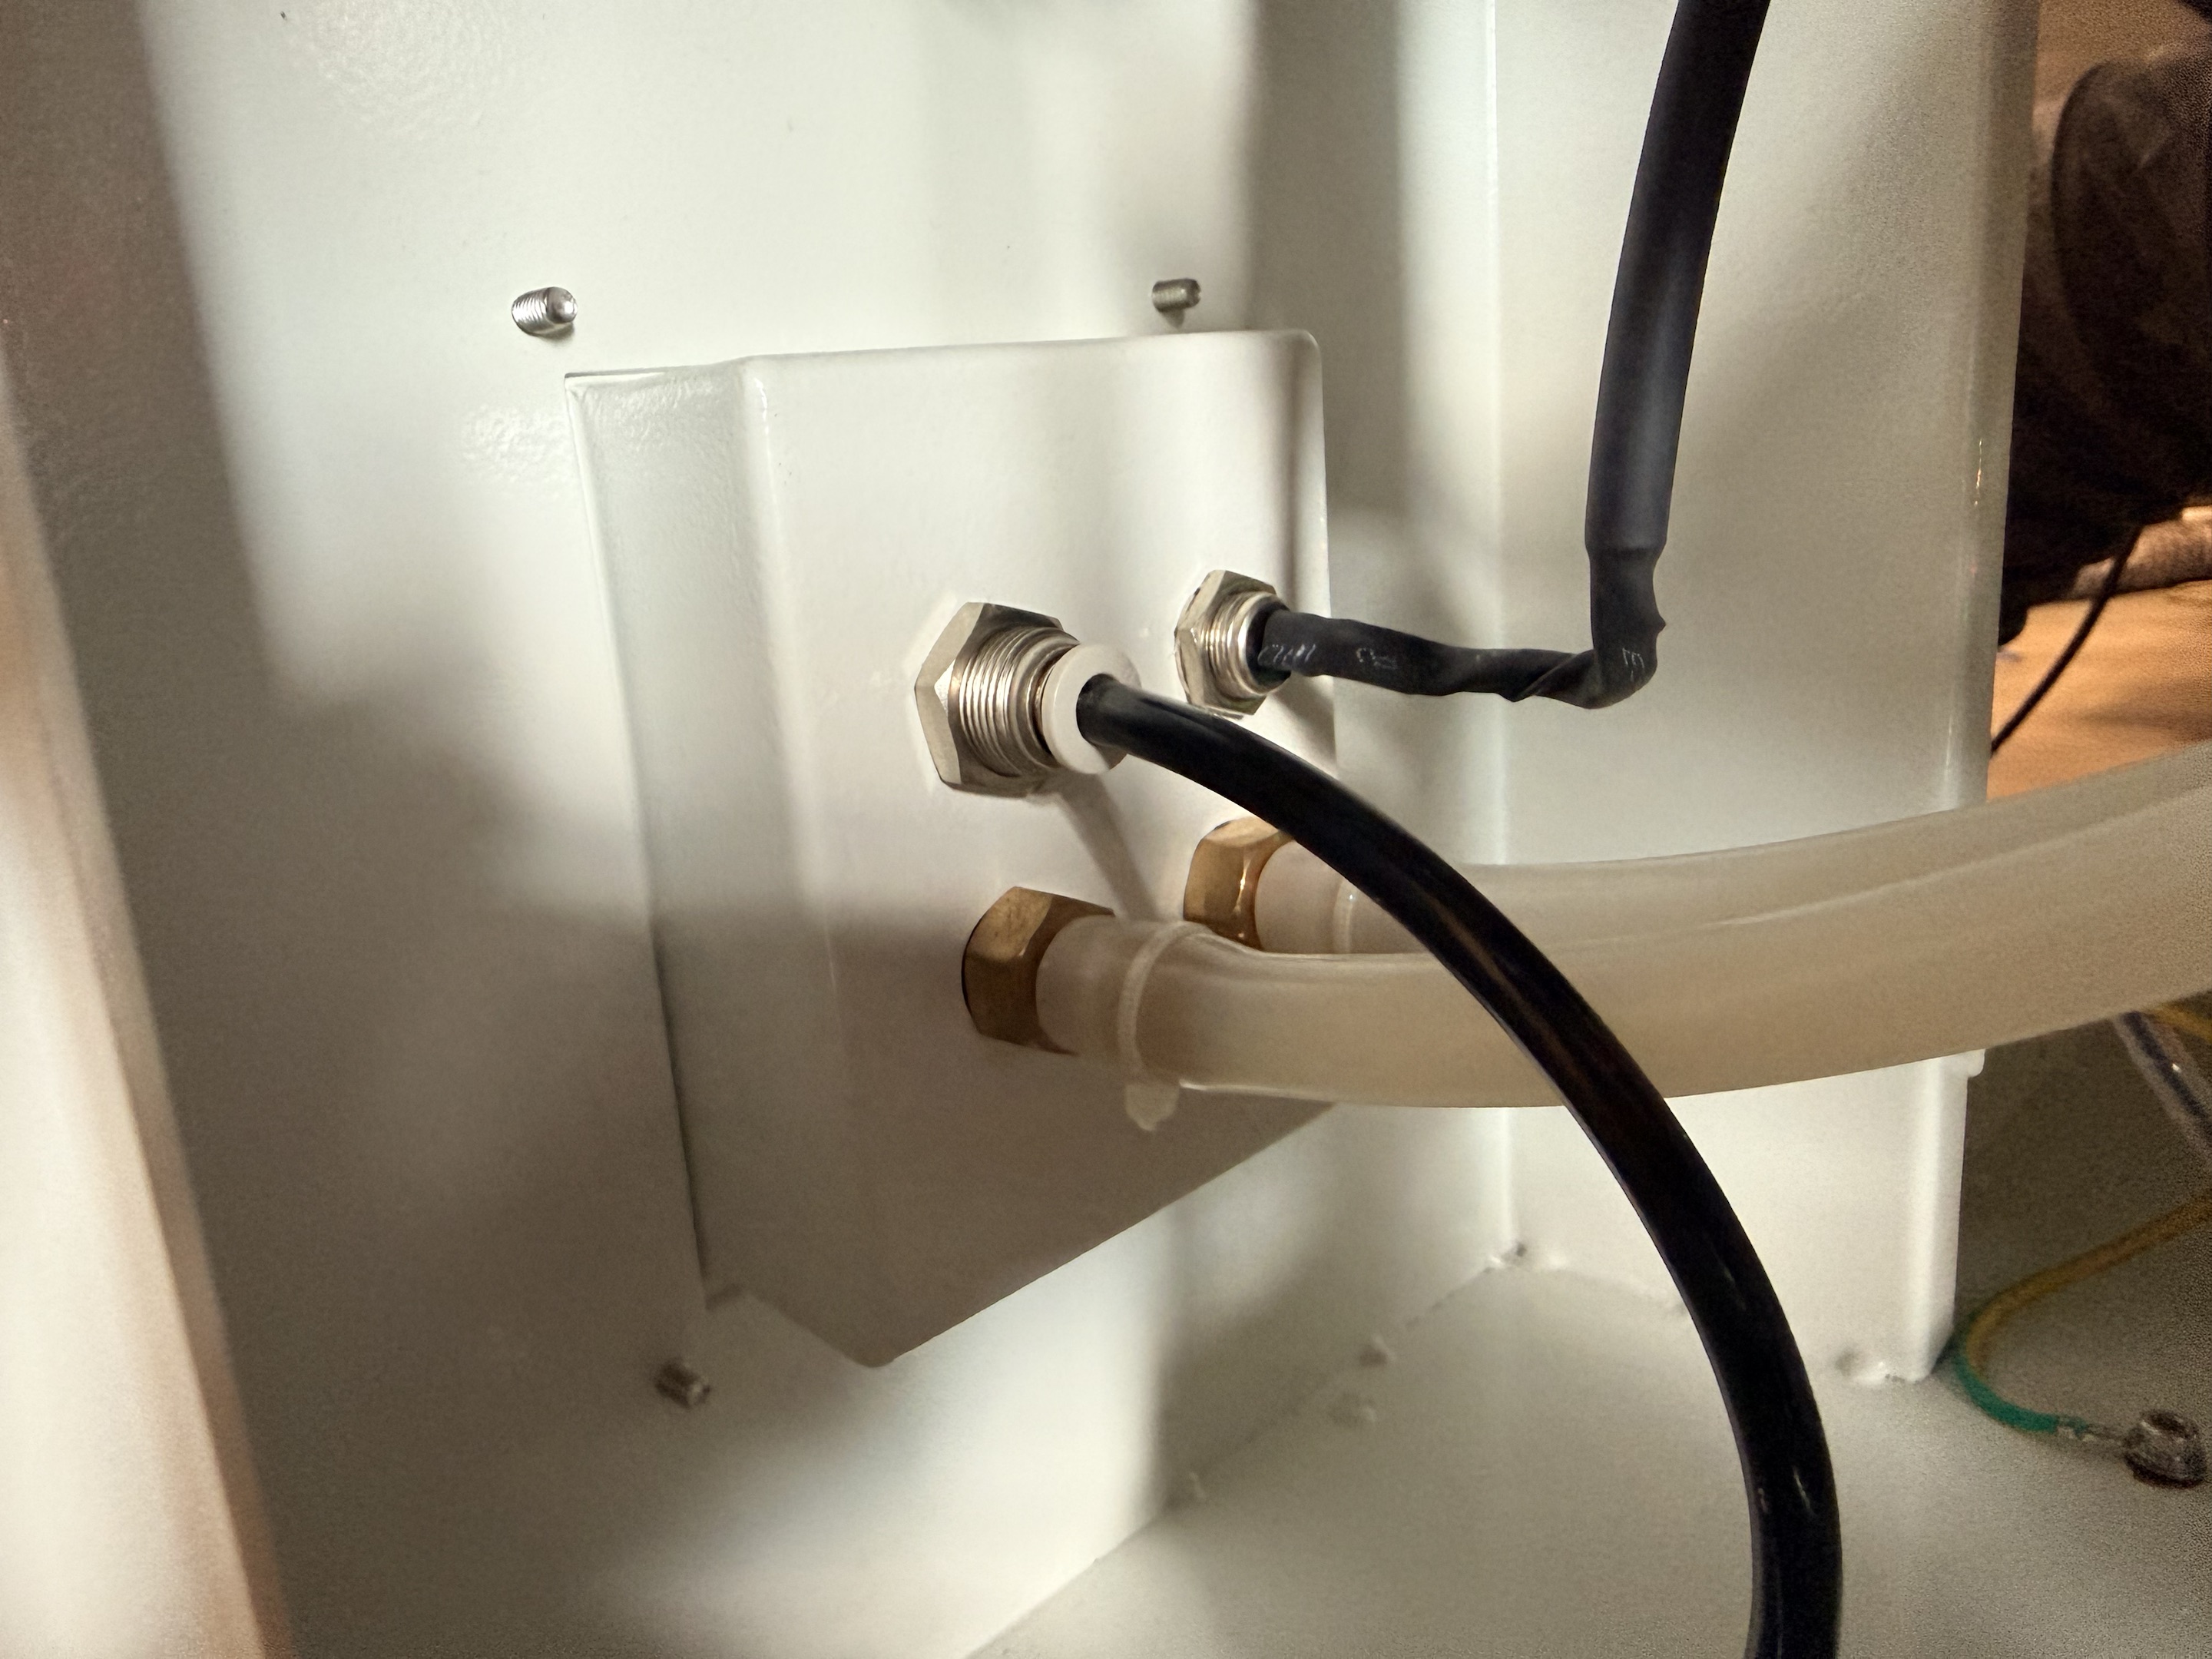
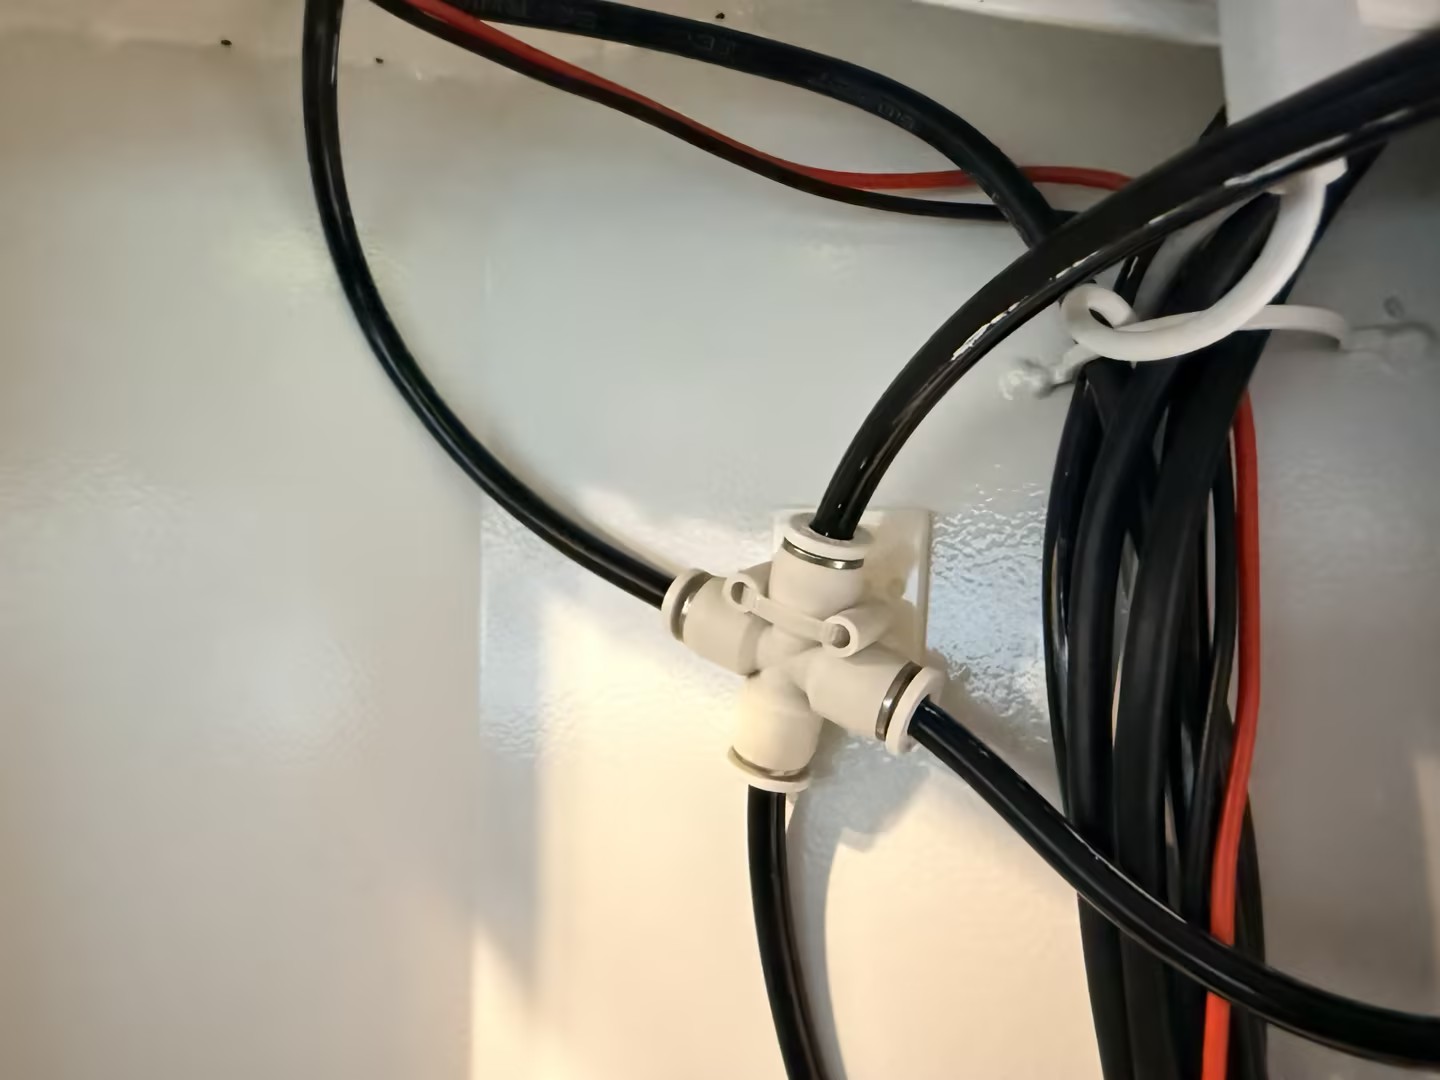
Open the side panel and inspect the air tubes between the back of the digital display, the solenoid valve, and the regulator valve. Check specifically for tubes that may have slipped off due to long-term vibration or airflow blockages caused by an excessively small bending radius.
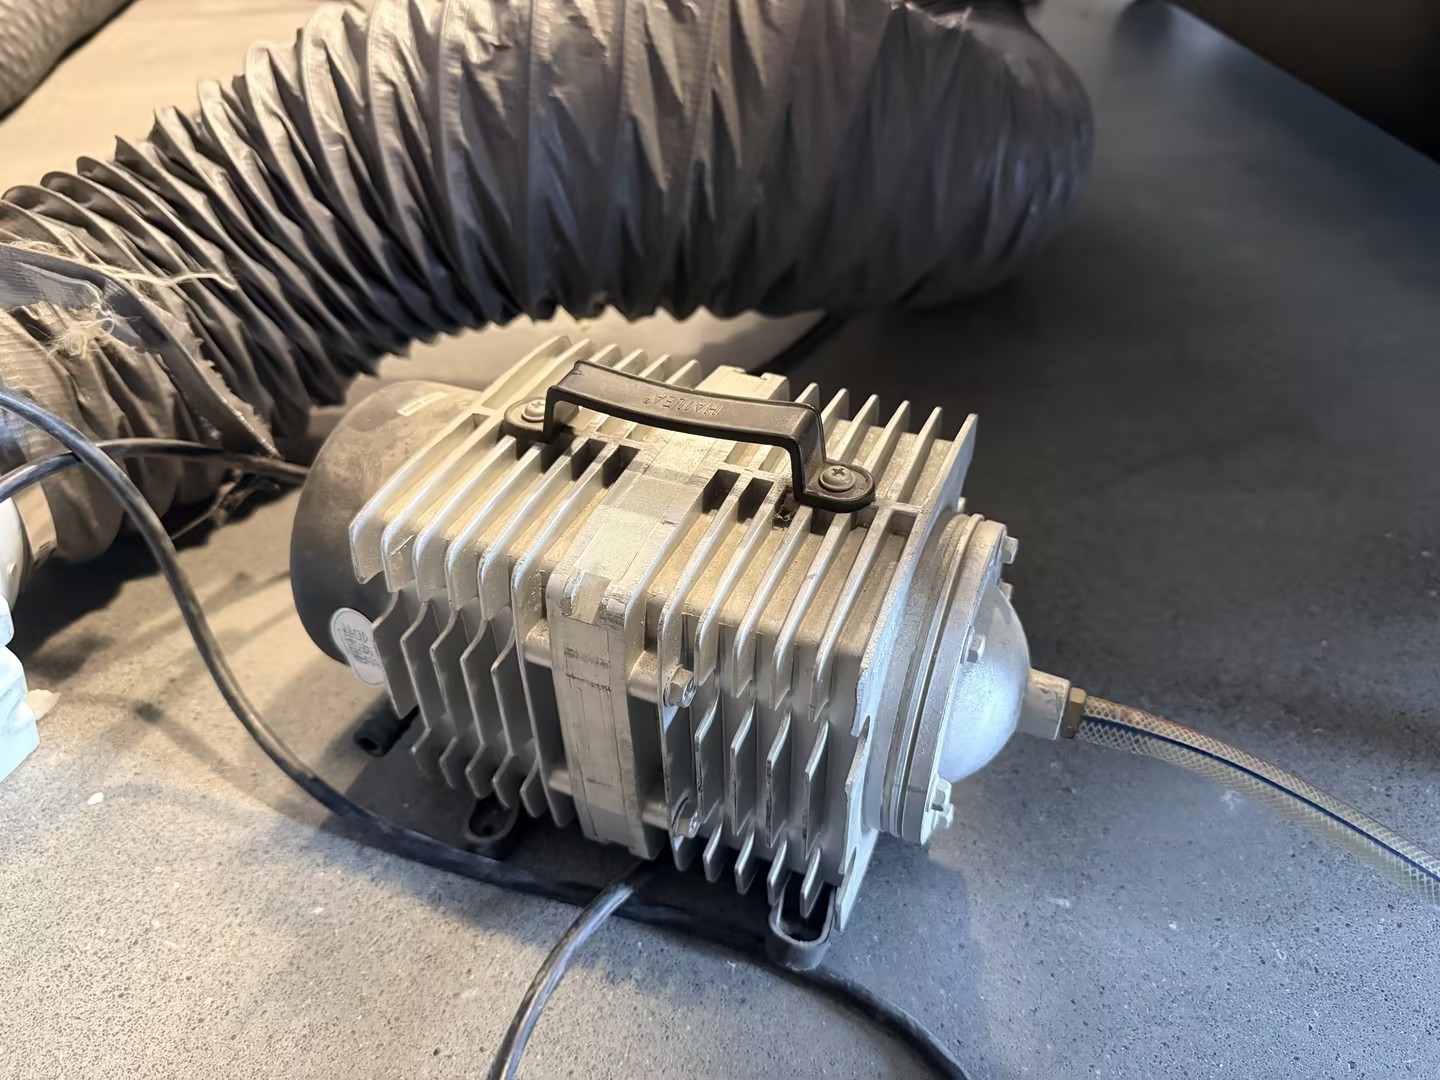
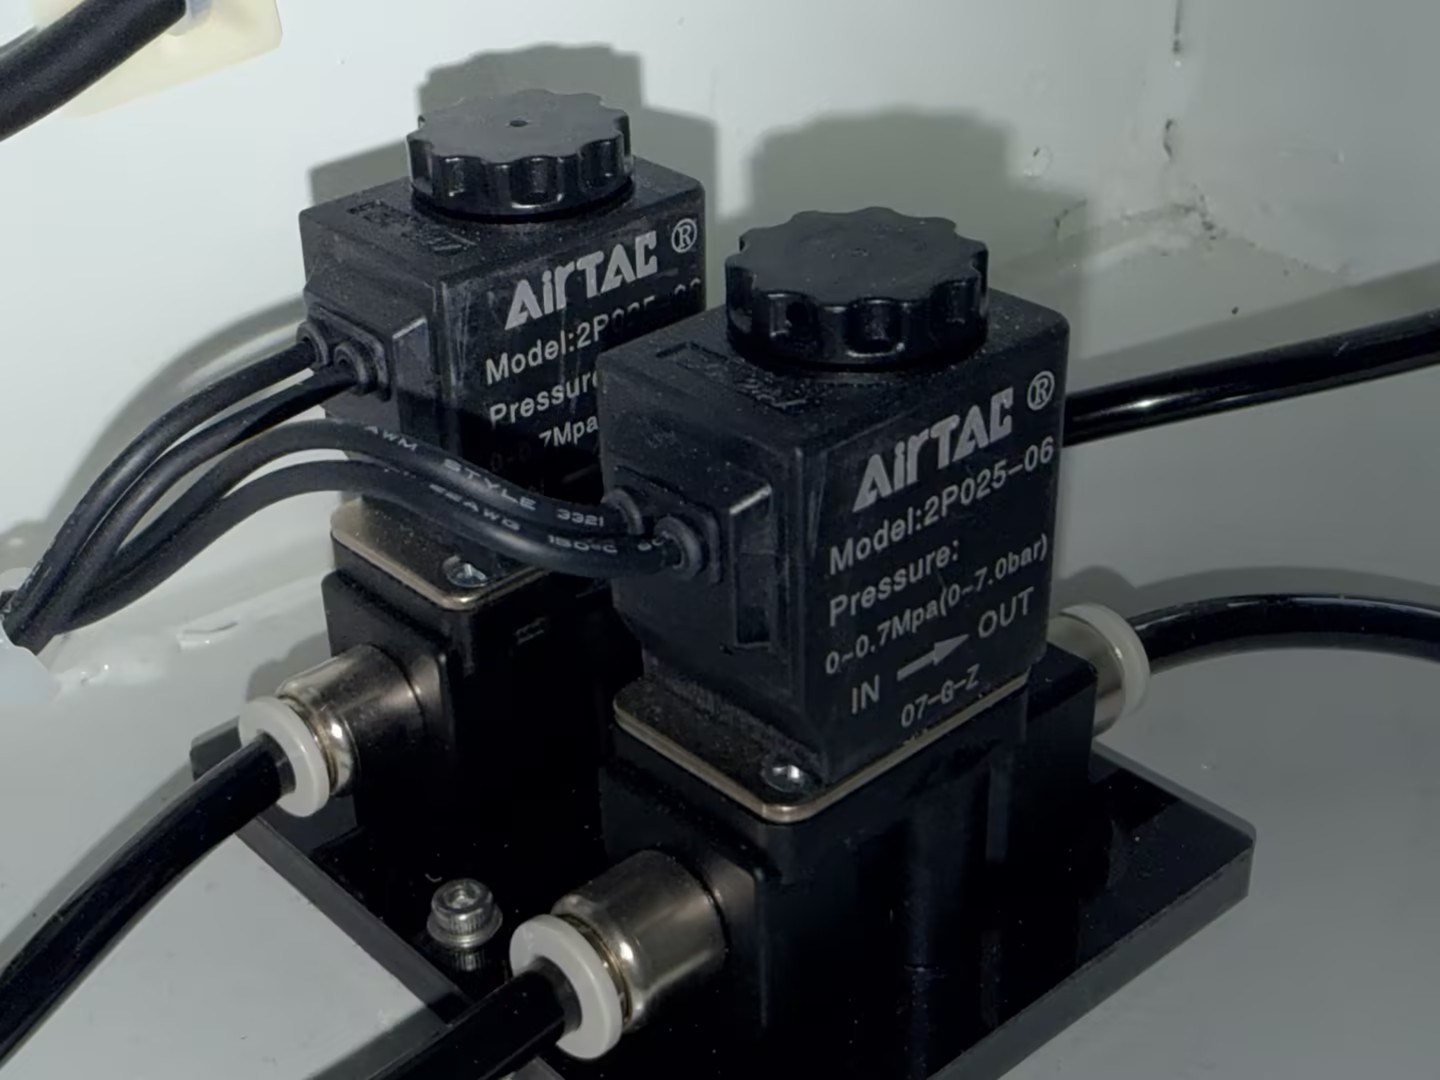
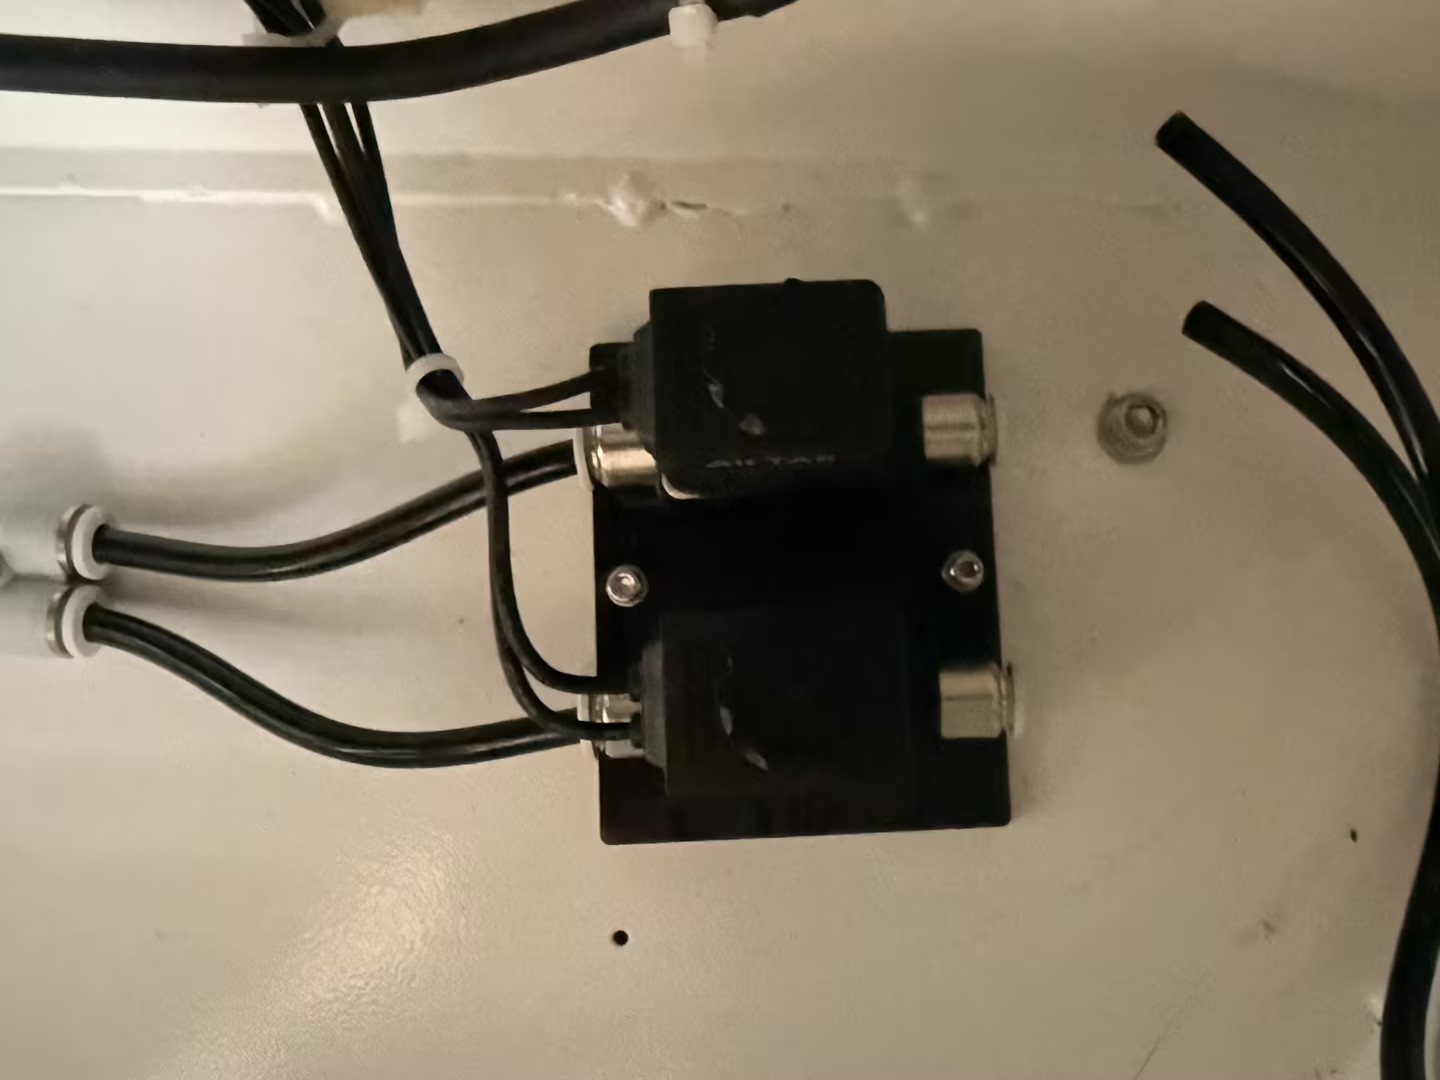
Disconnect the air tube at the solenoid valve outlet and feel if there is a strong airflow being ejected. If not, the solenoid valve is damaged or not receiving a trigger signal.
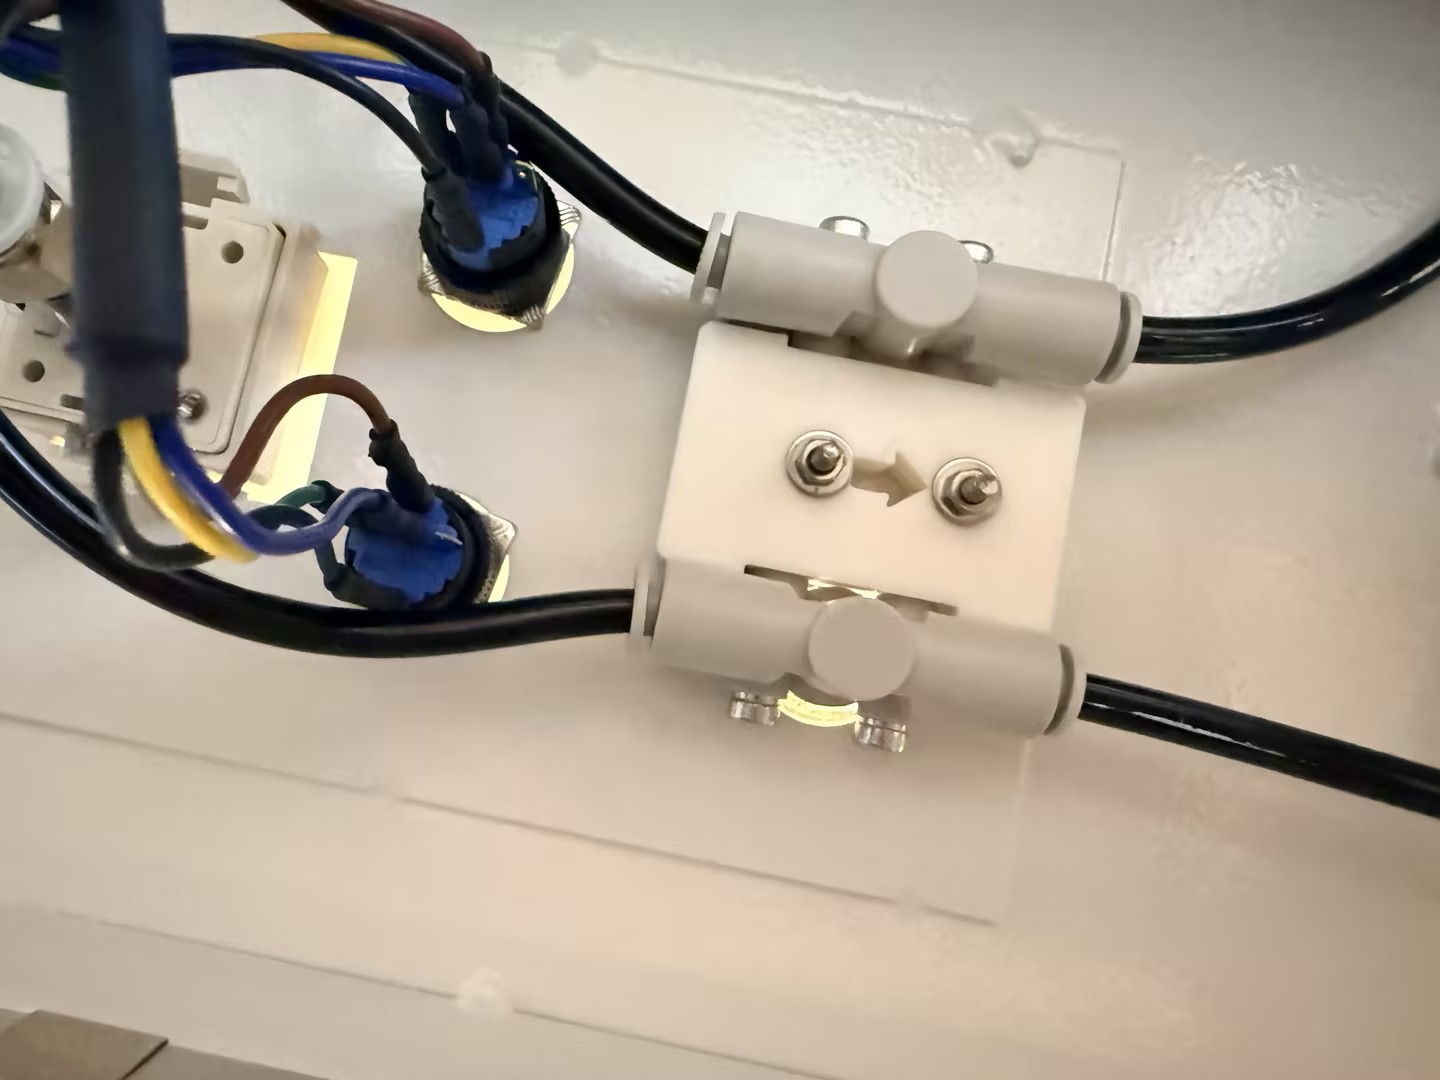
With the air source connected, turn the adjustment knob. Disconnect the air tube leading from the regulator valve to the cutting head and test whether the airflow intensity changes as the knob is turned. If the airflow remains constant or there is no air output, the pressure regulator valve is internally damaged.
¶ Step 1. Check the Digital Display Settings (Factory Standard)
Note: If you need to change options or values in the settings during this process, you must first set 1-P and 2-P in Step ② to 0.
① Long-press the SET key to enter the settings menu. Click the SET key to switch between setting items, and use the Up/Down keys next to it to change options/values. Verify the settings match the table below:
Setting Item
Option / Value
Explanation
ot1 / ot2
EASY
Two output modes: Easy Mode
noC
1o2o
Output state: 1 and 2 are both Normally Open
SPD
100
Output response time: 100ms
Clr
r-on
Output color: Red when outputting
Unt
PSI
Pressure unit: Pounds per square inch
② Click the SET key again and set the values for 1-P and 2-P to 0.3. This value determines at what pressure the display changes color, typically used to indicate if the airflow meets working requirements.
¶ Step 2. Check the Mechanical Status of Buttons and Knobs
The adjustment knobs on the Hydra Gen2 usually feature a "pull up to unlock, press down to lock" design. If you cannot rotate it, try gently pulling the knob upward. If it is stuck, you can use a tool to help pull it up, after which it should return to normal operation.
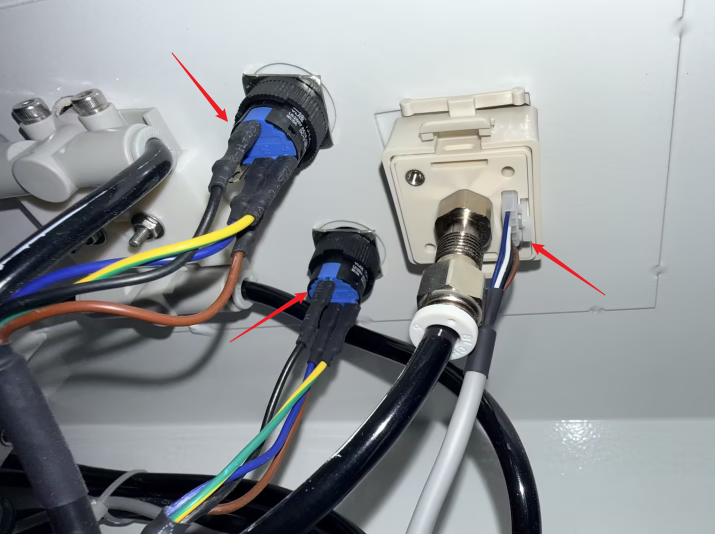
Inspect the plug or wiring terminals behind the digital display. Gently tug the cables to confirm the terminal screws are tightened. If the wiring has poor contact, the digital display may show jumping values or a black screen due to unstable voltage.
Important Reminder:
If these steps do not resolve the issue, please click this link to submit a support ticket: https://zohodesk.1laser.com/portal/en/newticket. A technician will then be able to conduct a more in-depth diagnosis and resolve your problem.