¶ X Series Laser Firmware Upgrade Guide
¶ X Series Firmware Upgrade File
¶ Controller(mainboard) Firmware Upgrade File
¶ HMI(panel) Upgrade File
How to Select the Correct Firmware Upgrade File
¶ Firmware Upgrade Guide (For X Series Users)
¶ 1. Updating Control Board Firmware
¶ 1.1 Updating Control Board Firmware via RDwords (Only For Windows Users)
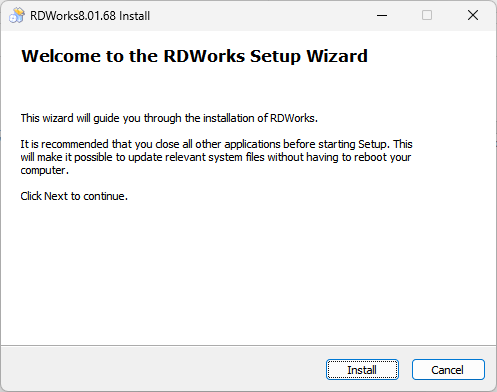
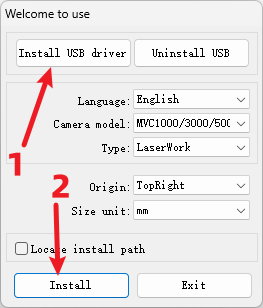
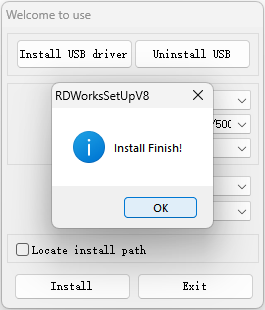
1.Install the RDWorks program on your computer.
2.Connect the device to the computer using a data cable and start RDWorks.
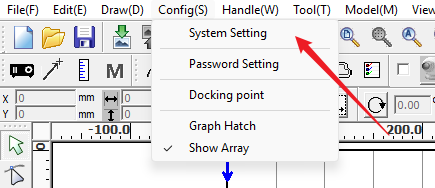
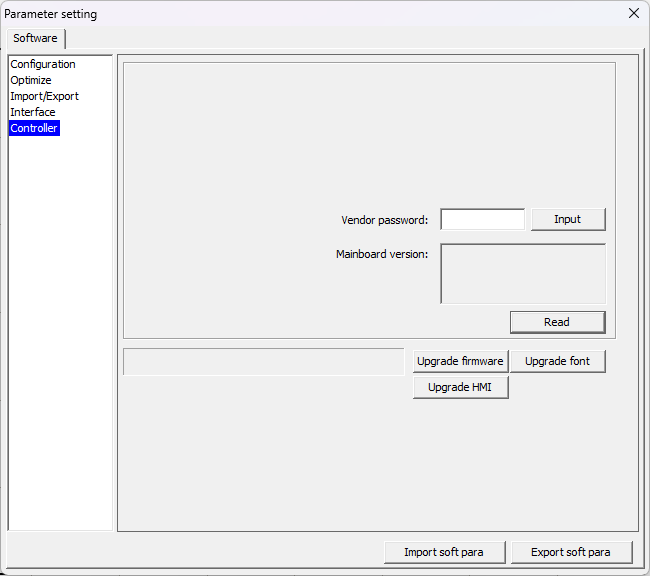
3.Click "System Setting" - "Controller" to enter the controller upgrade interface.Enter "rd8888" in the "Vendor password" input field and click the "Input" button to confirm the password.
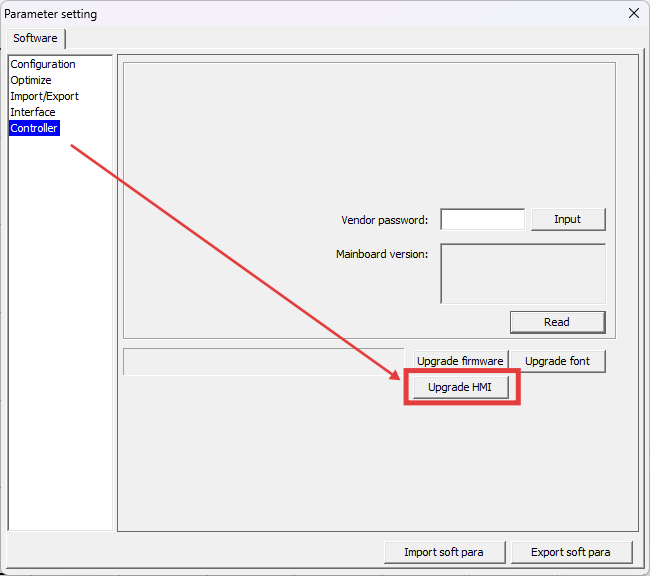
4.Click "Upgrade firmware". In the pop-up window, find and select the corresponding motherboard firmware upgrade file, wait and confirm that the upgrade is complete.
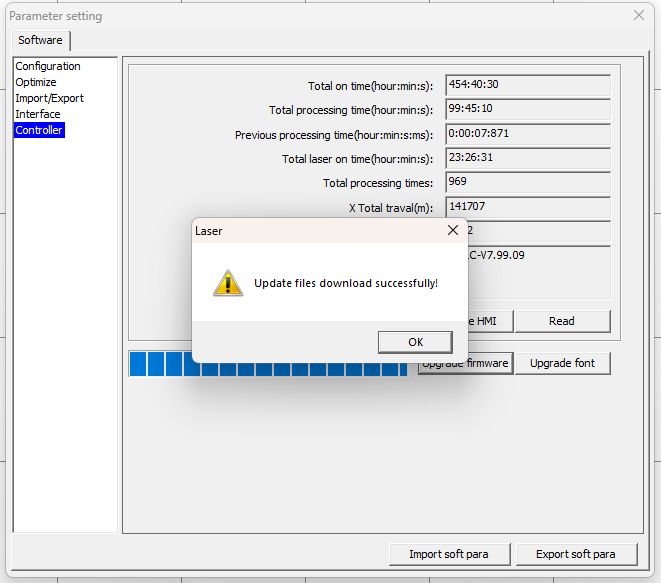
5.Click "OK" to close the prompt window. Restart the device.
Caution:
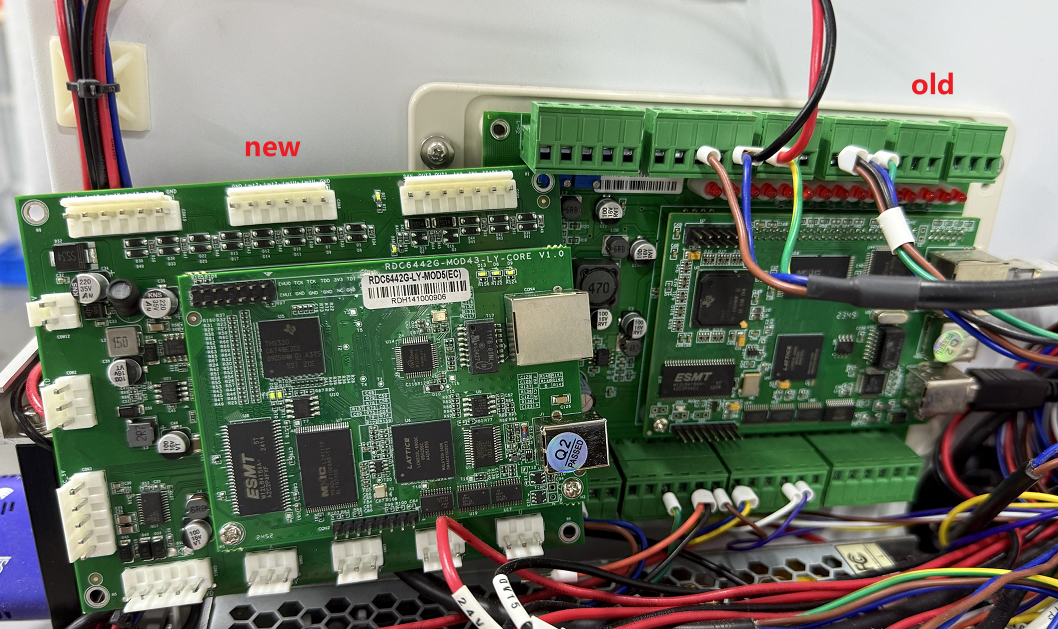
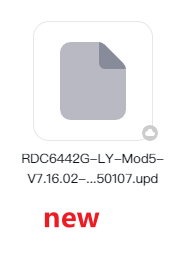
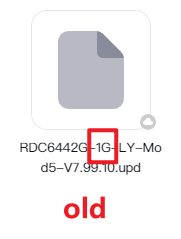
- Be sure to select an upgrade file that matches the controller. (You can check the bar code label on the motherboard to determine whether it is new or old. The old motherboard number has "1G" and the new motherboard does not.)
- Cannot upgrade compared to the lower upgrade file of the current controller.
- Restart the device after the upgrade.
¶ 1.2 Updating Control Board Firmware via MakerBoost
(Panel firmware upgrade support will be added in a future update)
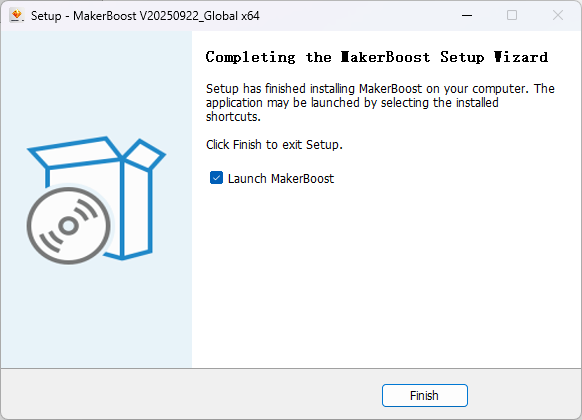
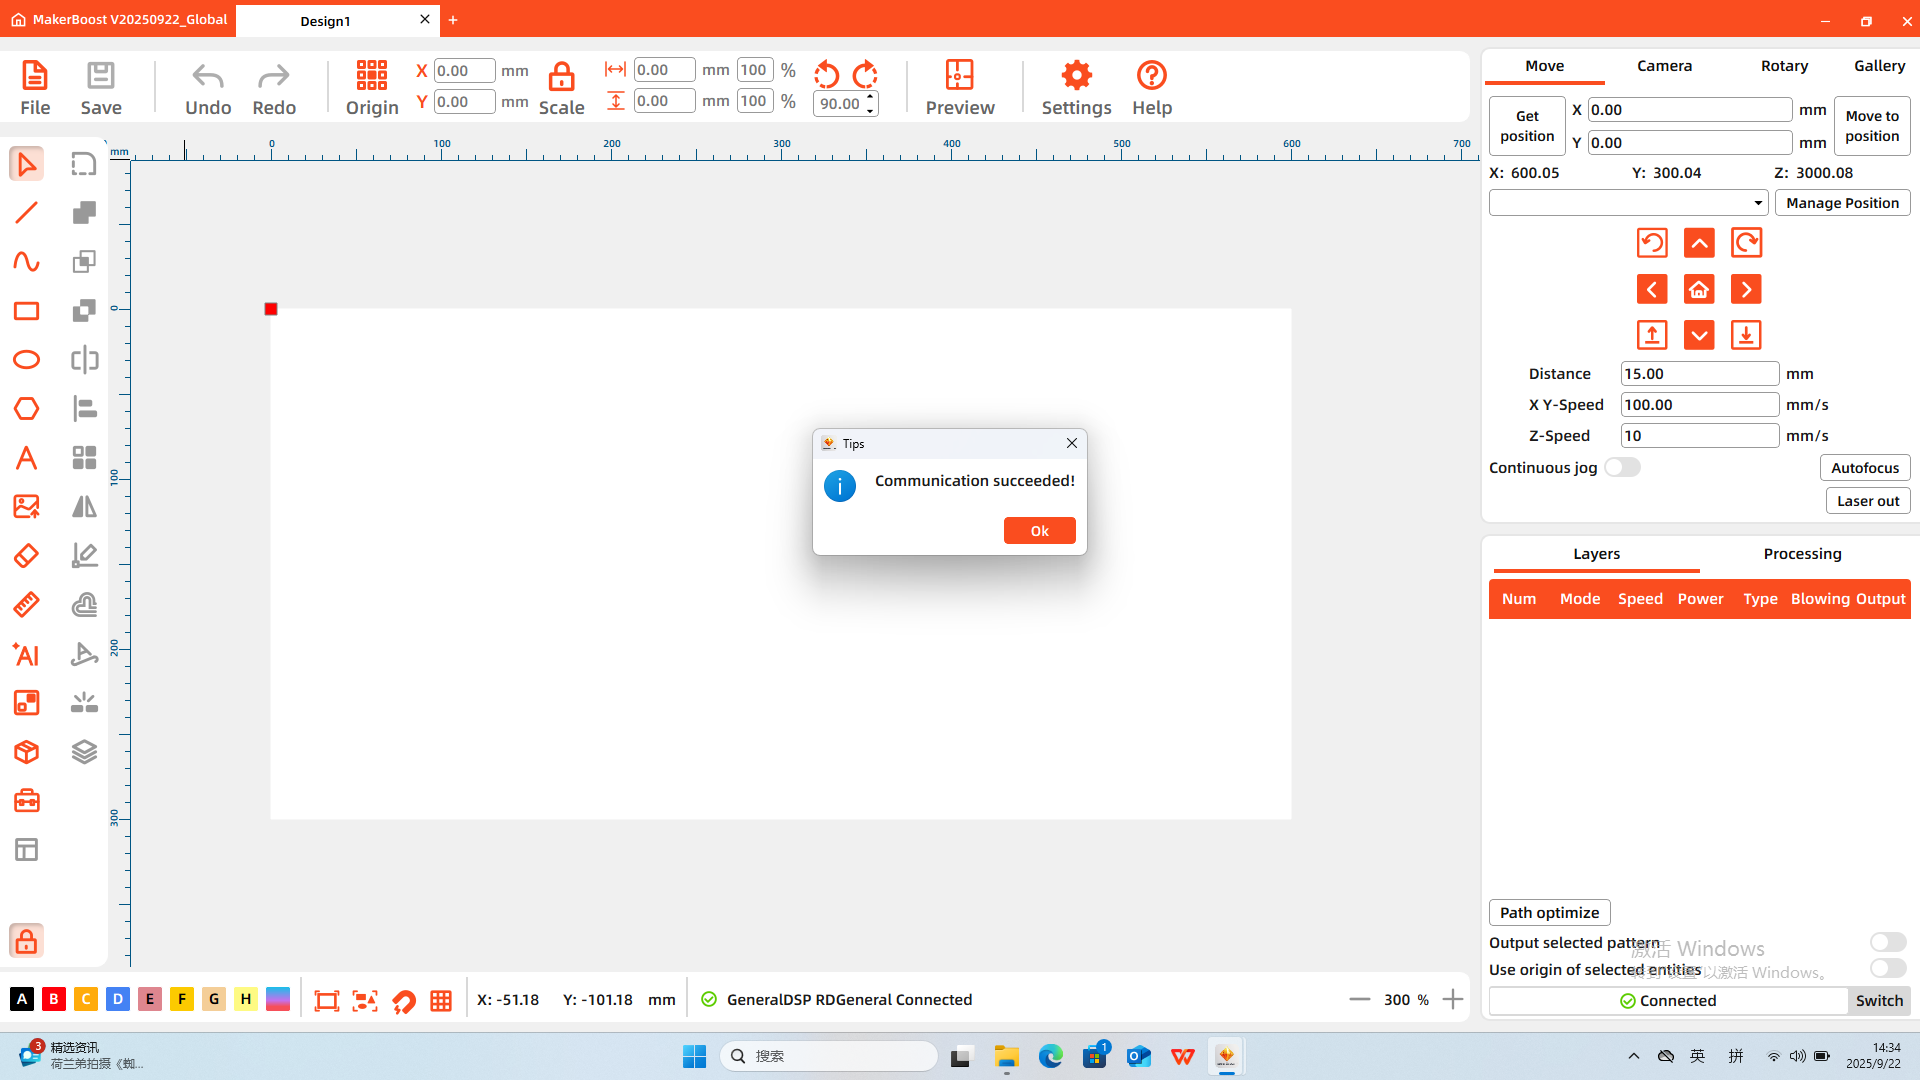
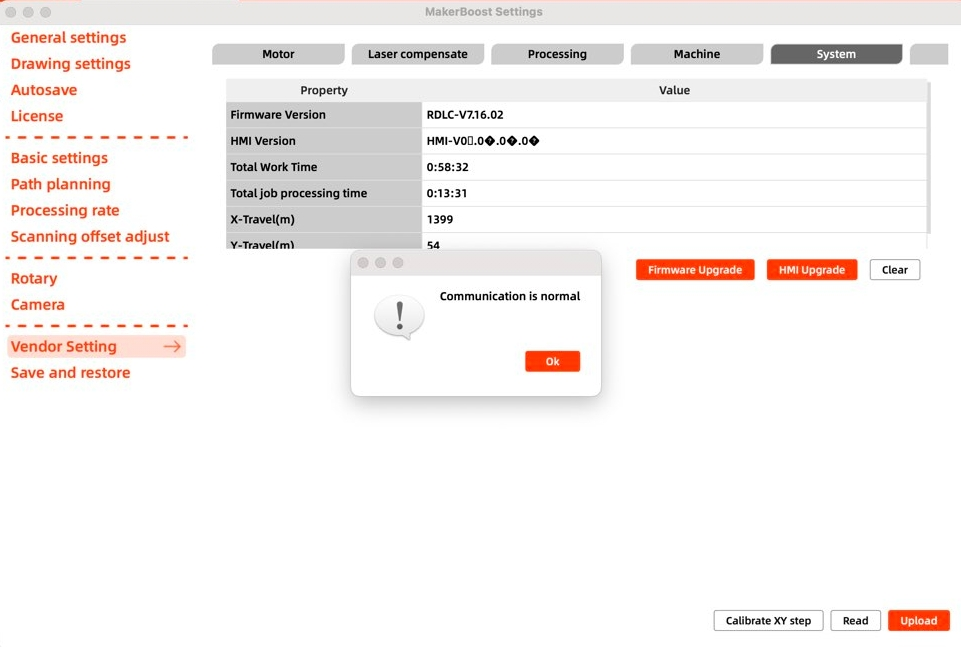
1.Launch MakerBoost and click "Switch" to connect to the XRF/XT machine.
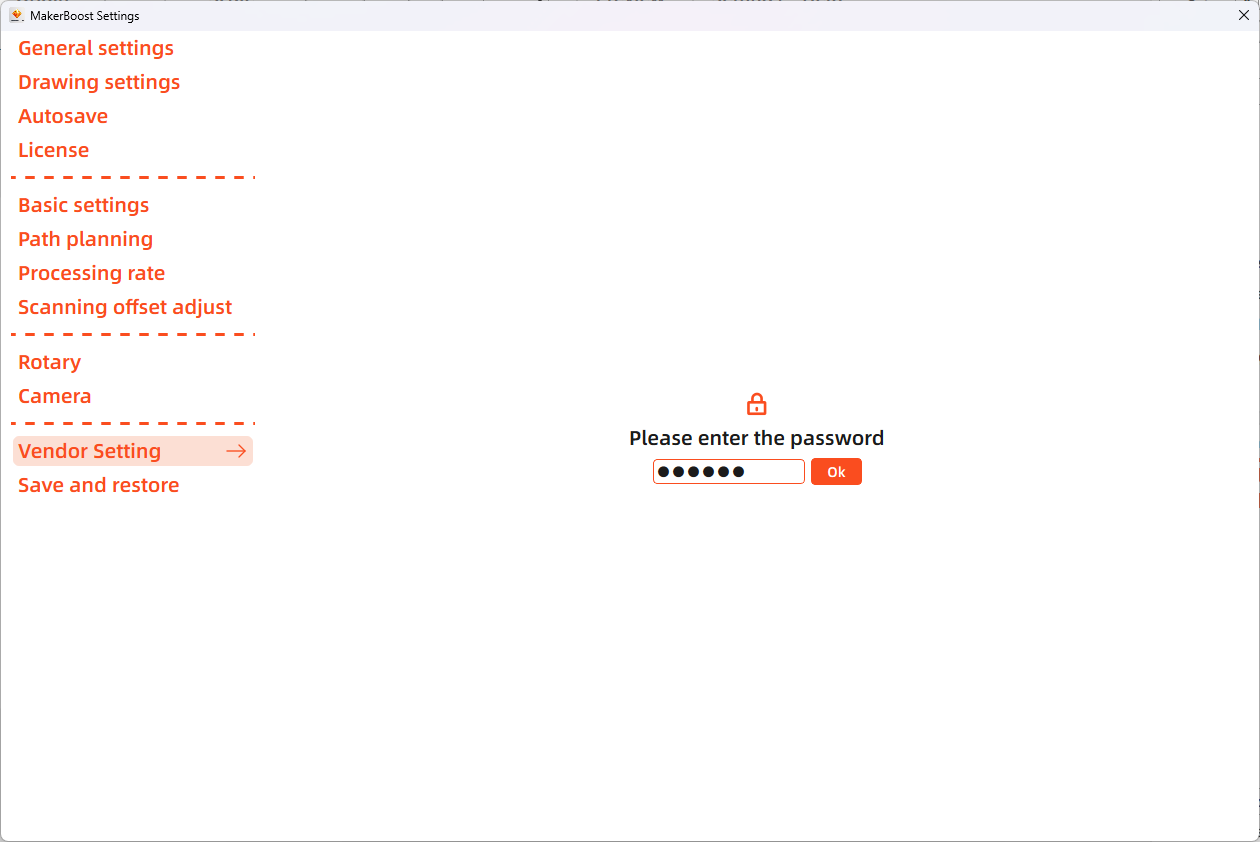
2.Open "Settings", select "Vendor Setting", and enter the password: TL9501.
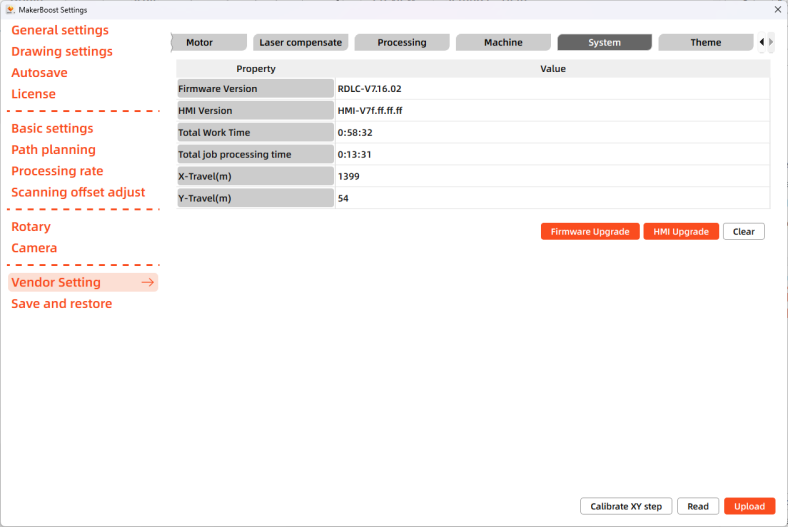
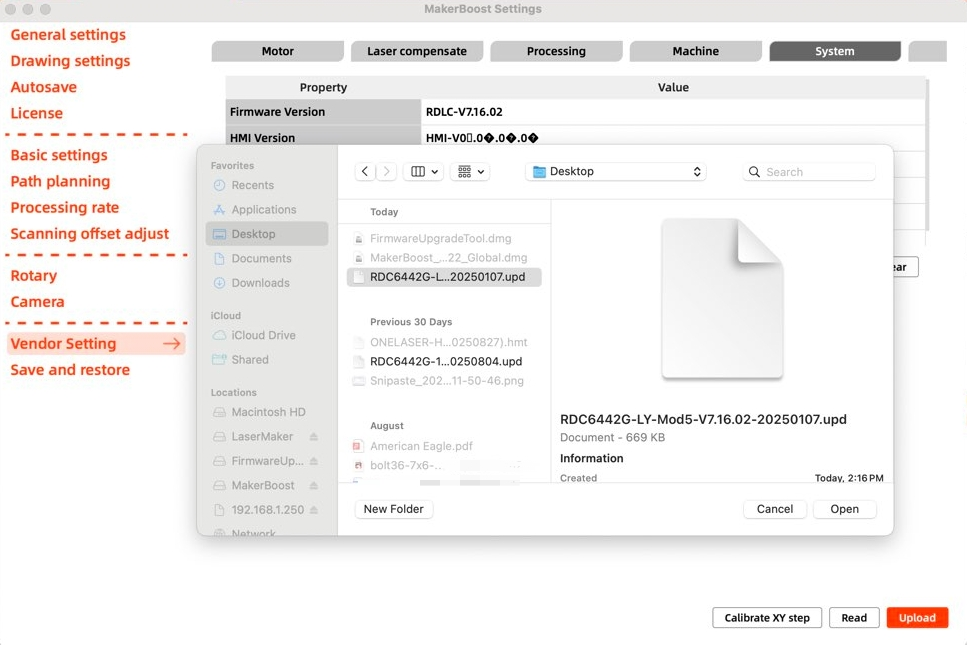
3.After clicking "System", select "Firmware Upgrade". Upload the corresponding device firmware file. Wait for the upgrade process to complete. Power off the device completely, then restart it to finalize the controller firmware upgrade.
Caution:
- MUST select a firmware file EXACTLY matching your controller model.(The selection method is the same as mentioned above)
- NEVER attempt to downgrade (e.g. installing firmware older than the current version).
- During the controller firmware upgrade process, do NOT power off the device, disconnect the computer from the device, or press any buttons on the equipment.
¶ 2. Updating Panel Firmware via TF Card
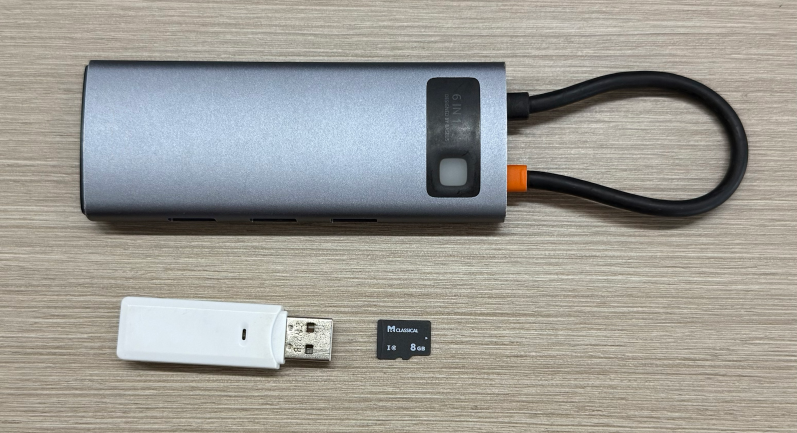
1.Use a blank TF card, a card reader, and a docking station to connect the TF card to your computer.
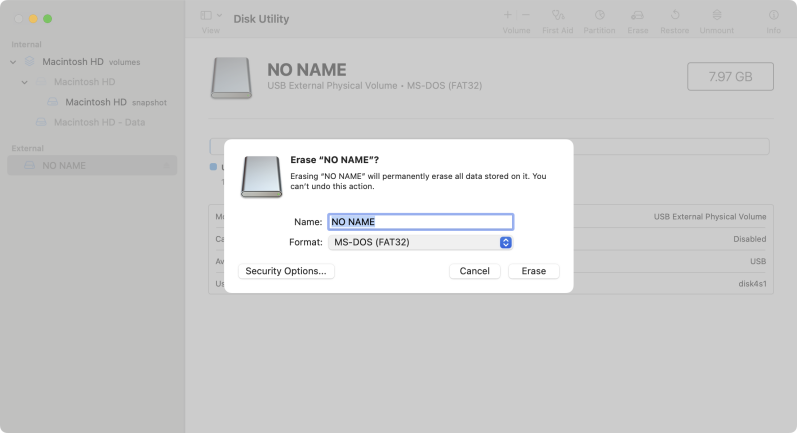
2.Open “Disk Utility” and format the TF card to ensure the file system is FAT32.

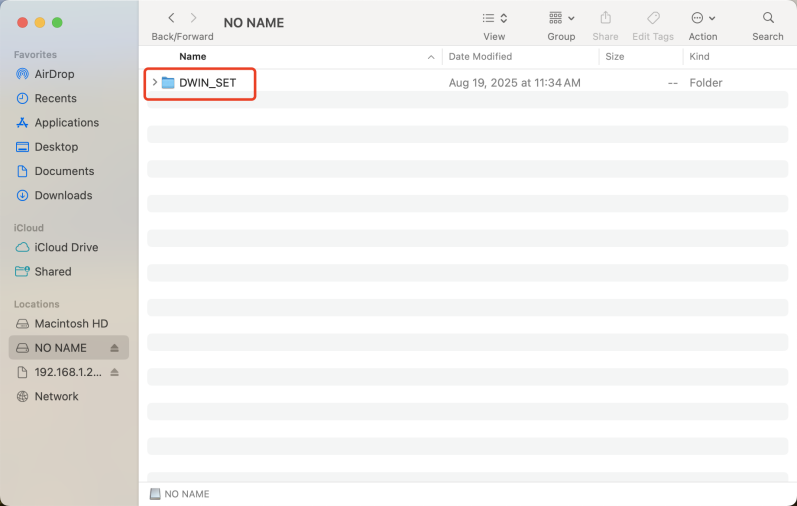
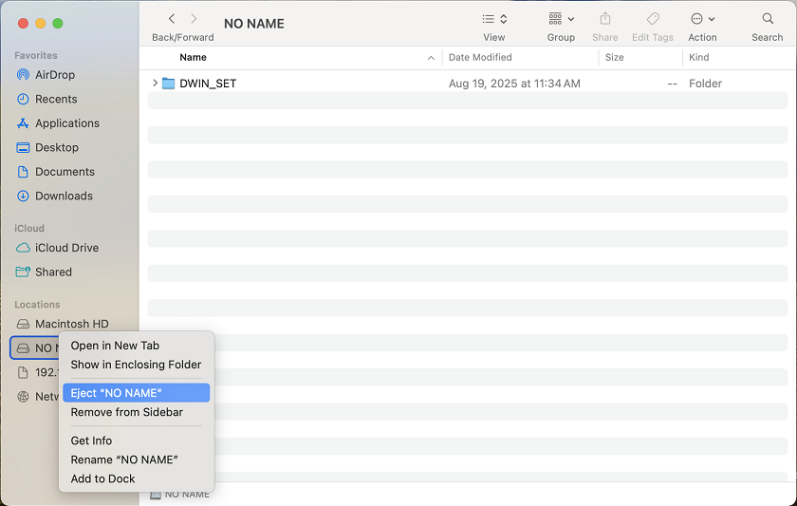
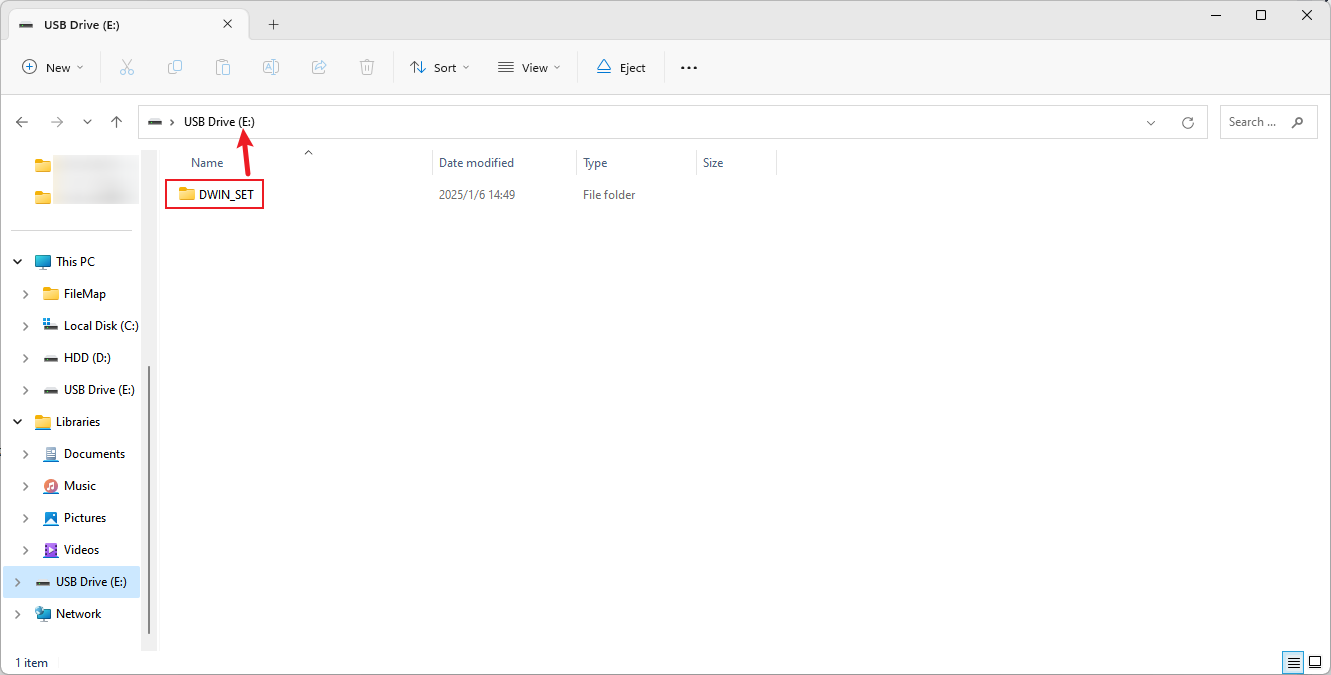
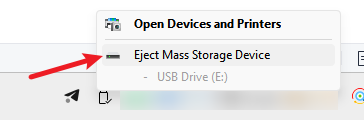
3.Extract the front panel firmware upgrade files to the root directory of the TF card. Then safely eject the TF card from your Mac and remove it.
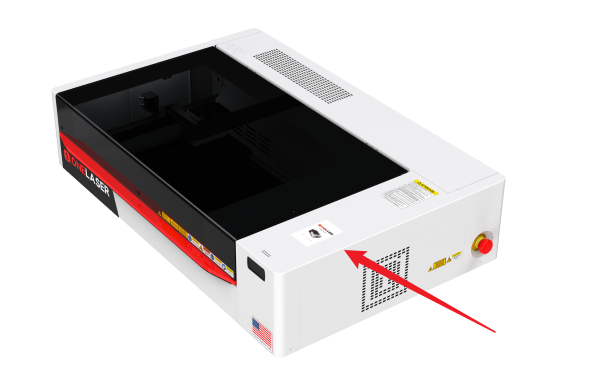
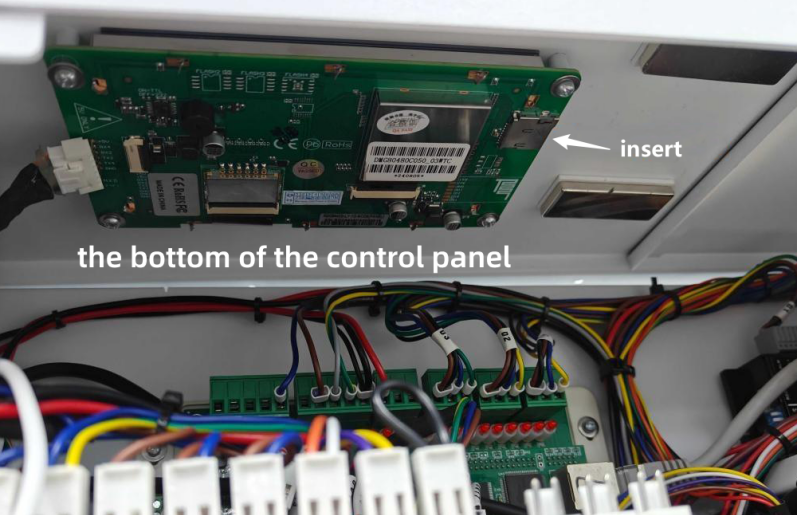
4.Ensure the device is powered off completely. Remove the right-side protective cover of the control panel, then insert the TF card into the TF card slot at the bottom of the control panel.
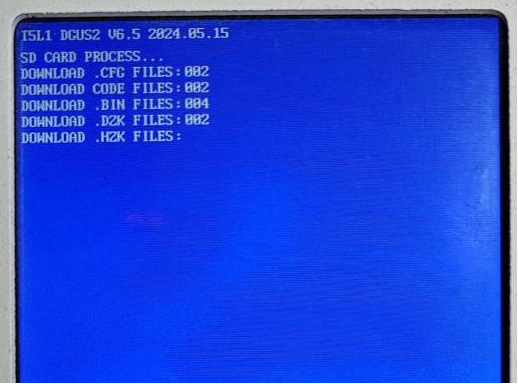
5. Power on the device. The front panel will automatically begin updating. When the screen displays “SD CARD PROCESS...END!”, the upgrade is complete. Power off the device, remove the TF card, and then power it on again to finalize the upgrade.